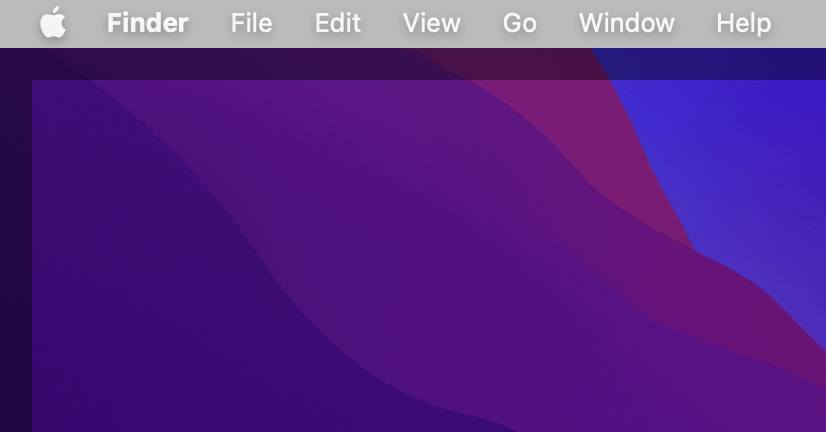
A gray menu bar can be quickly fixed.

Deutschland Ticket: How to cancel? Pay full month?
Cancel Germany ticket immediately and pay less at the end of the month.
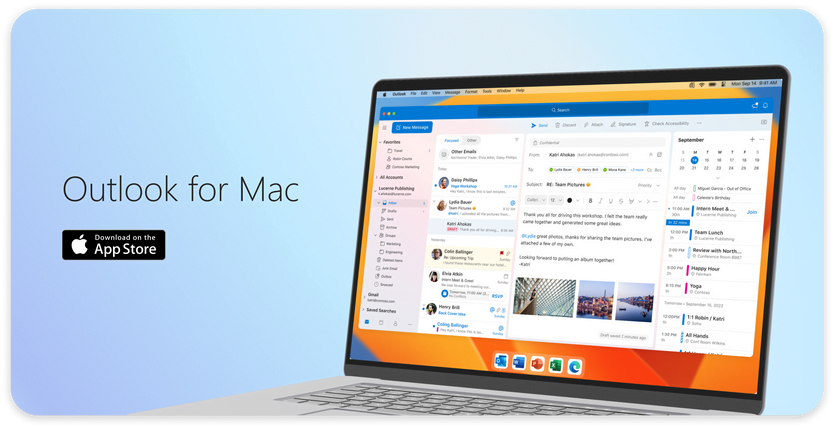
Microsoft Outlook free for macOS
You can use Outlook for free.
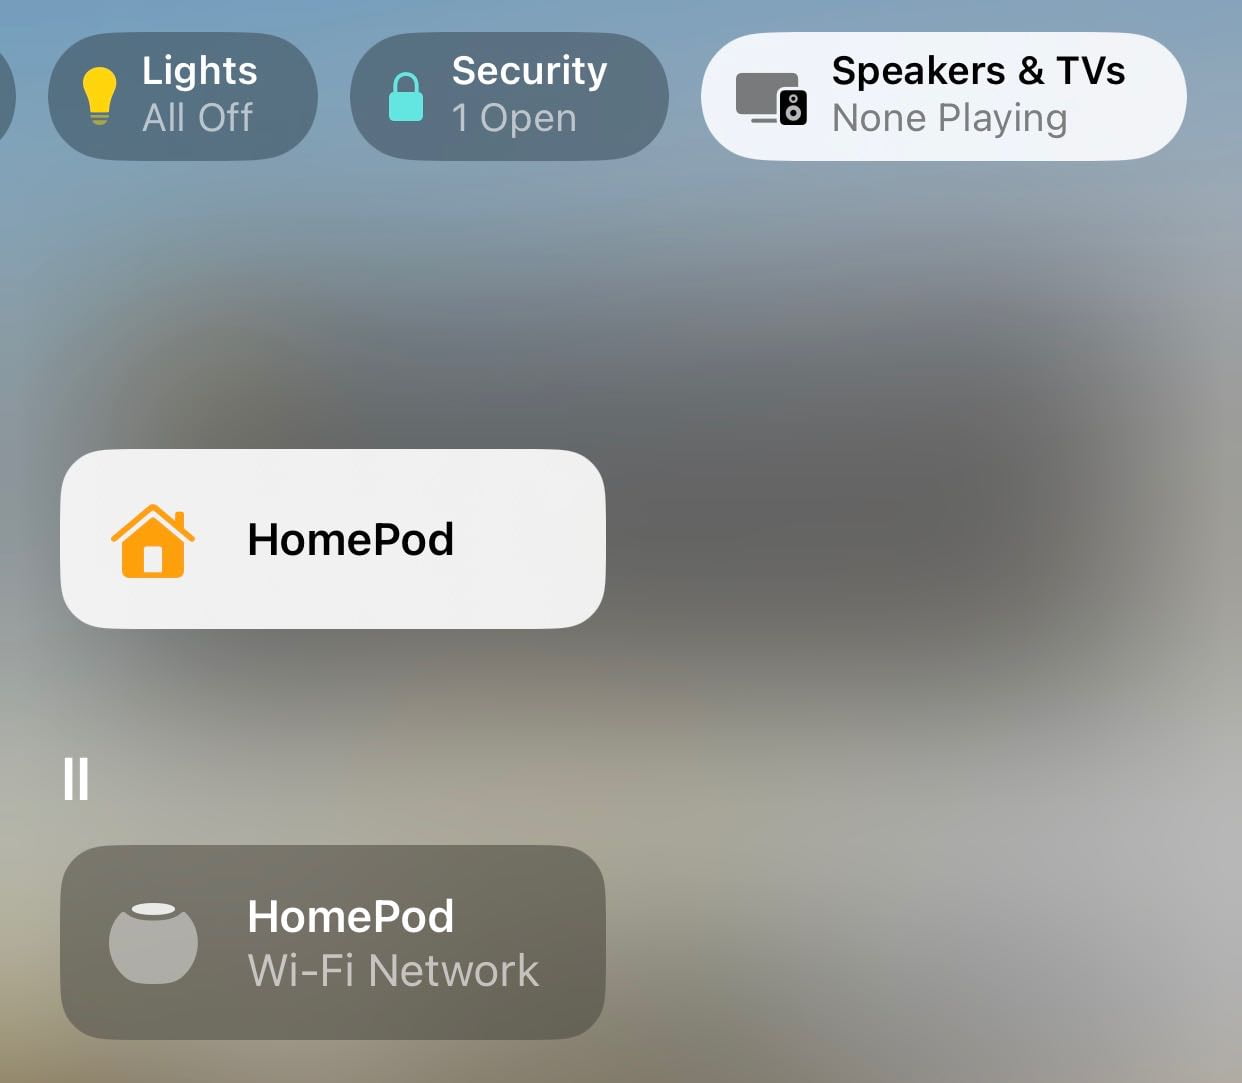
iOS 16: Can’t stop HomePod on other Wi-Fi network
Stop the playback on your HomePod with one tap.
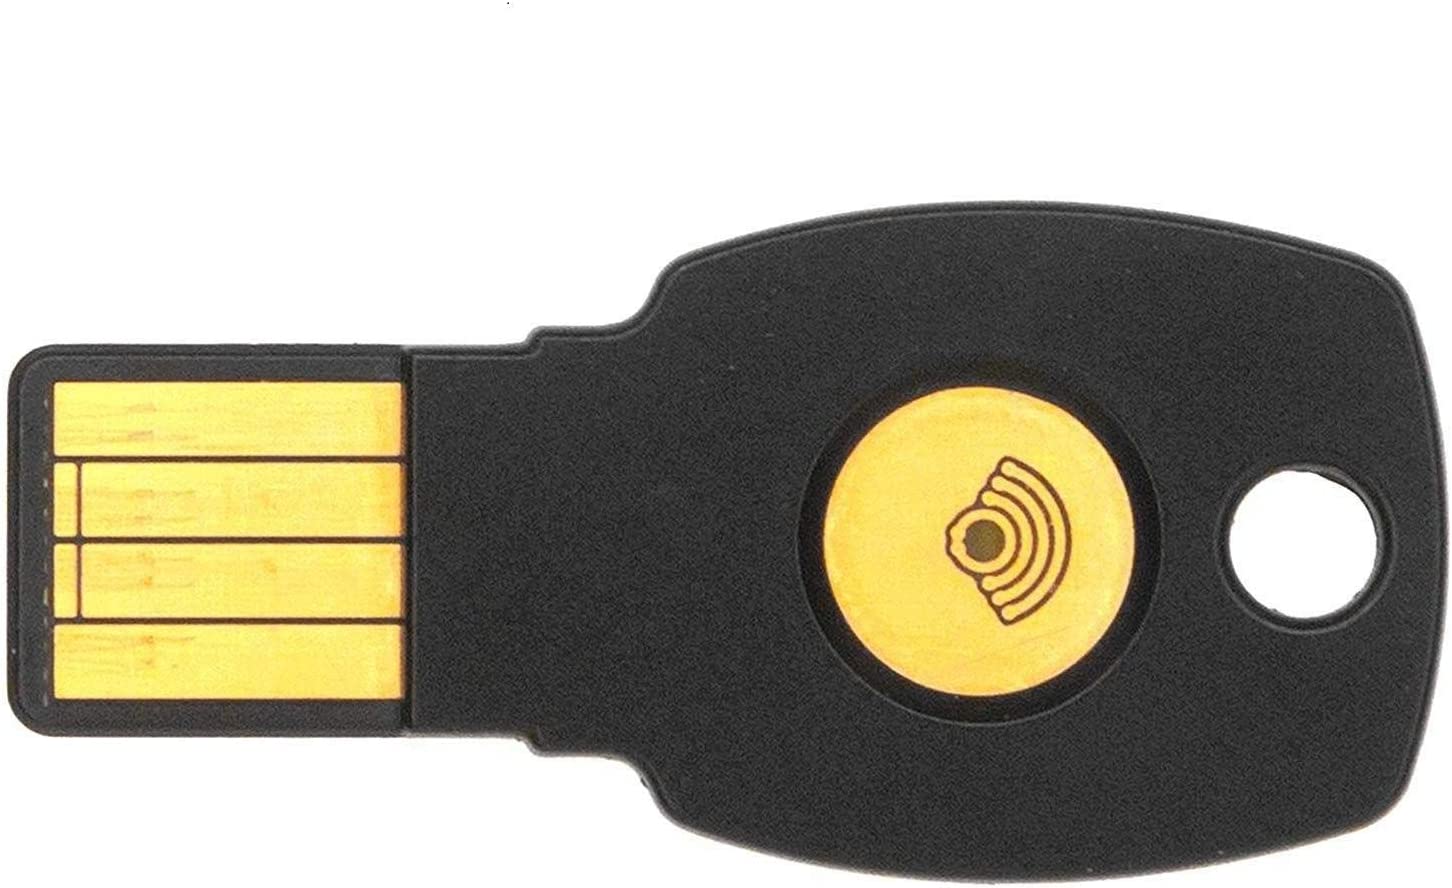
Mac & iPhone: FIDO 2FA keys for macOS and iOS
Compatible security keys for two-factor authentication.
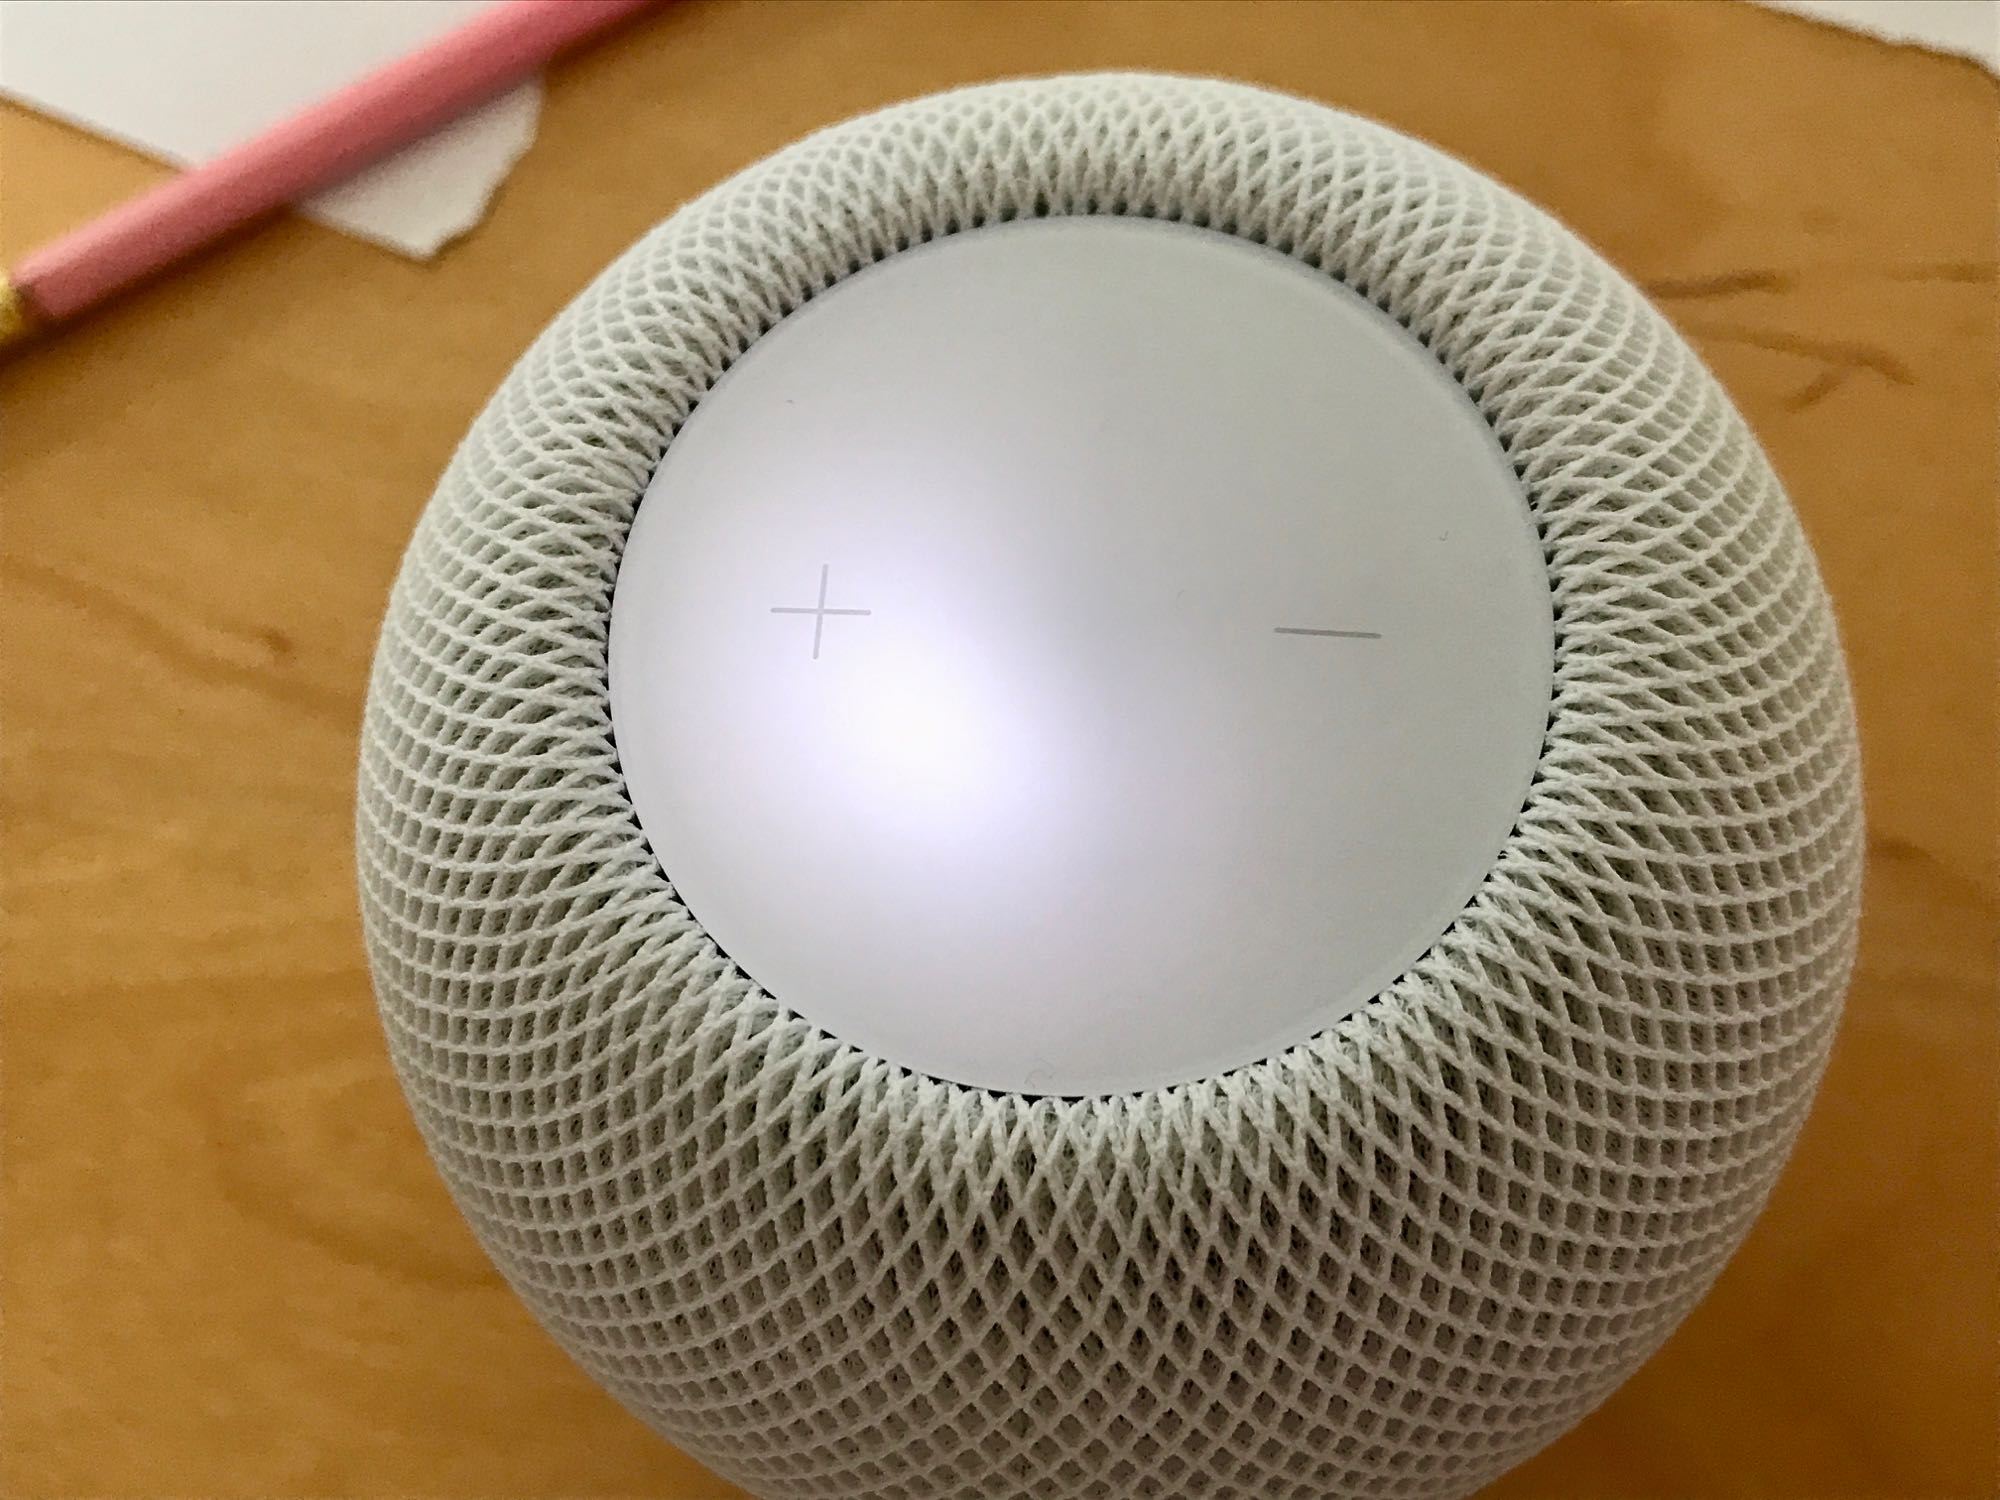
HomePod mini does not work: reset
Sometimes you have to completely reinstall the HomePod mini.
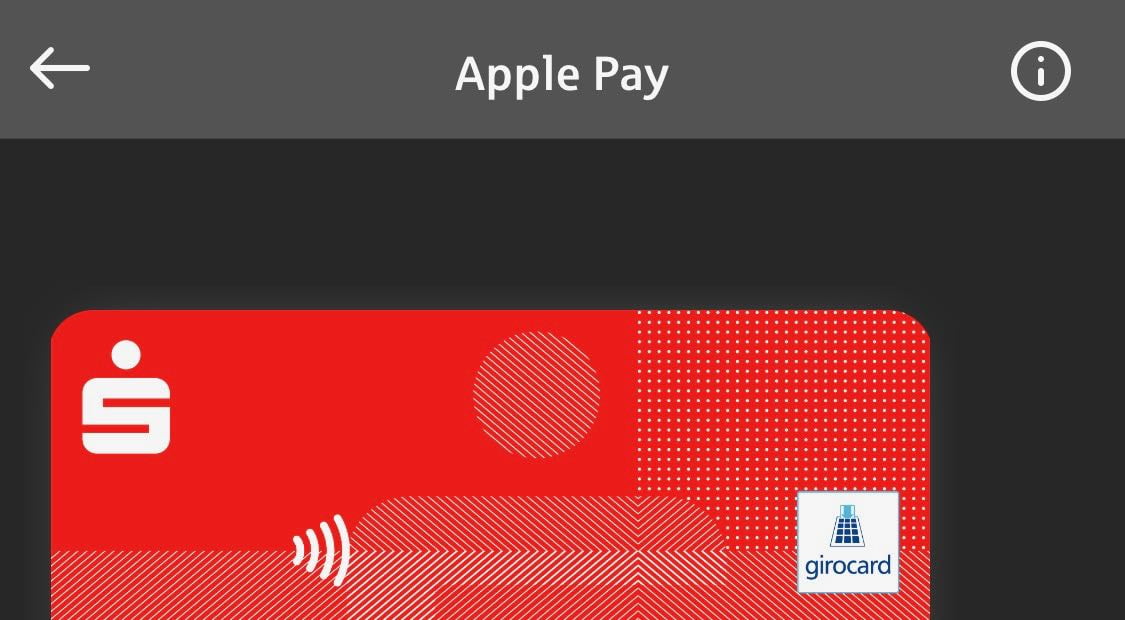
Sparkasse and Apple Pay: card cannot be added
Activate your card without WLAN.
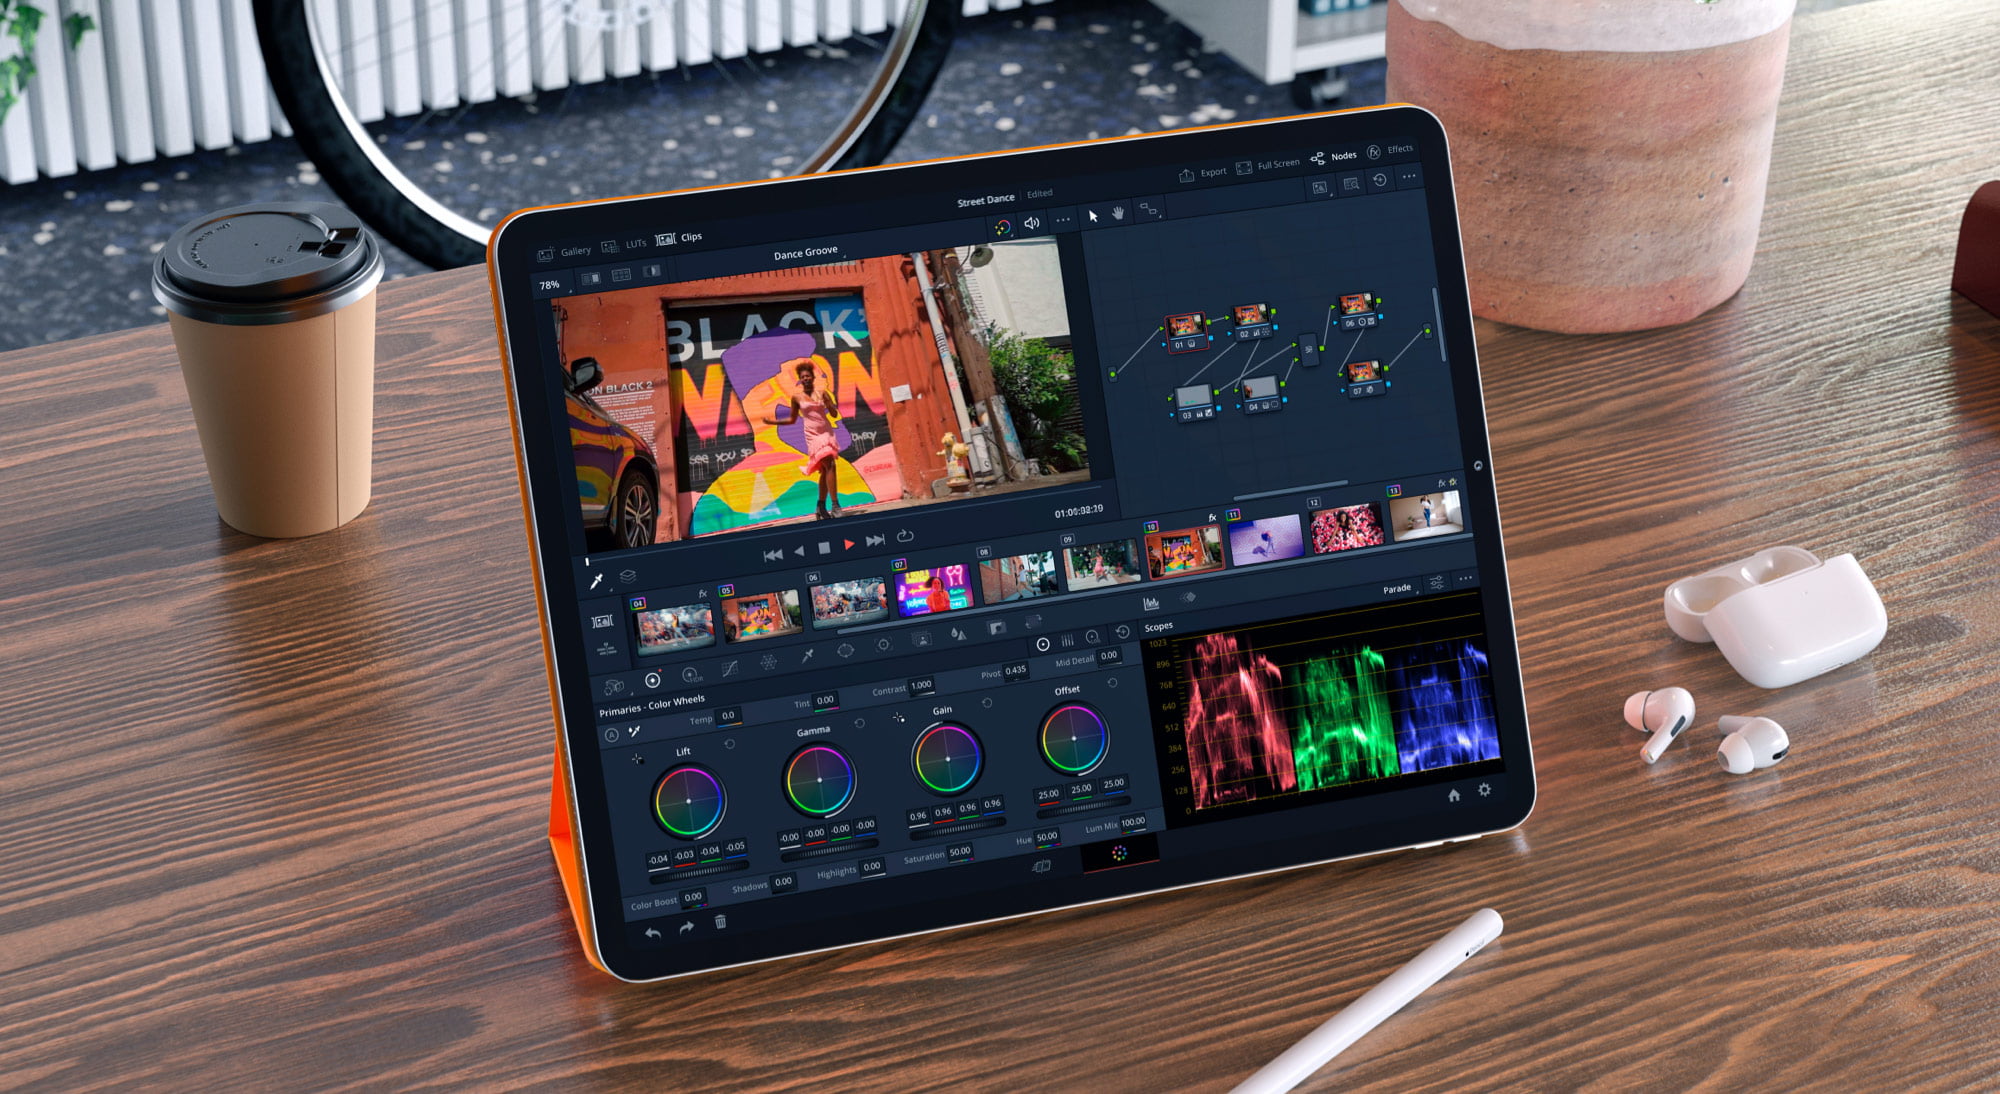
DaVinci Resolve available for iPad
Professional video editing on the iPad.
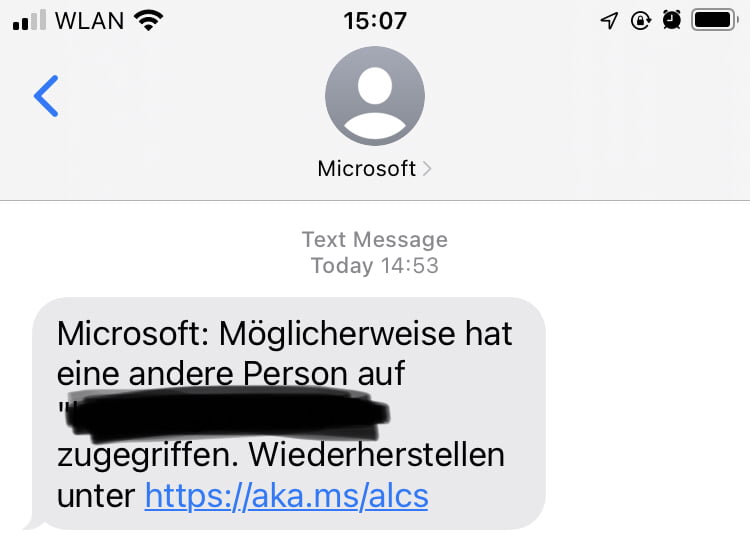
Microsoft: Is https://aka.ms/alcs a phishing link?
Top tip: just don’t follow links in SMS.
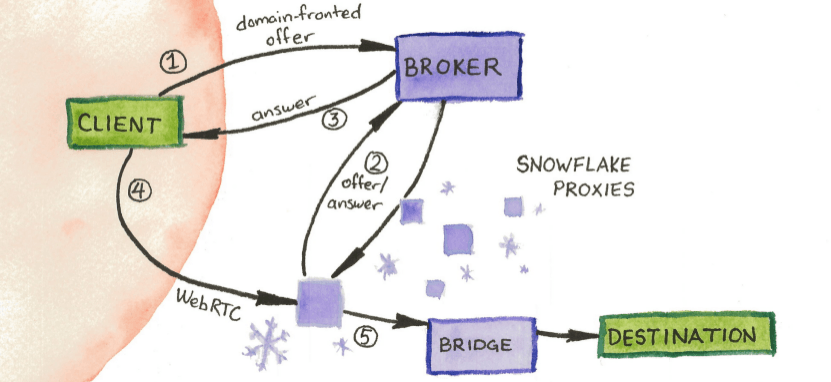
How you can help to circumvent internet censorship
You can easily help to circumvent internet censorship.
How to use AirPlay when HomePod is in different WLAN?
You can connect to the HomePod directly.
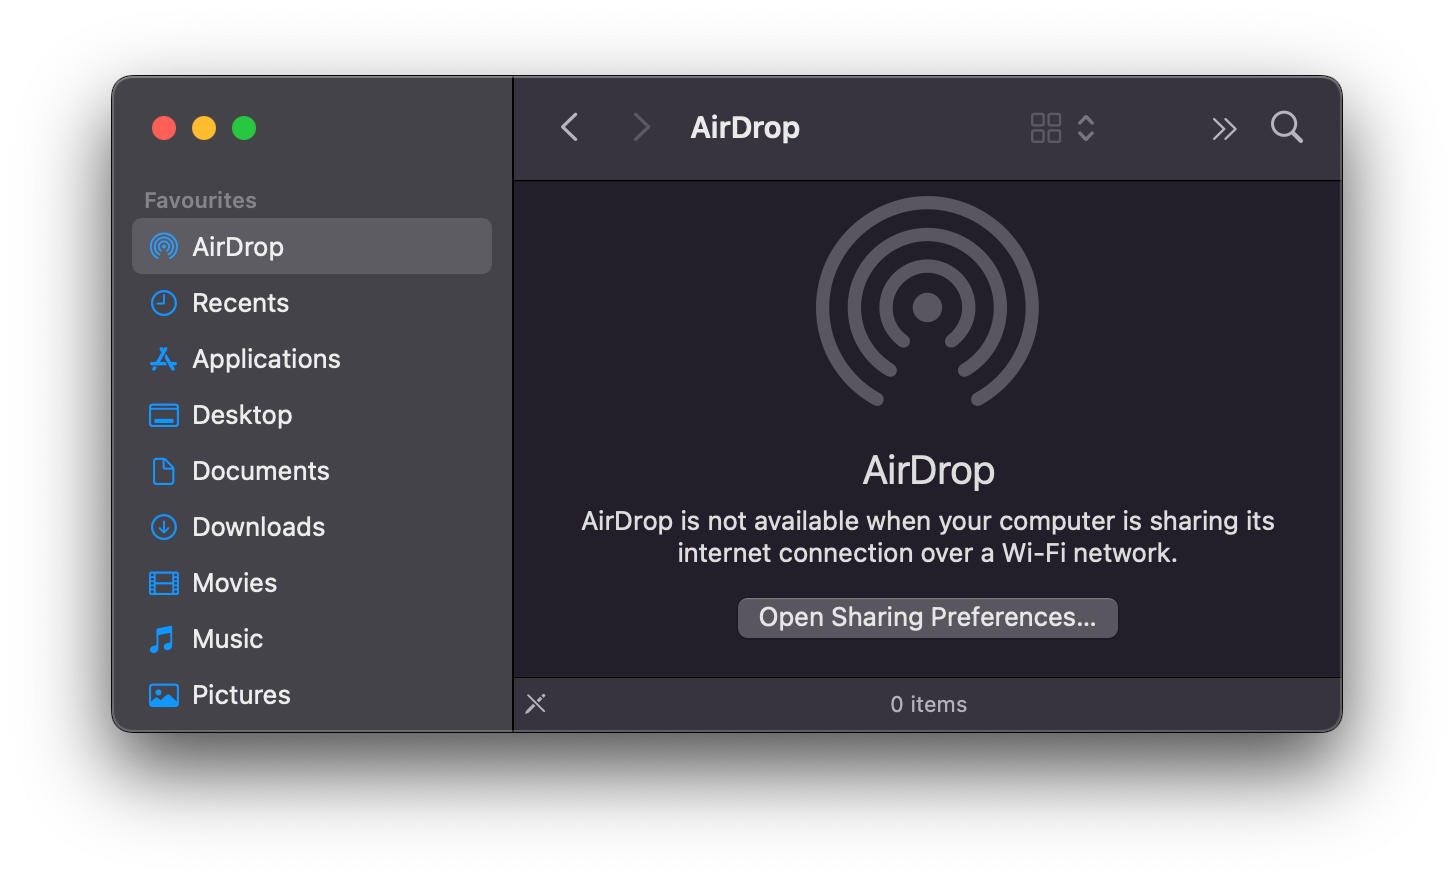
Tools: Activate AirDrop via MacBook Notch
AirDrop can be activated very fast with tools or a shortcut.