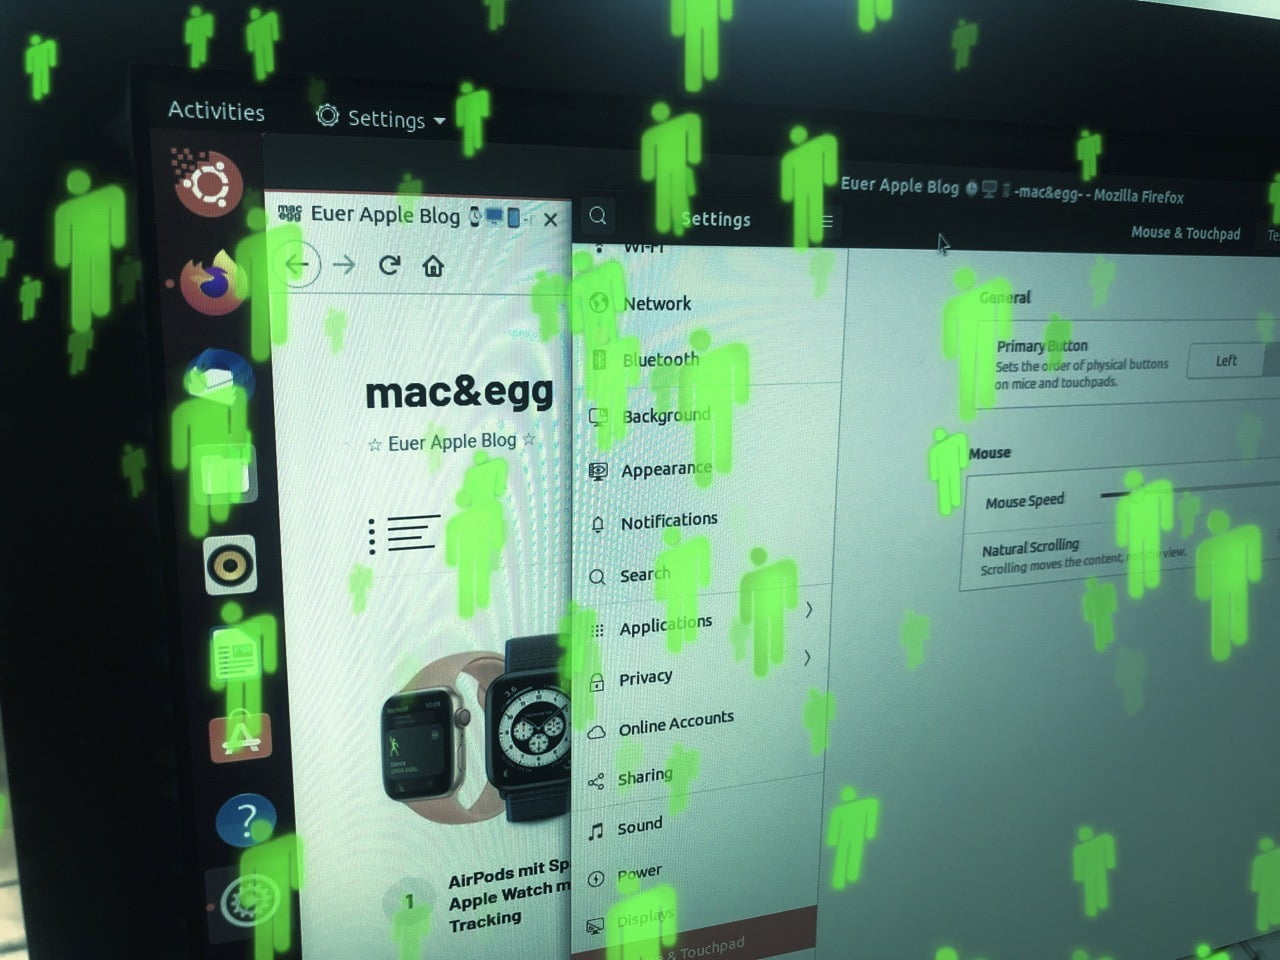
You want to test Linux on the Mac without much effort? We show you how to set up Ubuntu on an external hard drive for testing in a few minutes.
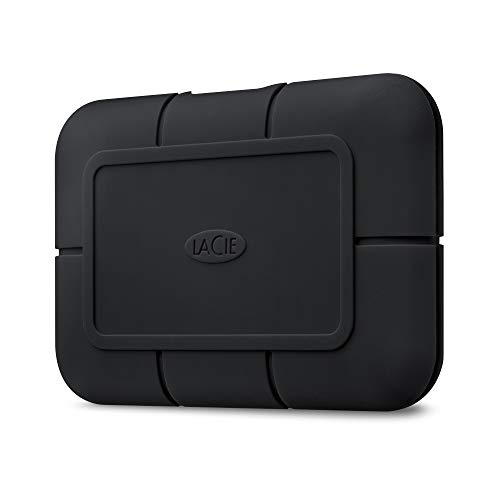
The necessary steps are quite simple: You need an external hard disk, and
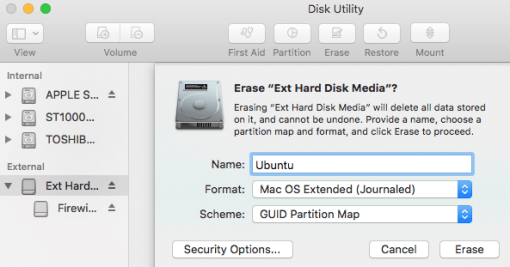
The hard disk should be freshly formatted. To do this, go to Applications > Utilities > Disk Utility and erase the disk with the settings shown in the image. Then you can go on to the actual step.
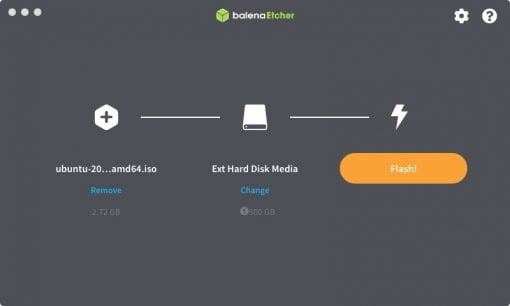
After you have installed Etcher, open it. As source select the freshly downloaded Ubuntu .iso file, which is most likely located in your downloads folder. As destination choose the external hard disk.
Then Etcher asks again if this is really correct if the external hard disk is very large. Normally the program is designed for USB sticks (which you can also use, of course), but even with a full-size disk or SSD it works. The process should only take a few minutes, then the written data will be checked again.
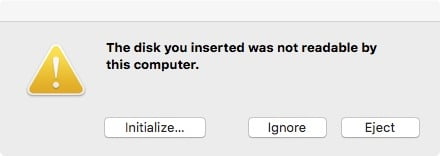
Afterwards you will get a message from the system that the disk cannot be read anymore. This is ok, just click on “Ignore”.
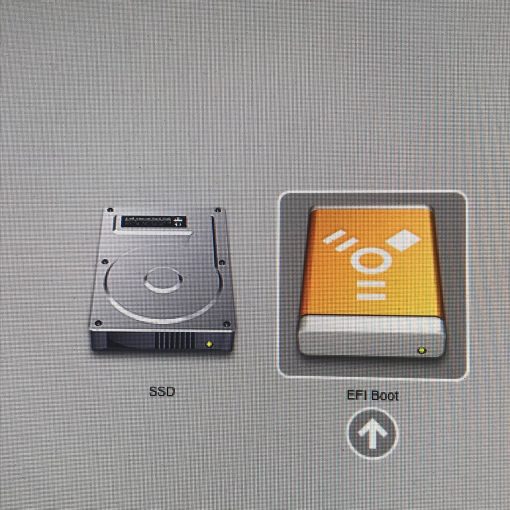
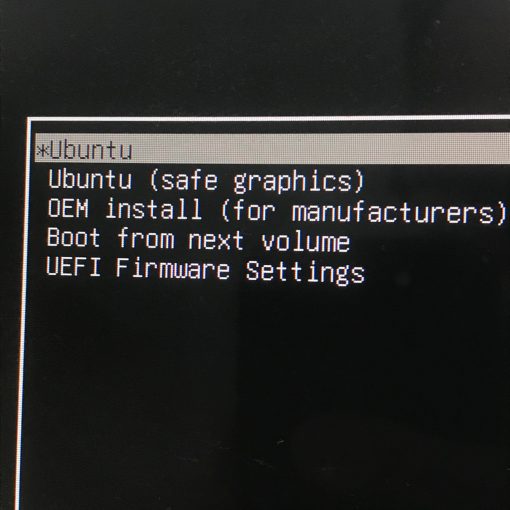
That’s it! Now Ubuntu is set up for testing on the external disk. Now you simply restart your Mac while holding down the alt-key and select the hard disk you just copied Ubuntu to.
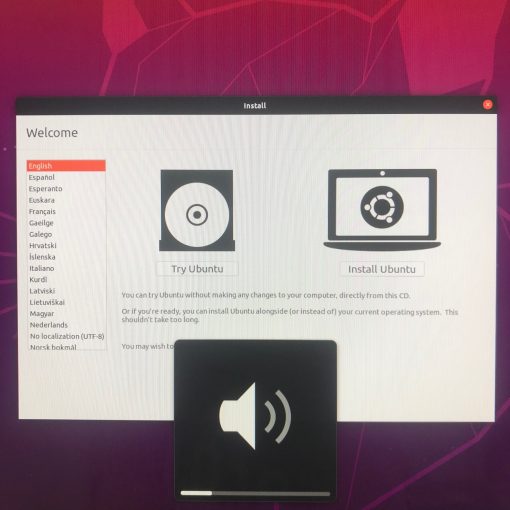
This is not a real installation, just a live test version. So please confirm on the left button that you only want to test it. The other hard drives in your Mac will remain untouched.
Now you can test Ubuntu in detail without having to install it properly. If you want to do so, you can do so at any time with the installation option. If you are serious about it, here are our detailed instructions.
