You have a small server or a NAS and you want to connect this network drive automatically when starting macOS? It is very simple if you know how.
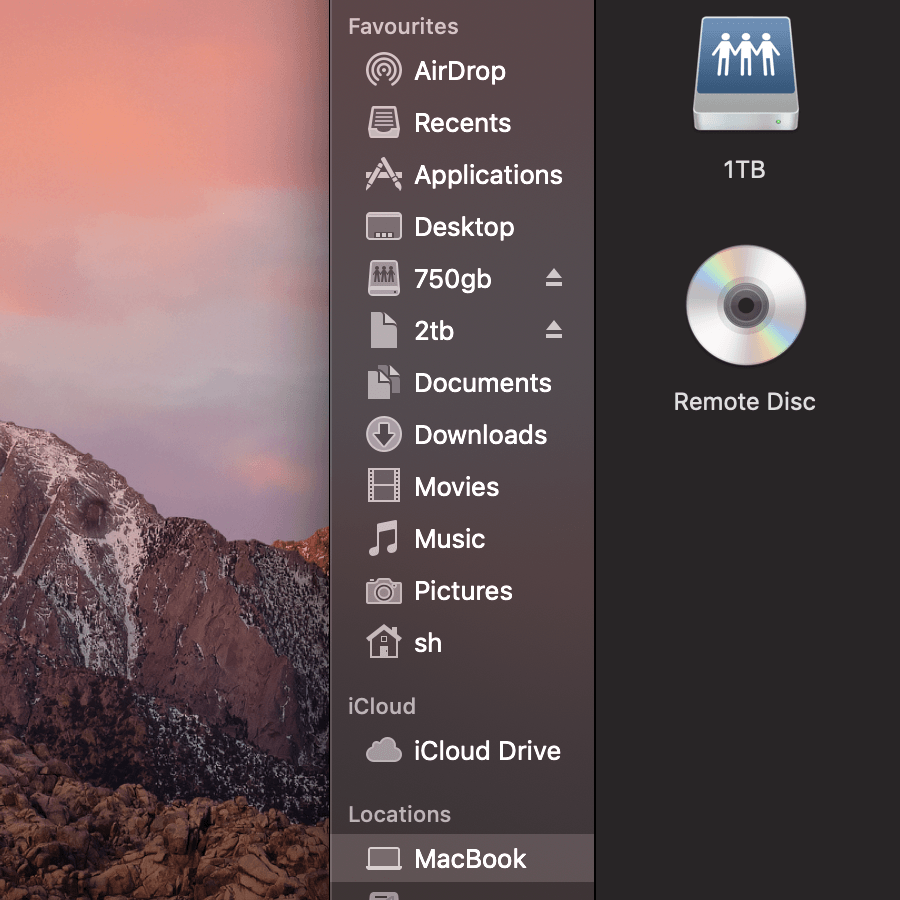
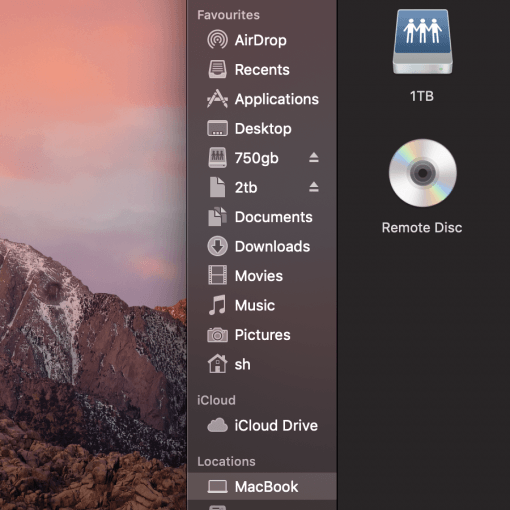
First, you must have the network drive currently connected. If this is the case, it should appear in the Finder on the left in the sidebar (otherwise check Finder > Preferences > Sidebar). This means that you currently have access to a network drive that is somewhere in your network. In this example we assume that the login is done with your Apple ID. You can also use the normal login as a registered user and save the password, but then you may have to confirm again when starting.
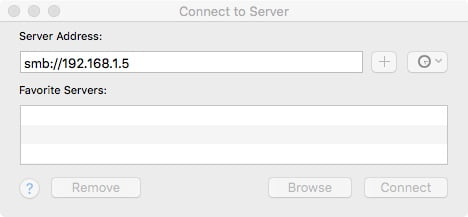
If you haven’t you drives connected already go in the Finder and then press cmd + K. A little windows opens. Insert the address of your network drive, for example smb://192.168.1.5 for your local NAS with SMB connection. The dialog now asks for username and passwort on that machine – enter it and then read on.
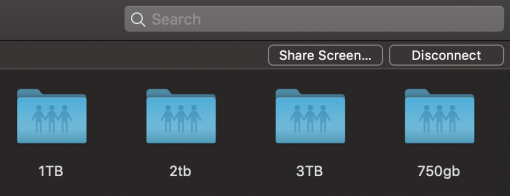
A tipp before we come to the automation: if you want to make a few special folders on the network drive accessible on the left in the sidebar under favorites, these must appear there as their own network drive. You can do this by opening up the folders. These are then mounted and appear under “MacBook” as a separate network drive. So they can also be mounted separately and automatically, for example, if you are not interested in the whole network drive but only a special folder. So the desired directory doesn’t look like a folder anymore but like a network drive.
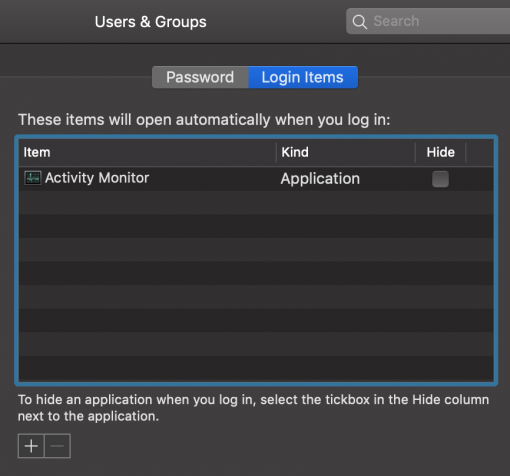
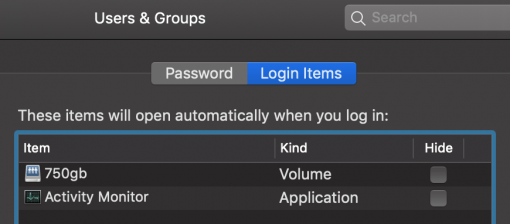
But now for the automatic mount: go to System settings > Users & groups. We add the automation to our user. So authorize yourself and go to “Login objects” at your user. Click on the small plus sign in the lower left corner. Select the appropriate network drive, add it and you are done! If you start your Mac now, this drive will be mounted automatically. Logically only, however, our disk only started when actually accessed. This provides peace of mind when restarting, since the hard disk only makes noise when data is requested.
