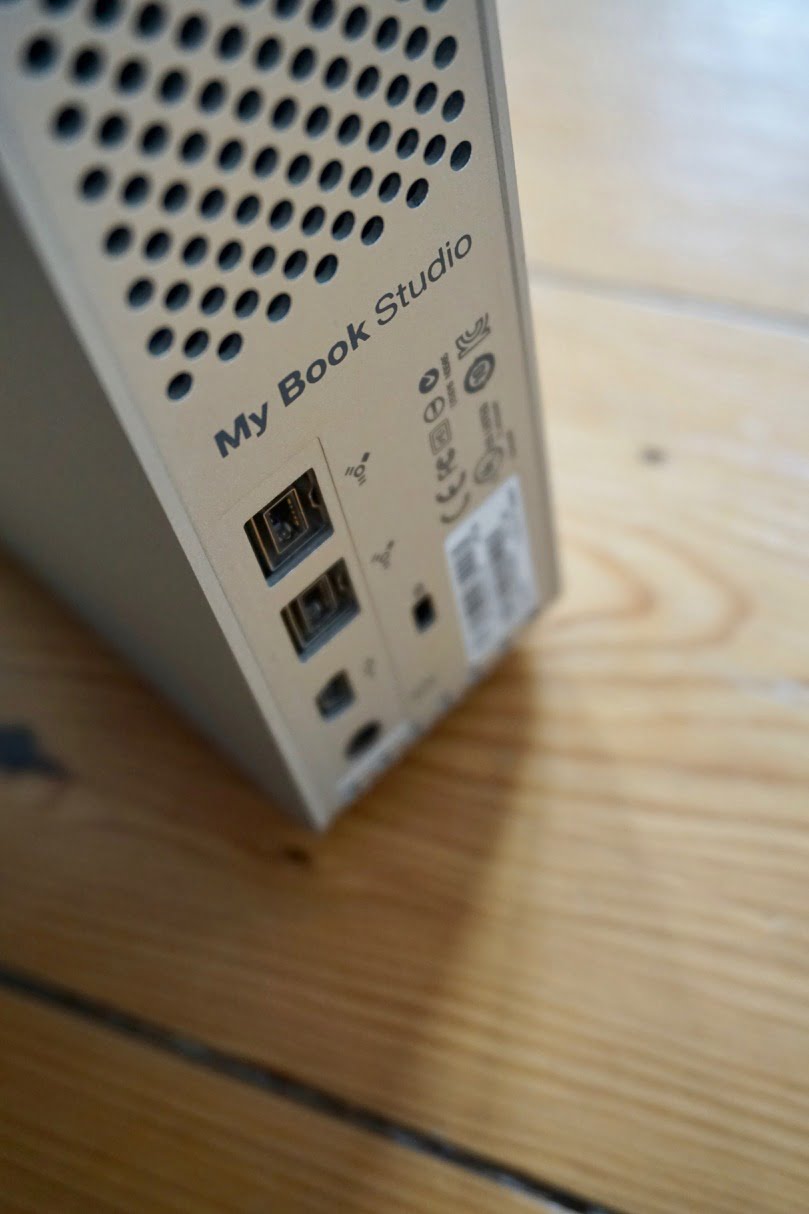
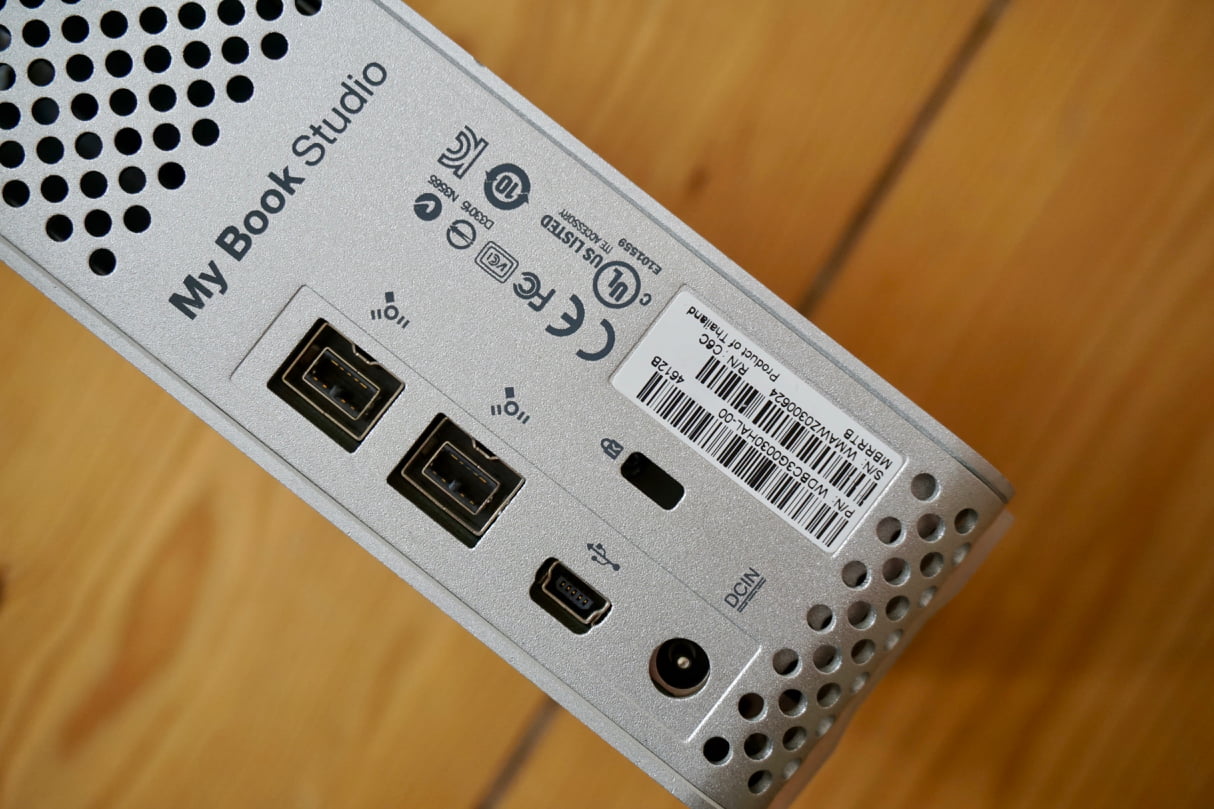
You own a beautiful Western Digital My Book Studio aluminum enclosure with Firewire ports, but the hard drive failed? Between pure despair and new life stand just a few screws. Let’s start!
We do repair it ourselves!
Western Digital stresses that you cannot replace the hard drives in My Book, Essential or Elements enclosures. As we think for ourselves, however, we don’t give up so soon. In this case it is even necessary as it is a nice aluminum enclosure with Firewire 800 that is not on sale anymore. So rescue is key here, besides the fact to reuse things.
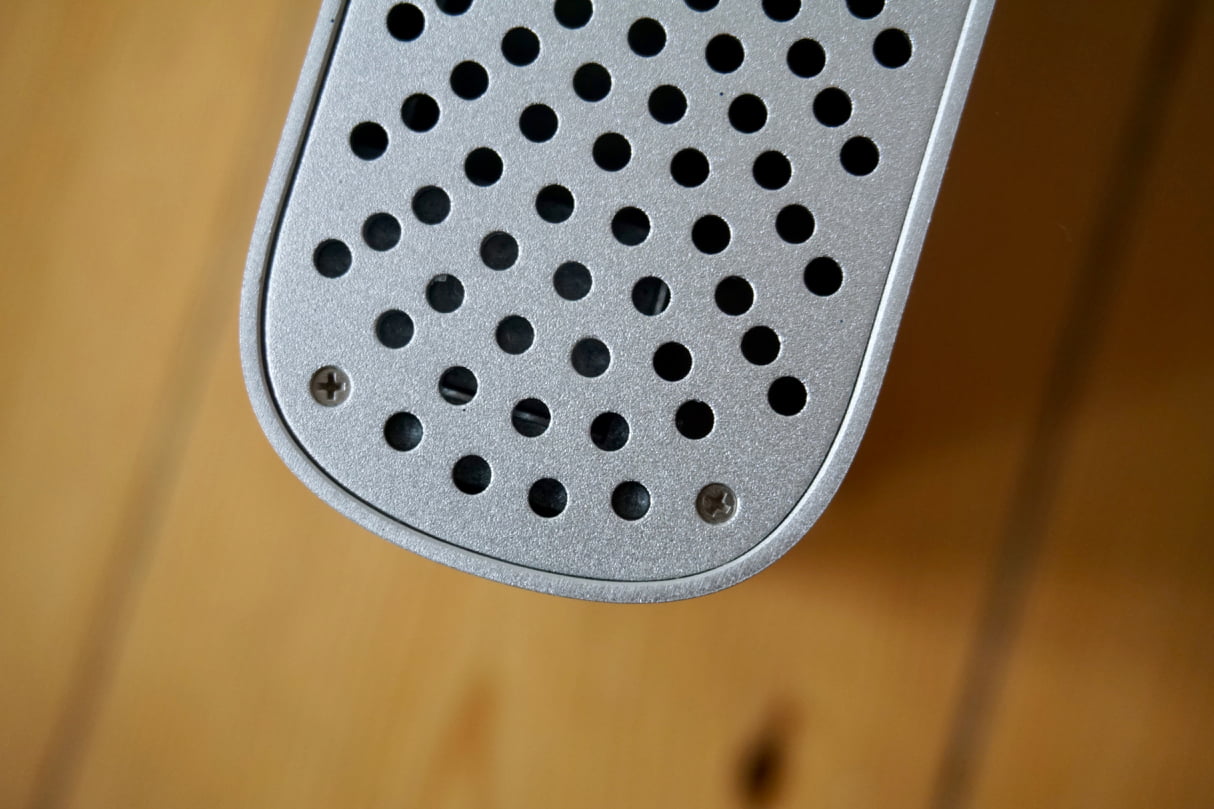
We start with two Philips head screws on top of the enclosure. They are intelligently hidden inside the dot design but easy to reach. Then remove the same two screws on the underside of the case. You will destroy the warranty sticker – welcome to the dark side!

You are done with the screws now. In principle, you just have to remove the inner enclosure part from the outer one. Both are only hold together by friction. As it is rough aluminum though, this friction is very high. We just used a litte socket wrench (the ones you get with your Ikea furniture) and used is as a hook. Together with a pair of pliers we could separate the two pieces. You need a bit of force, but if you are gentle and alternate between the top and bottom of the enclosure, it should be done in no time.

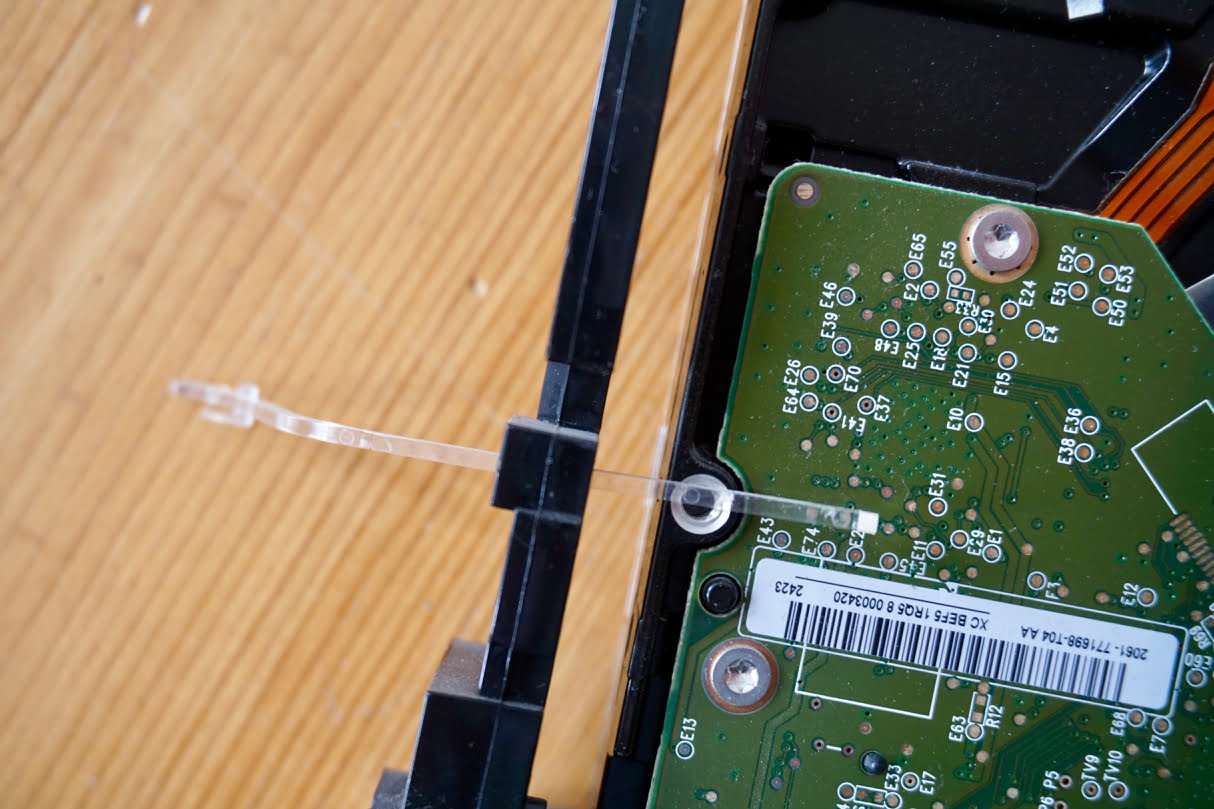
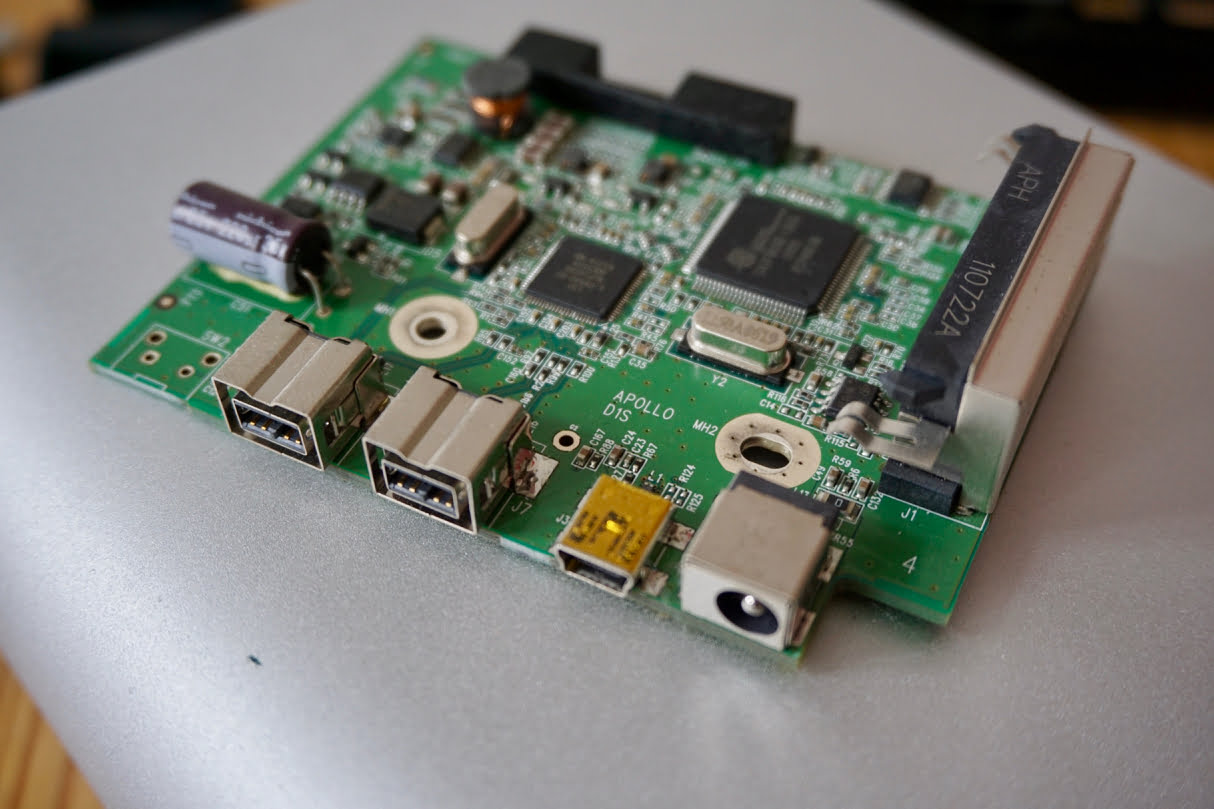
The fist thing to do is to remove the little plastic light guide. That piece helps the light going from the LED on the circuit board to the front of the enclosure. Just wiggle it around a bit and you can remove it carefully.
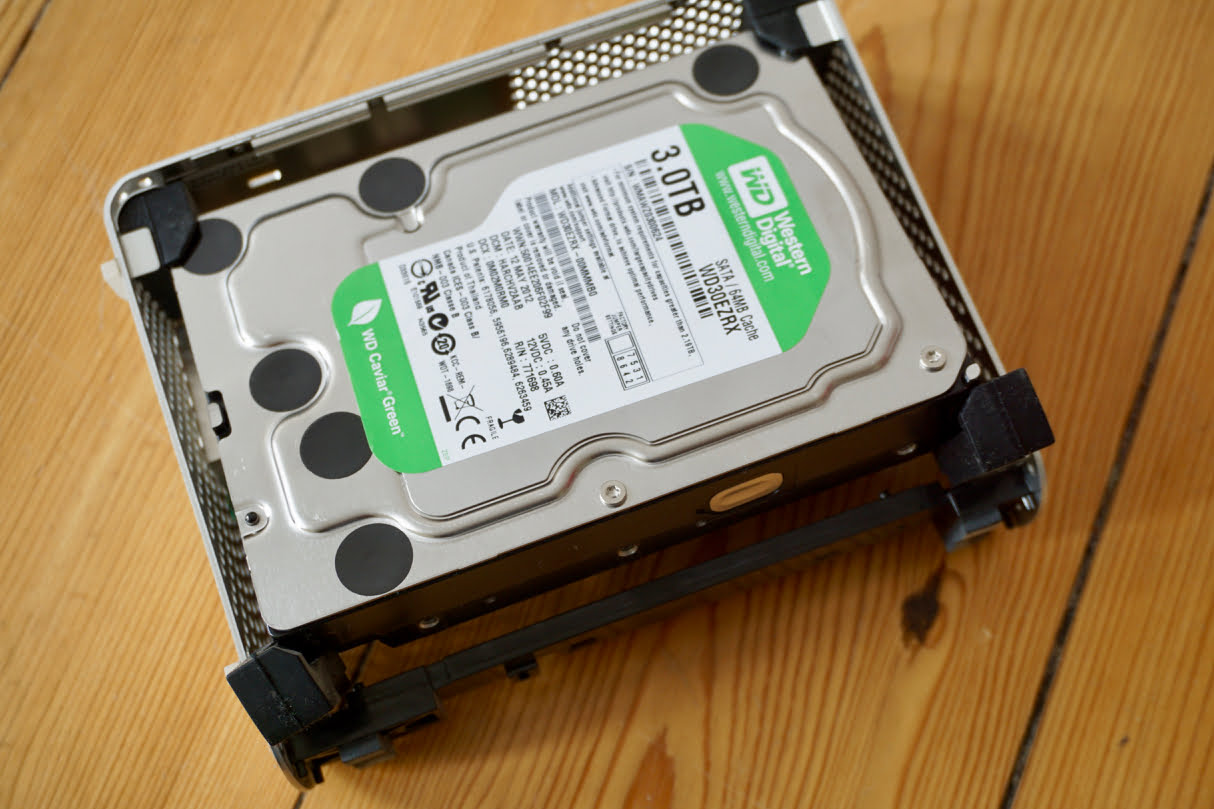
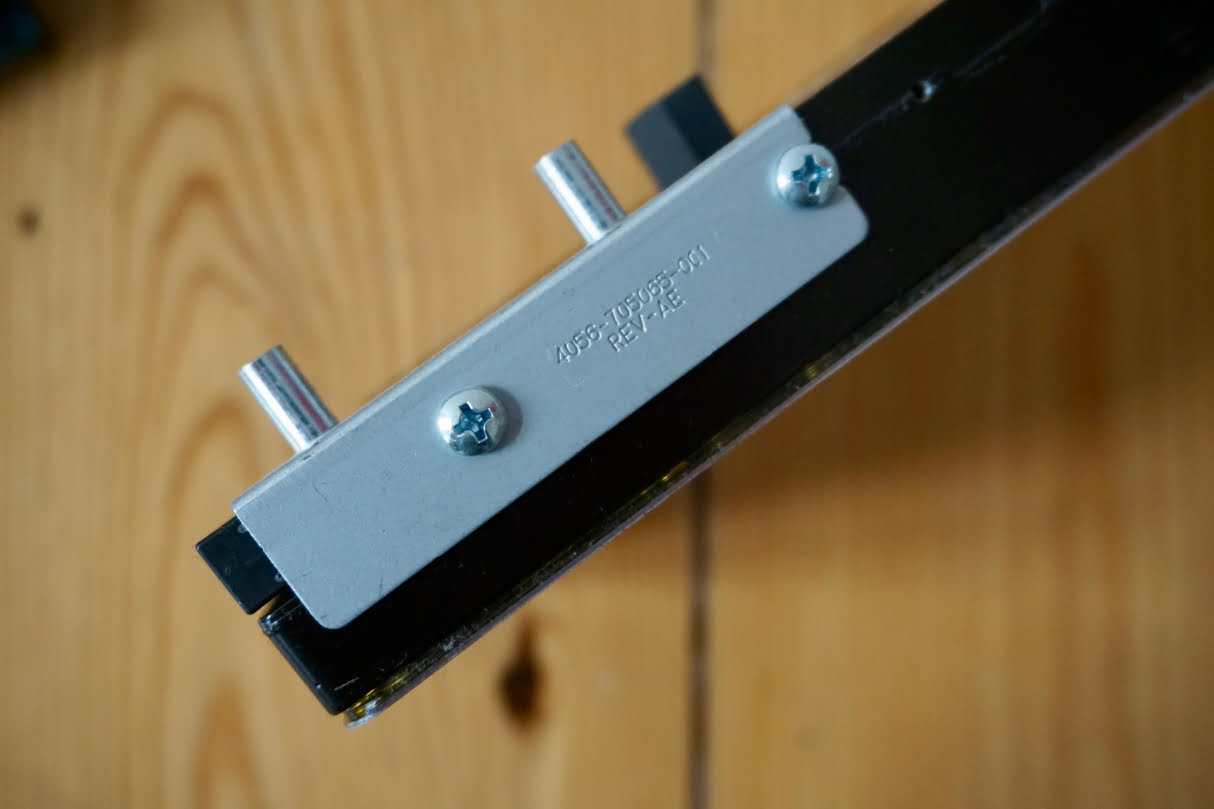
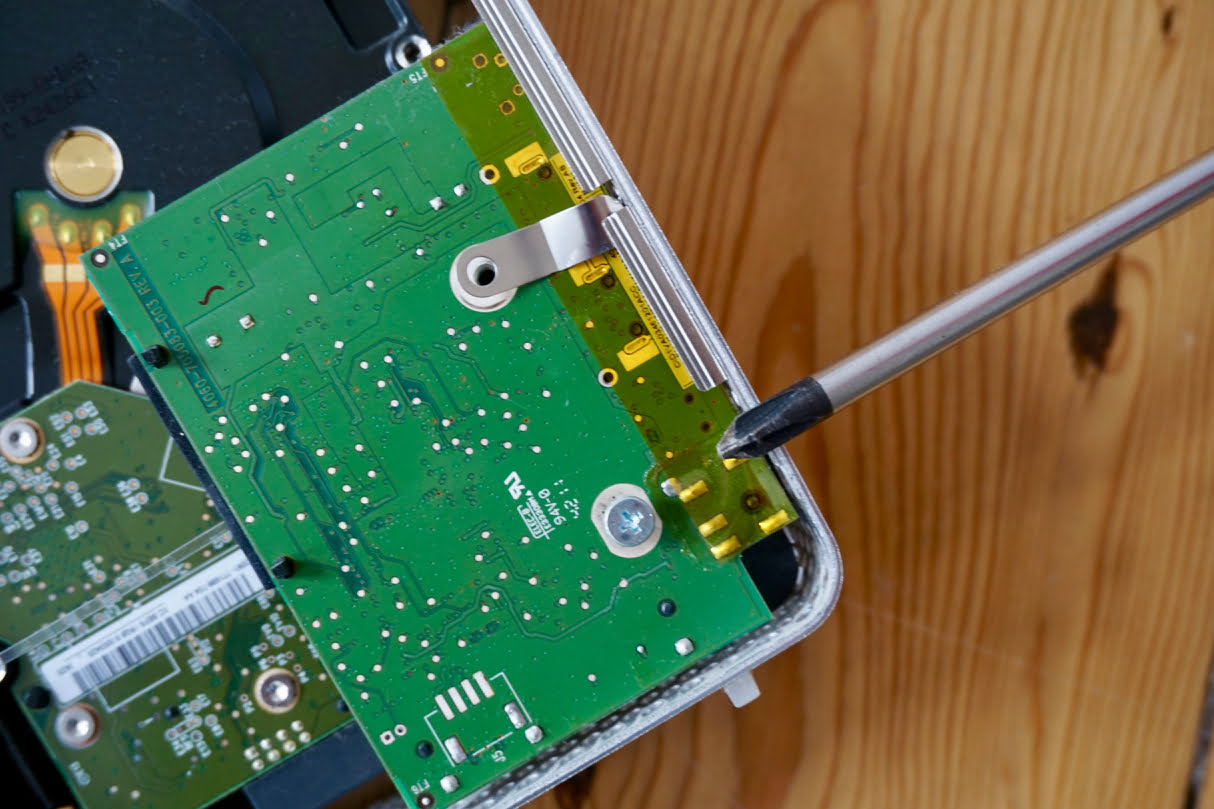
Now put the whole assembly in from of you, hard drive sticker on top. Press the hard drive’s side that is near the plastic structure of the case up. Remove the drive with the attached controller board. The rubber edges will fall off. If you don’t remember their positions don’t worry, every single one just fits in one position. As you can see, it is not a whole lot of pieces: besides the drive it is the controller board, the light guide, four rubber edges and a few screws. On top of that you will find a little metal piece which seems to be for grounding the assembly.
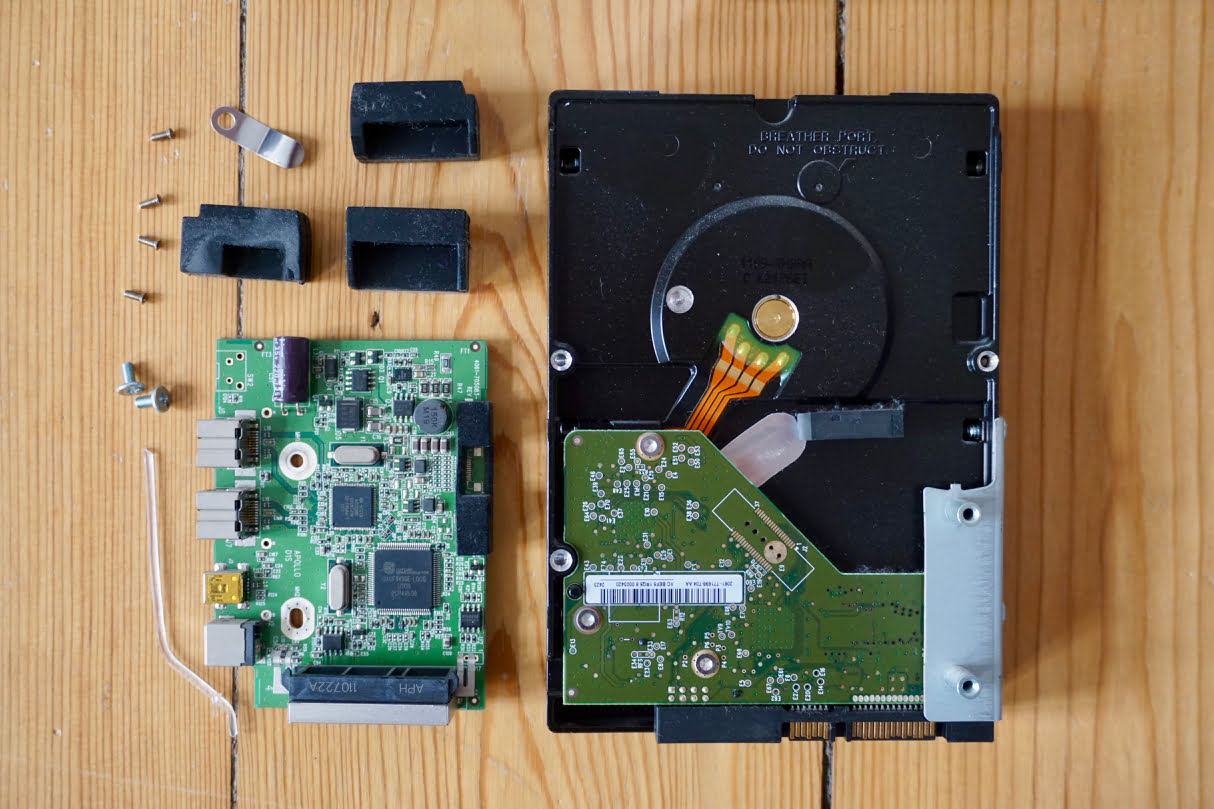
As you can see in the pictures, we removes the whole board and after that the metal bracket from the hard drive. This is not necessary and you can save some time. Just remove the two side screws and let the board be attached to the metal bracket. Just screw it on the new drive and you are done. Don’t forget the light guide! 🙂
We replaces the drive by another Western Digital model with the same size and this did’t result in any problems. Western Digital is famous for the fact, however, not to let drives from other manufacturers work in their enclosures. So if you want to try another brand, this may not work out.
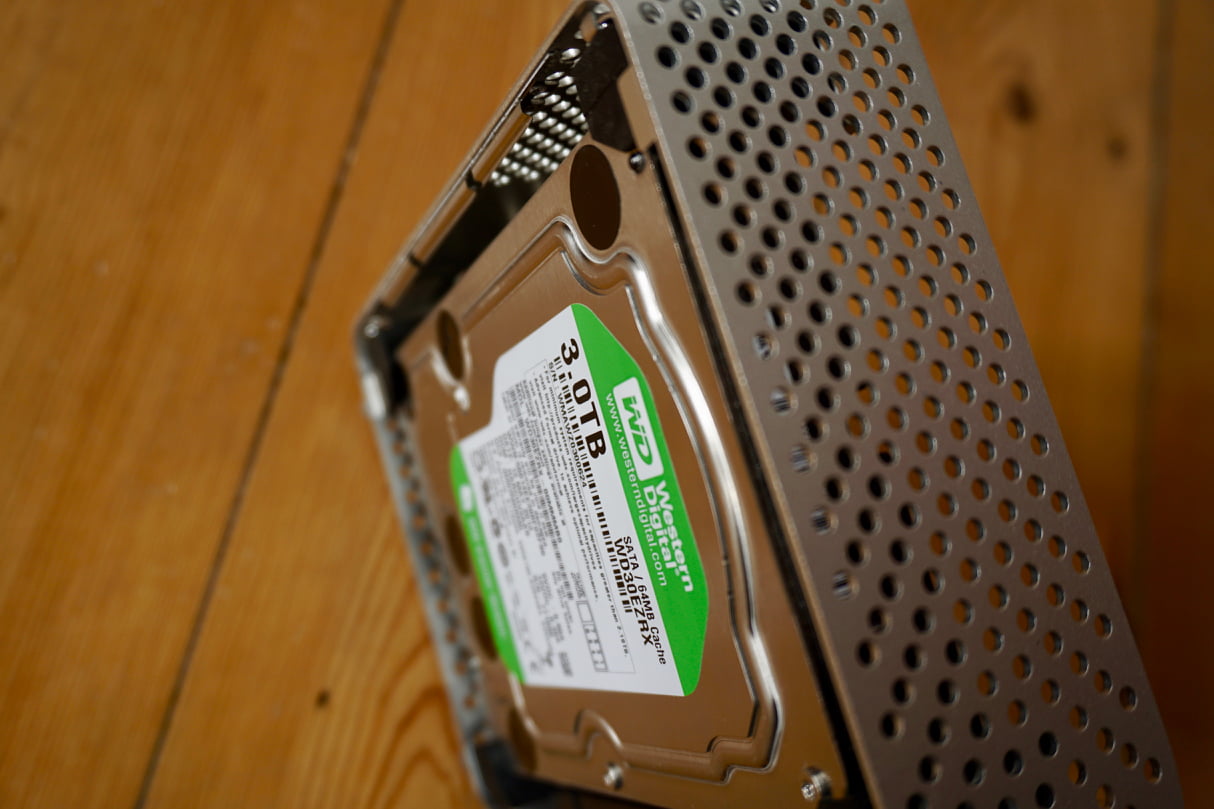
We also tried a bigger capacity, and the 4 TB drive worked well. There may be some catches, though: it may exist different revisions of the controller board, so yours may react differently. So please check the function before you built everything back together!
If you had some success, please share your experiences with us to help others! Thank you.