Here we show you how to set up a VPN connection on your Mac or iPhone.
Probably you just came from our article about the two best VPNs. There we have also briefly explained what you have from a VPN, here we would like to show you the setup with the two providers. Fortunately both apps are available for download, so you don’t have much work to do. If you are in a situation where you still have to configure manually because your employer might require it, then take a look at this manual. This is the manual way, which takes a little longer but also leads to the goal.
Configure Proton VPN and Windscribe on your Mac
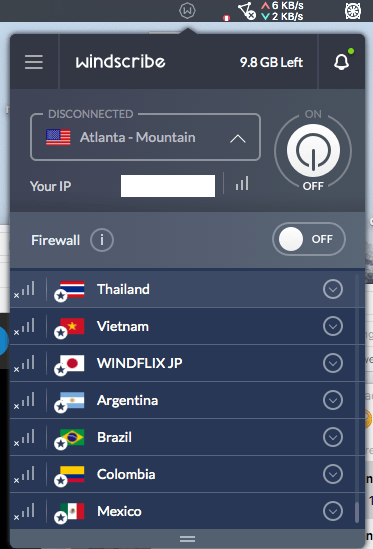
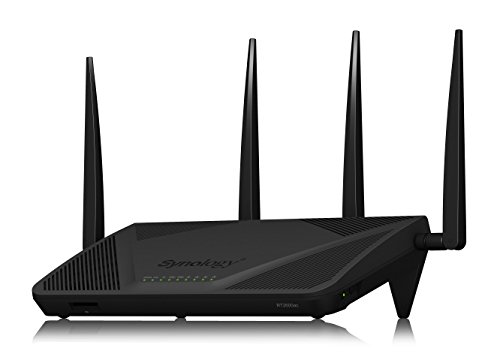
With VPNs, it’s easy to see how the technology is evolving: Now all you have to do is download an app and you can connect to the service provider. You can find the app for the Mac from ProtonVPN here, the app for the Mac from Windscribe here. With Windscribe you will notice that there is not only a system-wide app, but also individual plugins for the browser, so that only certain surfing sessions run over a VPN. There are even solutions for Amazon Fire TV, Nvidia Shield or Kodi. There are also instructions for routers running DD-WRT and Tomato.
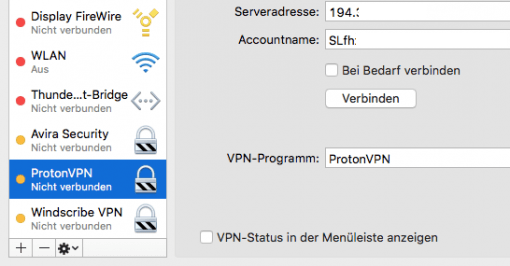
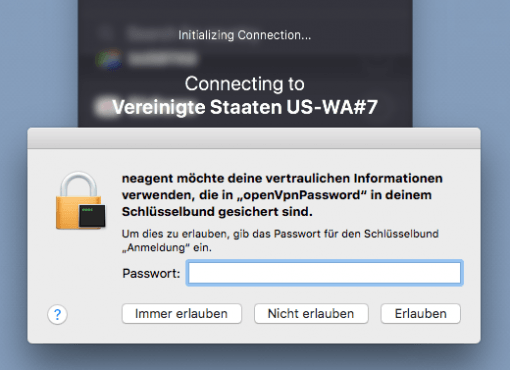
But back to the Mac: You just install the app like any other app. Since both VPN connections are newly created in the network settings and the corresponding passwords are also stored there, you have to give the permissions during the installation. If you change the country, a new VPN connection will also be created. So that you don’t have to enter your system password again and again, the VPN is simply allowed to do all future actions.
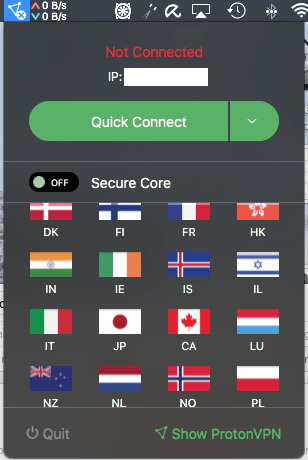
Now you can simply start the VPN program. Both nest in the top right corner of the menu bar. There you can select the server you want without further configuration. With this you have already established the VPN connection. You also have the option to load the programs at each restart.
Set up ProtonVPN and Windscribe on the iPhone
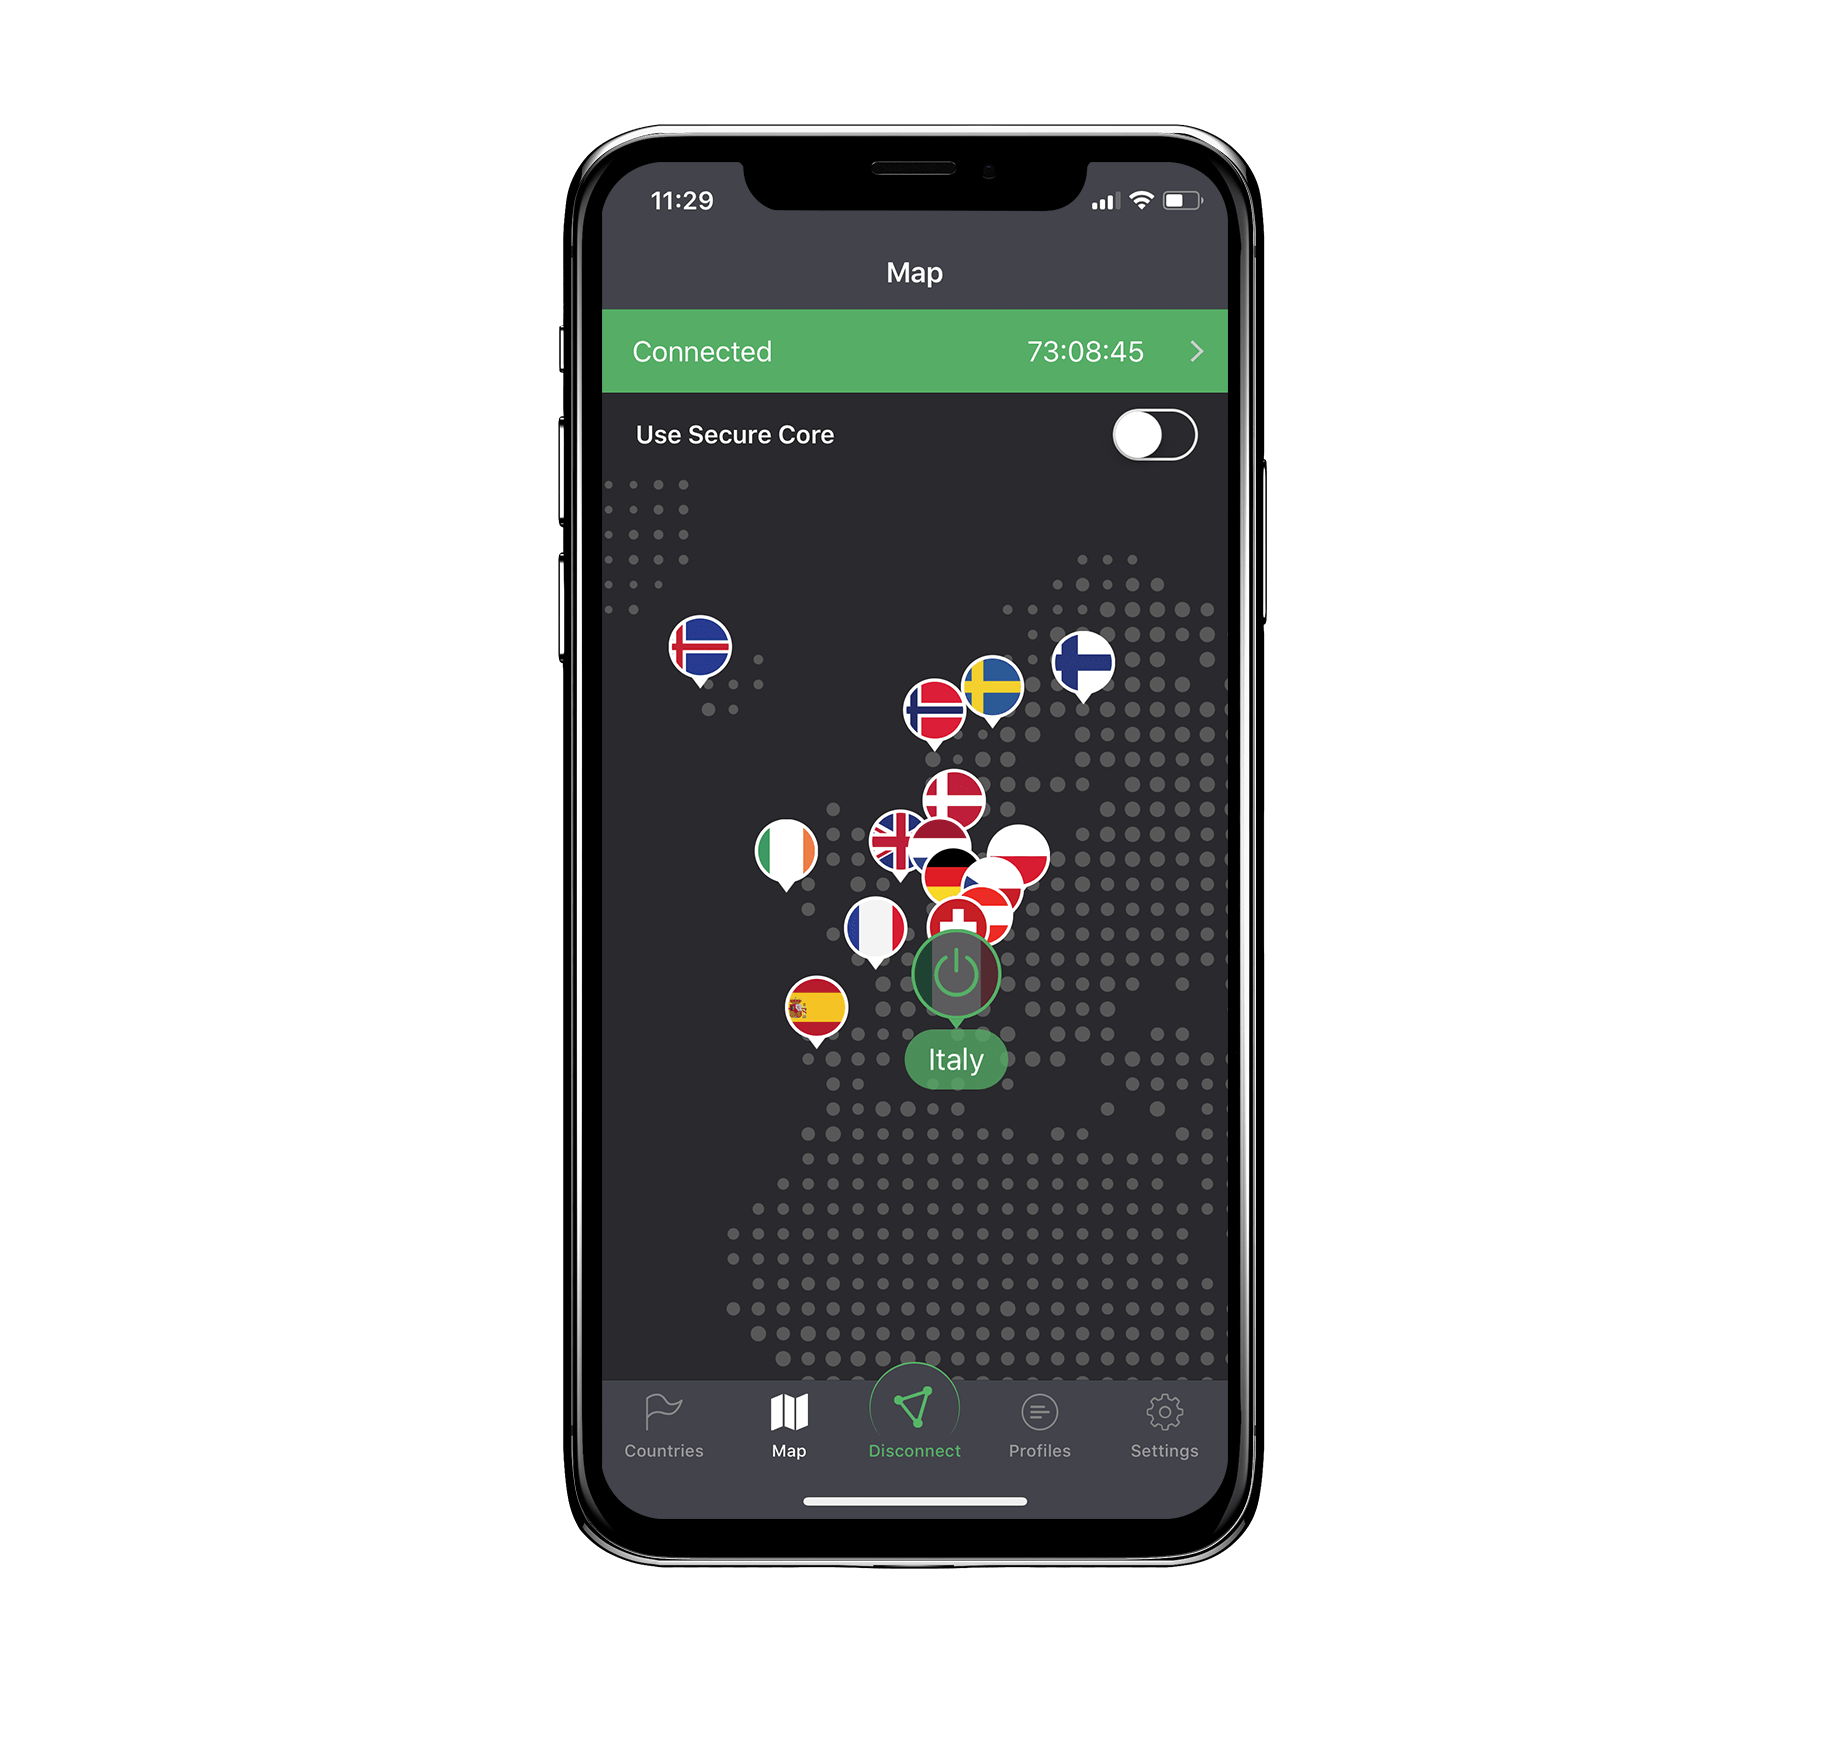
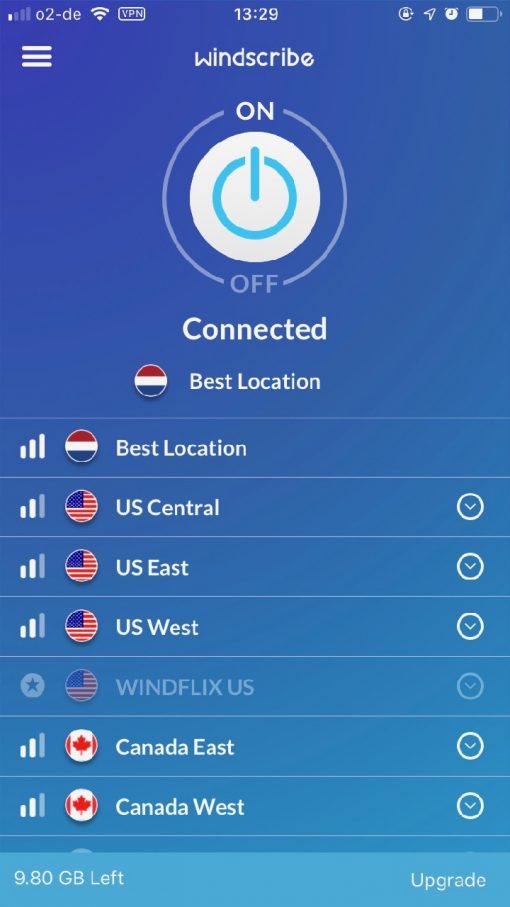
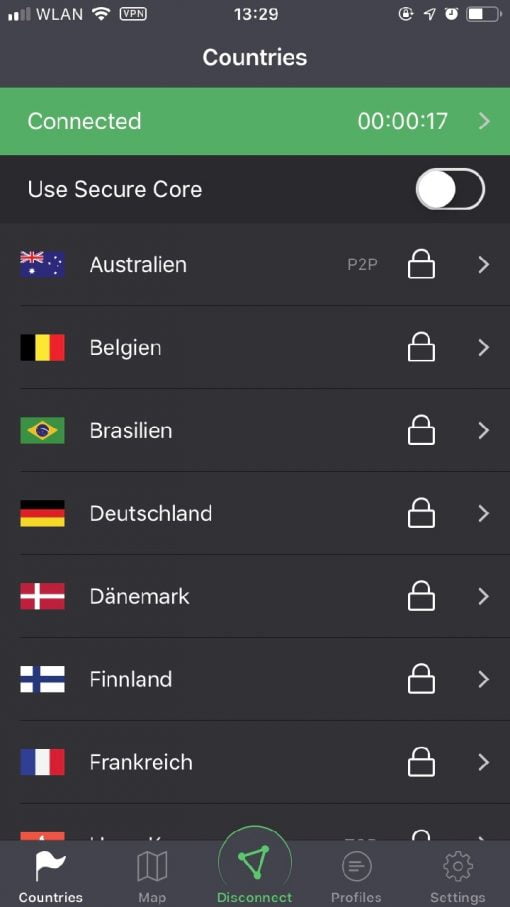
It’s even a bit easier on iOS: no matter if on the iPhone or iPad, for ProtonVPN you can download the app here, for Windscribe you can download the app here. Just install it and you’re done.
Within the app you can now select the server in the desired country and start the VPN connection. A bit annoying on iOS: if you switch on the VPN via the ProtonVPN app, the option “Always-on” is always set and cannot be switched off. If you try to switch off the VPN via the Settings > VPN, it will switch on again immediately. Nice for security, but sometimes unwanted. In addition, iOS does not always display correctly that it is switched on. The VPN logo appears in the menu bar, but it is displayed as “Not connected” in the settings themselves. But there is a workaround: if you switch on the VPN via the settings and not via the app, you can switch it off again. This applies to ProtonVPN as well as to Windscribe.
Now you have the possibility to surf the net via VPN on every device (here again the hints that this is especially useful in public WLANs). Already the free tariffs offer you some service. If you want more, you only have to pay a few bucks.
