Today we show you how you can increase your security while surfing, for example when you are using the free Wifi network in your favourite café or hotel.
Who doesn’t do it? The Wifi access is free, so one rather chooses that option than using the limited data plan. The security problem, however, comes masked as usability: the access to the network does not require a password and the connection is not encrypted. That means, that all data between your cell phone or Mac and the router’s antenna are accessible for everybody! If you are using good applications or HTTPS connections in your browser, then an encryption is established before the data leaves your device. Everything else though is free data for everybody who is interested in reading it. Maybe you log into a website that doesn’t offer HTTPS encryption: everybody could read your password. Not a good situation. That is why we show you how to configure your device to avoid these situations.
A VPN is your private data pipeline.
VPN stands vor virtual private network. It is called virtual, because you are of course still using the normal internet’s infrastructure, but we make sure everything is encrypted before data gets send out. Just imagine some little data packets that DHL would deliver. When sent over the normal internet, everybody could see the packets, open them and have a look in them. To avoid that, we build a pipeline, a private one, that delivers the packages. Everybody knows that packages are going through there, but they are protected by the pipeline. This pipeline is made possible by encryption.
What we need now is somebody who is able to build such a pipeline for us. This is a VPN provider. A VPN provider offers us some servers to which we can establish an encrypted connection from our iPhone or Mac. So between our devices and the servers the connection is completely safe. The good thing: Mac and iPhone already have the software on board to get started.
Invest five minutes of configuration and be safe everyday!
To explain the level of security we’d like to establish here: we want to avoid to get our traffic sniffed when using an open accessible Wifi connection, before it gets to the internet. That would be everybody who is logged in the same network as you, when it is not encrypted and/or has no user isolation. So with a VPN you would be back on the same level as if you would use your own cellular network.
This guide is not for anonymous surfing or avoiding all NSA supervision. This is just to establish a ground level of security, which is very important to make things not too easy for identity theft for example.
Let’s start: first off, we need a VPN provider. You will find a lot, just google an pick one that suits you. We tried traceless.me, because they offer 5 GB of free data transfer. So if you are in an open network just every now and then, you may use the service without any fee. If you need more, you can get an unlimited data plan for around 6,50. Furthermore, the support is very nice and competent and tries hard to solve your configuration problems.
Configure a VPN connection on macOS.
For establishing a VPN connection you have to identify yourself when logging into the server and your VPN account. Loggin in to your account is as easy as it is when using your eMail account: just your name and password. As we want maximum security tough, we in addition choose two-factor authentication. That means we also will use a certificate. The server authentication can be done by a shared secret (another passwort), too, or also via certificate. This just takes a bit more time but is better, because it avoids Man-in-the-Middle-attacs and in addition makes you King of the Hill. We show you the latter, as we do the configuration once and the certificates a valid through 2025. So we will use two certificates as well as name and passwort as second authentication for our account.
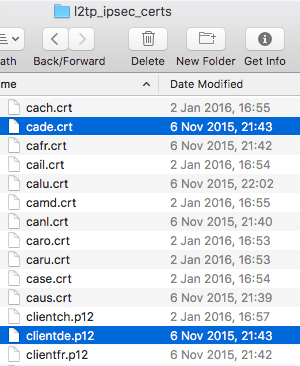
For traceless.me you download a whole certification package – it is named l2tp_ipsec_certs. Unpack it and have a look: You will ca**.crt and client**.p12 files. The fist group is for the server authentication, the second group for our account authentication (we are the client). But what certificate to pick? Well, that one with the correct country code. So for the USA caus.crt and clientus.p12 will be the right choice. For adding them to the system, double click first on caus.crt and then on clientus.12. Please do it in that order, not the other way around!

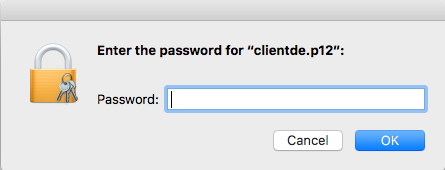
While installing, macOS will ask for your system passwort (which you know hopefully) and once for the certificate passwort, white for traceless.me is (haha) traceless.me. The keychain should open and you can see which certificates are installed.

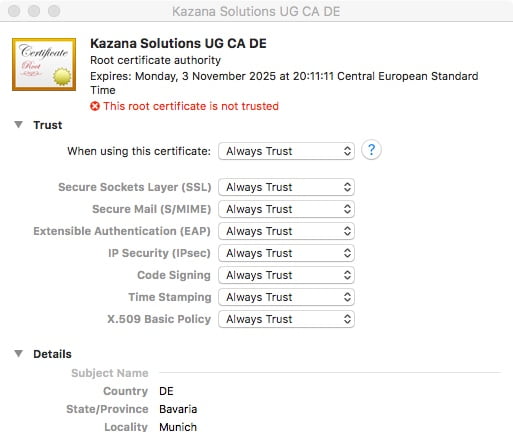
As we installed the certificated manually, we have to say the Mac that it is ok to trust them. Double click on Kazana Solutions UG CA DE (the one with the red dot) and choose “Always trust”. Close the window. The dot is now blue. Now our system can connect with the server and knows who we are. Essential for a secure connection, which we will configure in the next step.
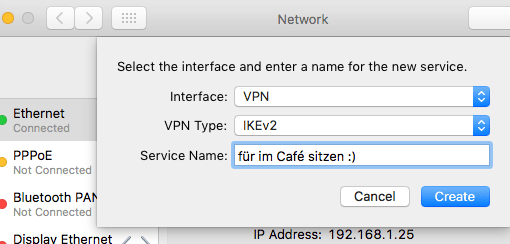
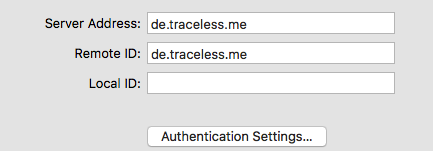
We close keychain and go into System Preferences > Network and click on the plus sign. We can now add a new connection. We chose IKEv2, an up-to-date protocol that is also supported by other Apple devices. We then also add server address and Remote ID, with are us.traceless.me for the US servers. Local ID stays empty.
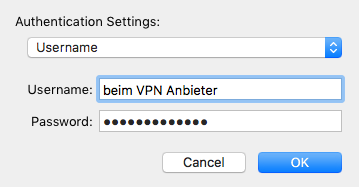
Now choose Authentication Settings and then Username und Passwort. We do not pick certificate, because we have decided for Two-factor-authentication: the already installed certificate gets used automatically for our account. That’s it! Try it our by clicking on “Connect”! From now on, you do have an encrypted connection to traceless’ servers and you can use open Wifis now. If set the option to show the VPN symbol in the menu bar, you can switch the secure connection on whenever you need it.

The downloaded certificates are for the specific server in that country. So certificates for the US server do establish a connection to them. If you like to end your virtual private network in another country, say Germany, you just use the German certificate, too. Name and password are the same, as they are not bound to the server, but your provider account.
Certificate Install: Problems on macOS – Unable to import. Error -25294
If you have trouble installing the certificate in the keychain, you may get this error:
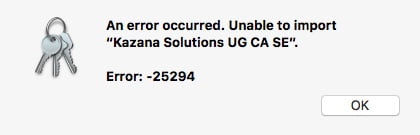
Have a look at the folders on the left side. It can happen that there are multiple empty folders with the same same. Keychain then wants to add the new certificates there, which does not work, because they have to go into “Keychain/System” and “Category/Certificates”.
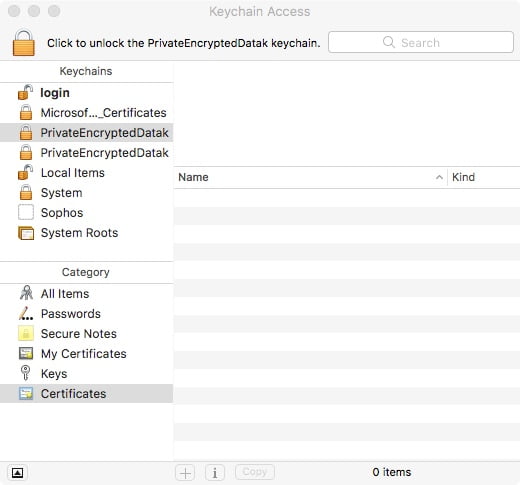
That’s why you just delete the empty folders and start over.
Create VPN-connections on the iPhone with iOS
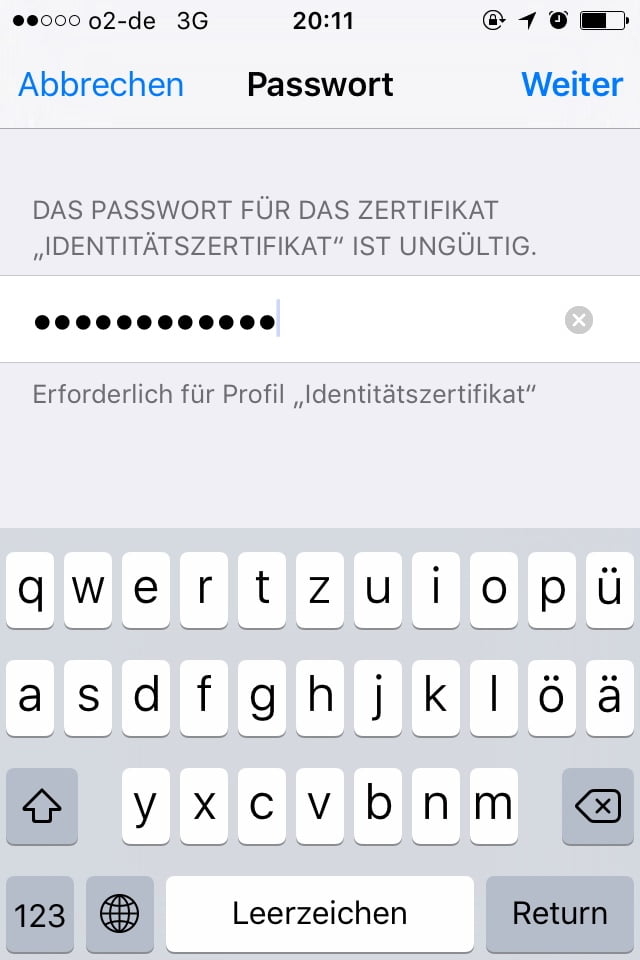
Now that your Mac’s connections are safe, we do the same with your iPhone. We just need to install the certificates here, too. The import is even simpler than on the Mac. If you are at the Mac, just send yourself the two picked certificates via email. On the iPhone you open the mail and tap first on the ca**.crt certificate to install it (with you PIN) and then the other one with traceless.me as password. Done!

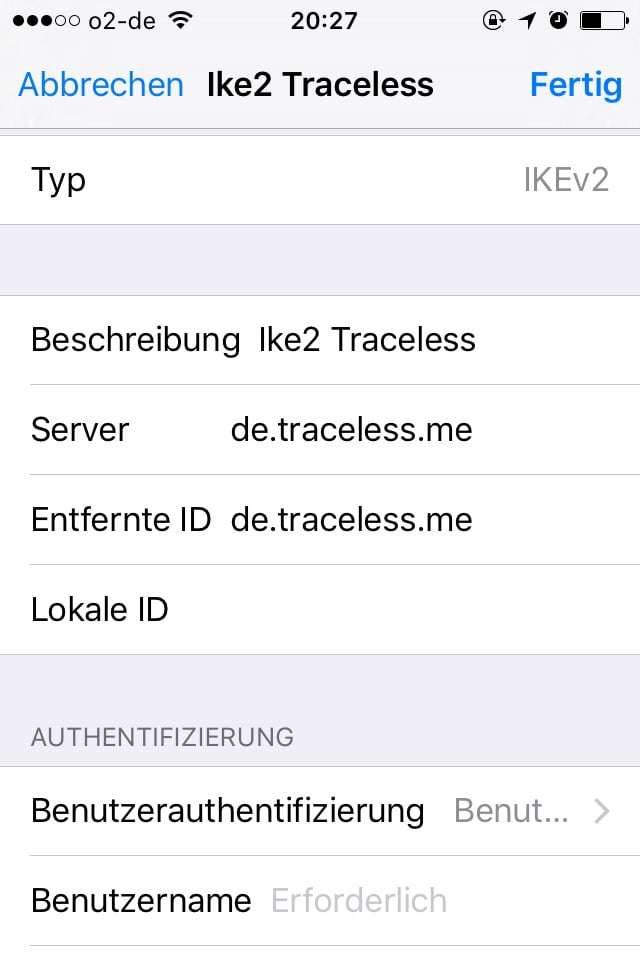
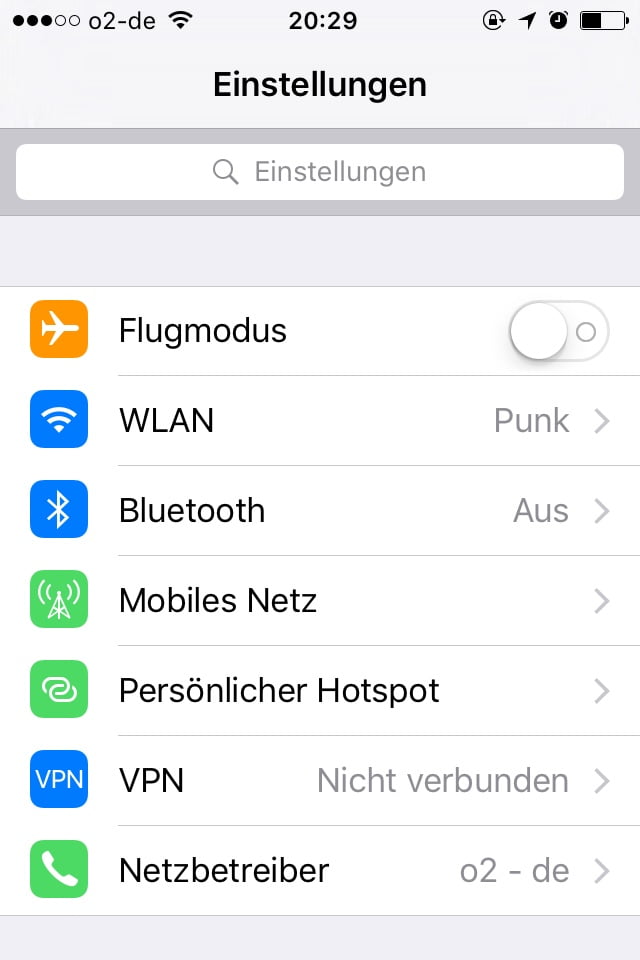
Now you create a new connection. In Settings > General you will find VPN and then create. Our choice is the IKVe2 option. We type in de.traceless.me as server address and Remote ID, like on the Mac.
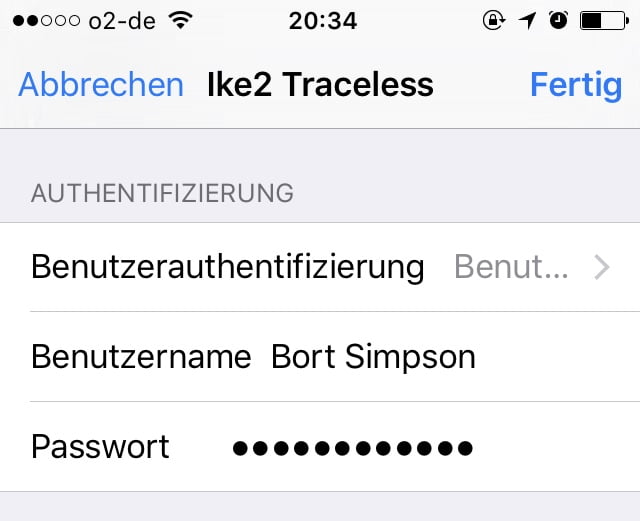
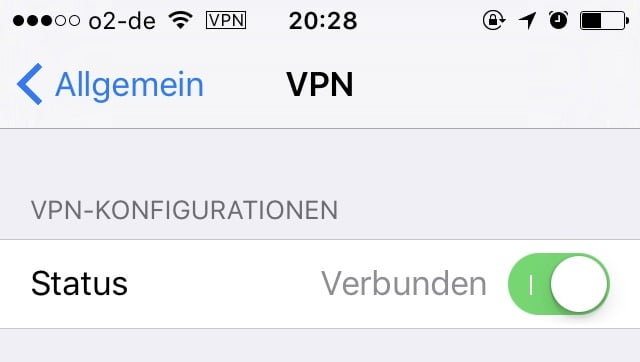
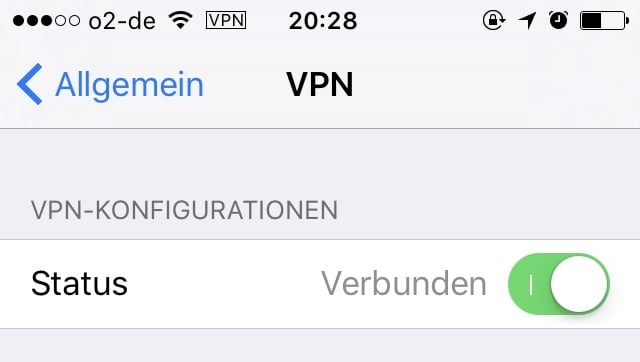
Now here is a point where the iPhone is a bit more comfortable: we also use the certificate for the connection, but everything happens automatically in the background. As we use the Two-factor-authentication for our account here, too, we chose again username and password for authentication! Switch on the VPN connection and try if it works fine. In the menu bar, you shall find a little square that says “VPN” in it. Apple was so kind to also create a new menu entry in the settings, so you can switch a VPN connection on and off easily now.
Secure VPN connections for open networks, in which you want to keep your data private.
With this configuration you are surfing securely now in public Wifi spots, airport and hotel networks. You just don’t should forget to switch it on! You can let them activated all the time, of course, but then you maybe need the option for a bit more traffic with your provider. When using the iPhone in an open network, your first impulse should be to activate VPN.
VPN provider in this example: traceless.me