The map lite is small and light and brings the Internet from the cable to the WLAN. However, the Quick Set setting that Mikrotik provides for it has a bug when used via the web interface. We will show you how to quickly turn the small router into an access point without having to install WinBox.
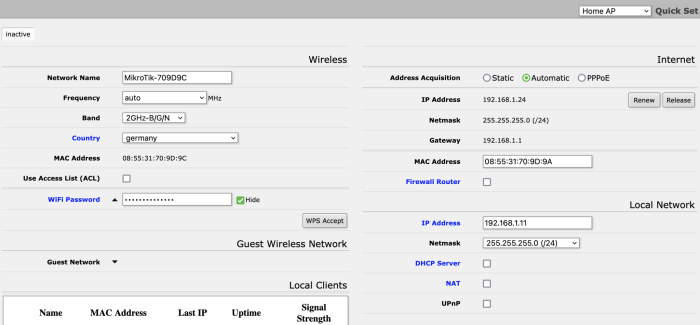
First, connect to the open WLAN and then go to “Home AP” in the Quick Set options.
There you can set everything like in the screenshot (hint: turn off WPA for WLAN later as shown in this tutorial, it’s not secure by now). Leave the topmost address on Automatic, for the lower one you enter a corresponding and still available one for the device as static one.
Then click on Apply Settings. Now the situation arises, that your Mac doesn’t get an address and therefore the router is not reachable anymore. This is due to the fact that the Mikrotik has set up a firewall for us in spite of NOT setting “Firewall Router” and furthermore still keeps the separation of LAN and WAN.
So now you give your Mac a fixed address in the respective address range and so the router is reachable again (for example under 192.168.1.11 as in the example – your Mac can then have e.g. 192.168.1.22).
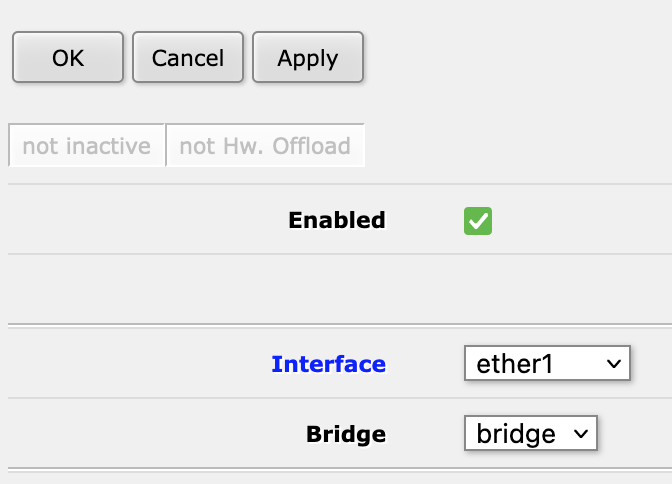
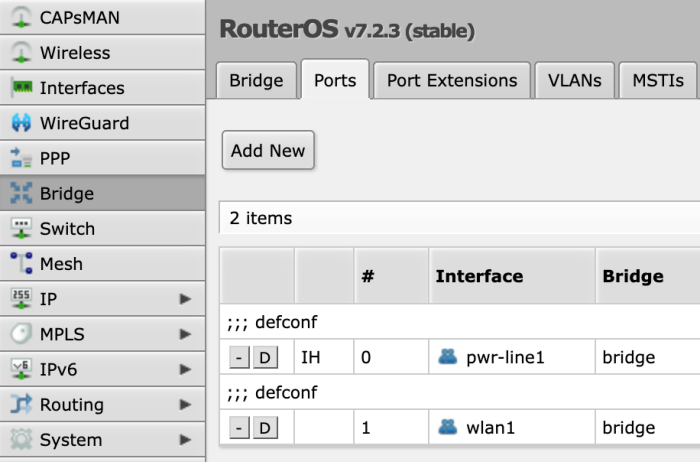
Now go to Webfig and there to Bridge – Ports – Add new.
Then add ether1 to the LAN. With this you dissolve the separation between WAN and LAN. Done!
