If you ever want to establish a PPPoE connection to your Internet provider directly from your Mac, you can do so with a few simple settings in the system preferences if you have your access data at hand.
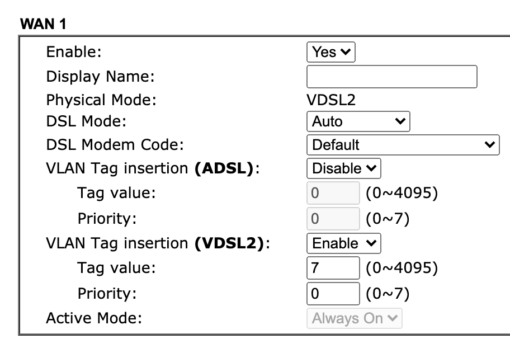
In this example we assume that the modem that connects to your provider sets an appropriate VLAN tag if your provider requires it (Deutsche Telekom for example wants to see a 7). This tag is not directly applicable in macOS (if you know more, please comment below and make us all smarter).
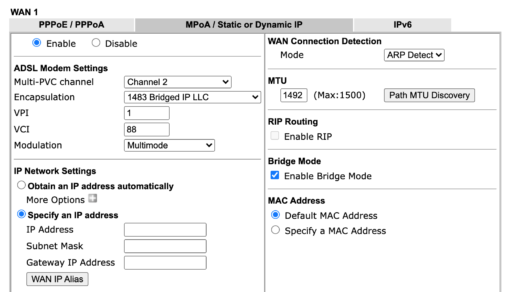
The modem is set to MPoA Bridge Mode and inserts the VLAN tag
.
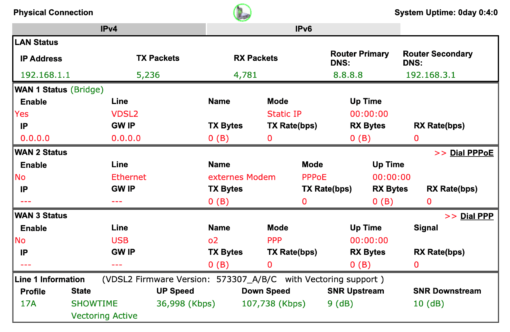
Furthermore, you should note that the modem or modem router has not currently established a connection to the provider itself. Some allow multiple connections (dial through in the modem), but charge insane amounts for a second, parallel connection. So watch out!
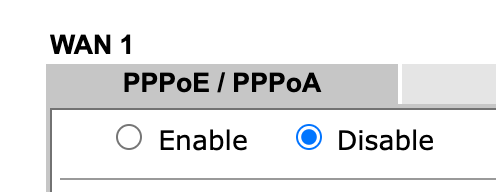
It is best to turn off the PPPoE dial-up of your modem and set it to MPoA in bridge mode, then the whole logon process is done by the Mac. The VLAN tag is still inserted by the modem.
Setting up a PPPoE connection on macOS is easy
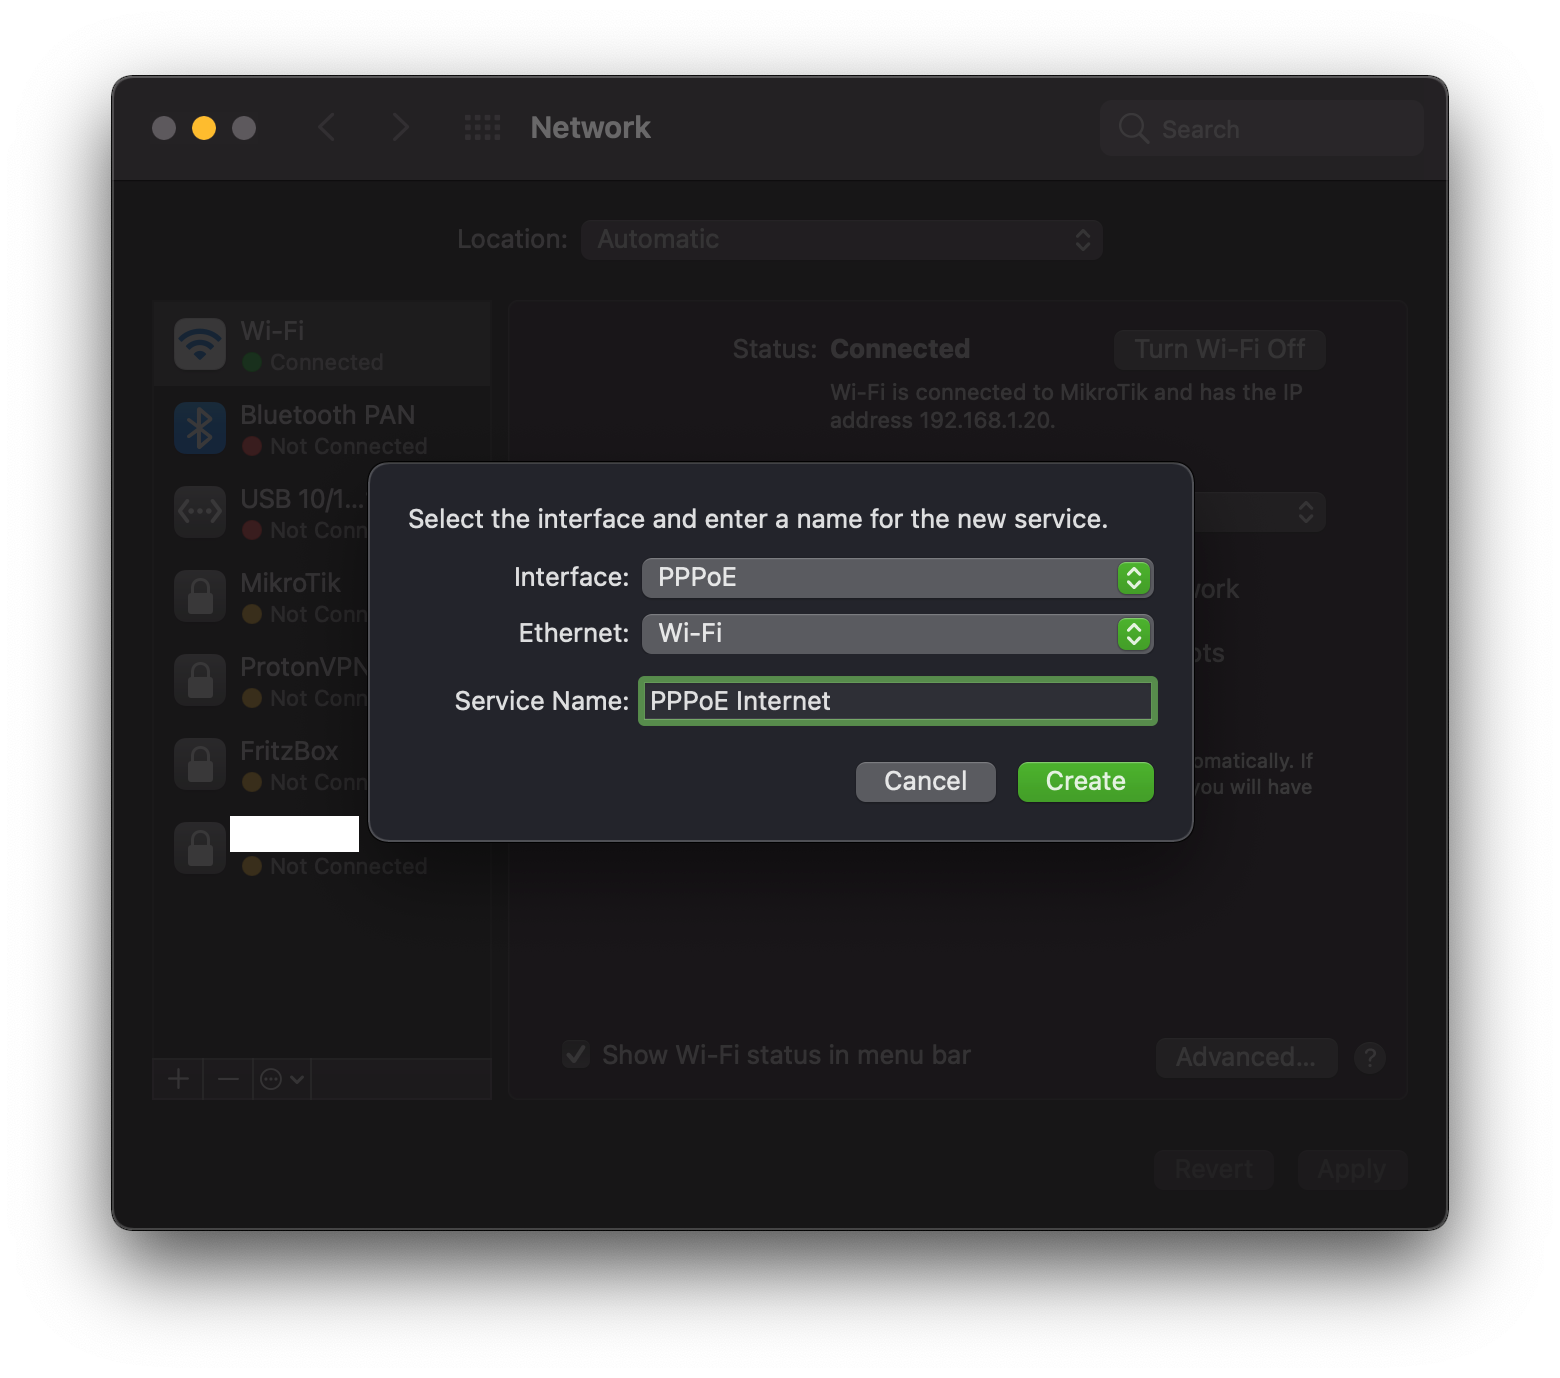
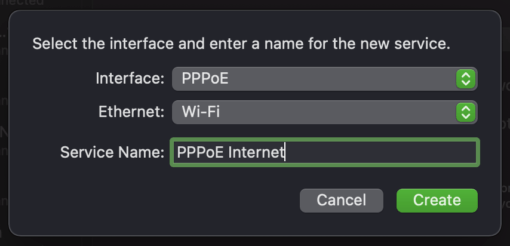
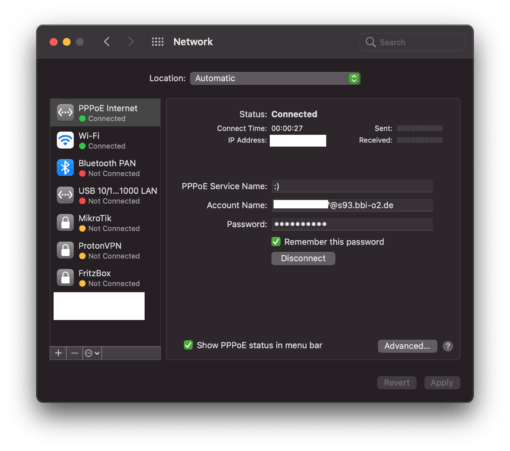
On the Mac the settings are extremely simple. In System Preferences > Network you simply create a new connection by clicking on the plus sign in the lower left corner. Select “PPPoE” for this. Then enter the username and password for your provider connection and you are in the network!
A router with current updates is always better
This tip is practical if you have a separate modem router combination and the router gives up the ghost. Then you come so at least transitionally into the network. But be careful: There is then no router firewall between you and the network, only the macOS firewall (System Preferences > Security > Firewall). So make sure that you always have a router with current updates between you and the Internet.
