You have a Synology or Qnap NAS and want to connect it to your network via WLAN? Nothing could be easier.
A common reason is that the NAS with its 3.5″ hard disks should be located where the operating noise is not annoying (in the basement or attic) and there may be no Ethernet connection but only power. So the only way left is to connect to the network via radio wave.
Connect Synology & Qnap NAS via WLAN
Many NAS professionals will now say: “Oh dear God!”, “A NAS via WLAN into the network – what a nonsense: that will never run stable!” and we have to agree for one scenario actually. And that is for the connection via WLAN stick. Synology has officially discontinued support for this, Qnap still has it, but even when we bought the sticks mentioned in the detailed compatibility list, we only had problems. Either they didn’t run at all, the right hardware revision was no longer available or after a reboot they simply didn’t log on to the Wifi anymore.

After a few weeks of testing, however, we have now found that the WLAN connection can be very stable if you do it right. After all, if the NAS connects to the network via WLAN, why should that be worse by definition than when the computer accesses the wired NAS via WLAN? Exactly.
A WLAN router builds a bridge to the NAS system
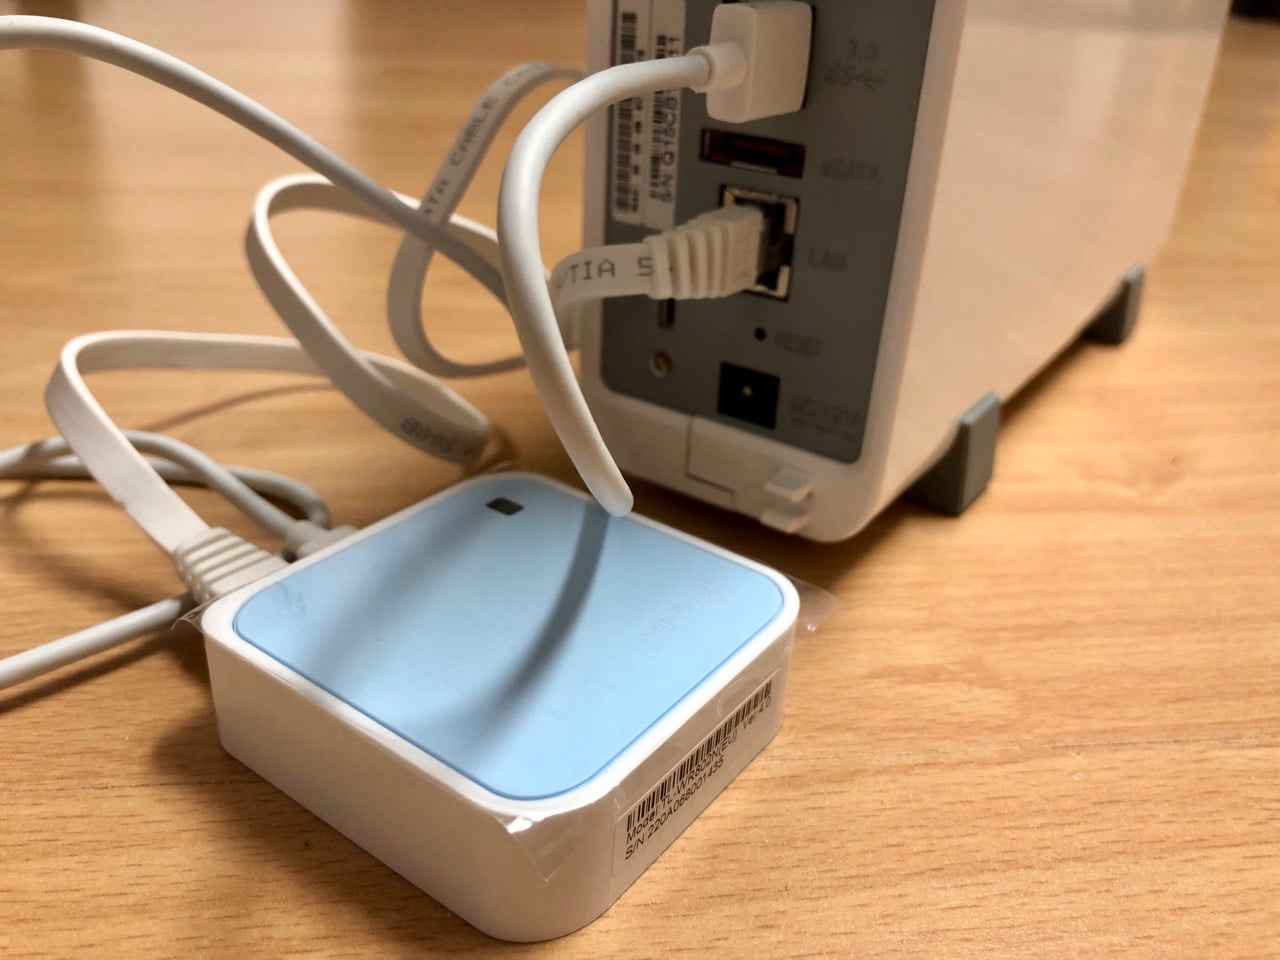
The right approach is simply to say goodbye to the NAS’s built-in WLAN function and get a device that specializes in it: a router. In this example, we decided to use the small TP-WR802N travel router from TP-Link. This router offers a maximum speed of 100 Mbit/s (limited by the network port), which is about 12 MB/s, but it can reach this speed through a few walls. The small router transmits on 2.4 GHz and also with a width of 40 MHz, so it reaches a net speed of about 150 Mbit/s, which is enough. Even if you don’t want to take bandwidth away from your neighbors and limit the channels to 20 MHz width, the maximum speed through a wall should still be reached.
[amazon box=”B083W6328Q, B07ZKSLVT5″ description_items=”1″]
10-12 MB/s are of course not very fast, if it is much faster otherwise. So you can of course do the idea of the WLAN client with a more mature or bigger router that can do more speed, or for example also with DD-WRT variants – the procedure is the same. In our case, however, the NAS is mostly used on the road via VPN and 100 Mbit/s is good enough for a fiber optic line in the upload. In addition, the small router requires very little power and can be powered directly from the NAS with the included USB-A to micro-USB cable. This again saves a power supply in the wall.
Now that you know that you can simply connect a router to the NAS as a client, let’s get to the configuration of the TP-Link TP-WR802N. At the NAS you do not need to change anything, because this still thinks that it comes by cable into the network (which it does up to the small client router).
Instruction: Router as WLAN Client for Synology & Qnap NAS
The first step is to log into the WLAN of the TP-Link (how to do this is in the instructions – but you should also immediately notice it in the list of new available networks on your Mac). Then you run the wizard for setting the router as client. Connect it to your WLAN and give the router a static IP in your network. Since our NAS has the fixed address 192.168.178.5 we gave the router 192.168.178.6.

Once the device has rebooted, go through all the settings again manually. After all, wizards do not always work without errors and a second check is always good. The following settings should be available or will be done by you now:

The static IP should be the one mentioned, the gateway should be the one of your router (which usually ends with .1), the subnet mask should be 255.255.255.0 as usual.

At the WLAN settings you can check again if you have found the right WLAN.

And in the DHCP settings just set the option to “Disable”. This seems strange at first, but the router simply passes the connected device and the router takes care of the address assignment (or the NAS gets the preset fixed address, which we would recommend).

If everything is set correctly, you can restart the router and then connect the NAS. In our FritzBox, the NAS with 192.168.1.5 now appears correctly and can be addressed, just as it was planned. The router under 192.168.1.6 does not appear in the FritzBox, but can be reached correctly if any changes are to be made. So we have reached our goal to bring the NAS into the WLAN.
IPv6 capability is available for connected devices
One more thing to mention is that the small TP-Link does not display IPv6 settings when this is configured as a client as opposed to the scenario as a router. Nevertheless, it correctly passes IPv6 addresses from the actual DHCP server (your main router). So we could see in the settings of our Qnap that an IPv6 address was also assigned and access through it was also possible.

Note in this case that a VPN over IPv6 is currently only possible via OpenVPN on a Synology, not on a Qnap yet – here the device can only be reached in the home network via IPv6.
[amazon box=”B00TQEX8BO” description_items=”5″]