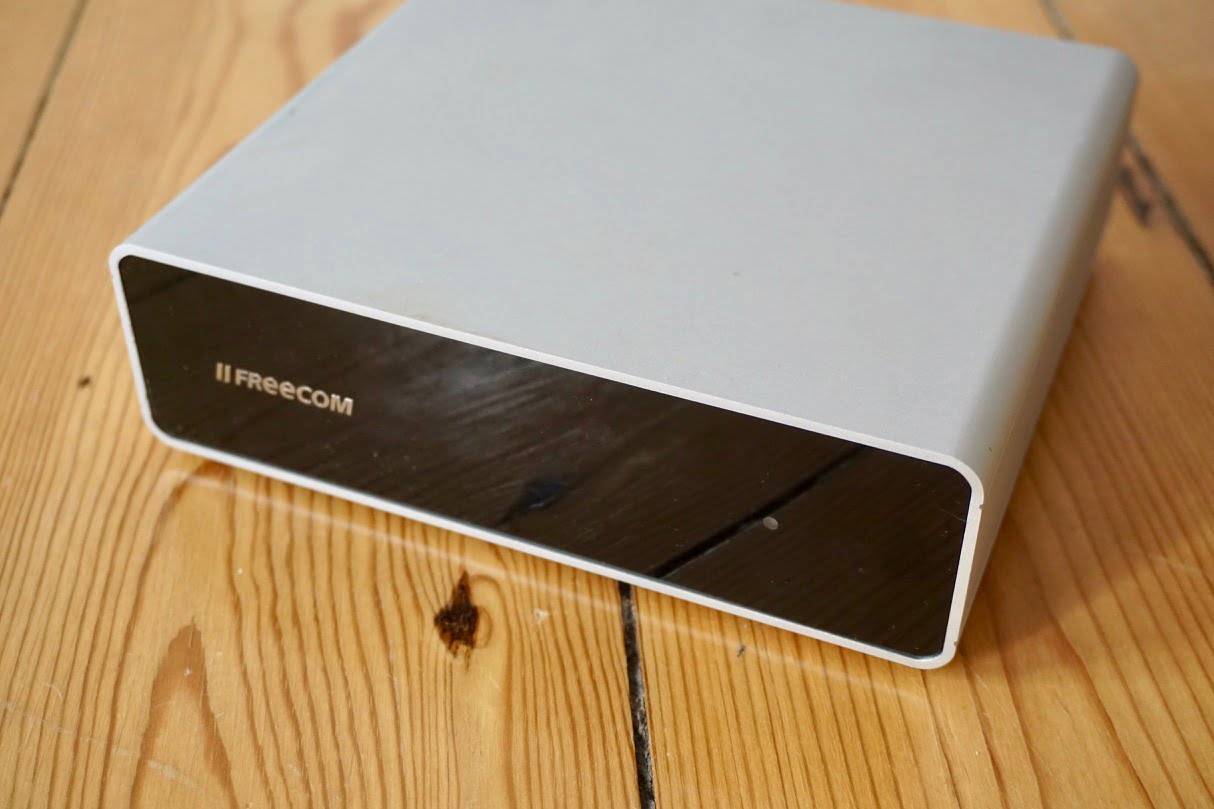
You own a Freecom Quattro external enclosure with a broken hard drive in it? We show you how to replace it.
Replace 3.5″ hard drive in Freecom Quattro enclosure
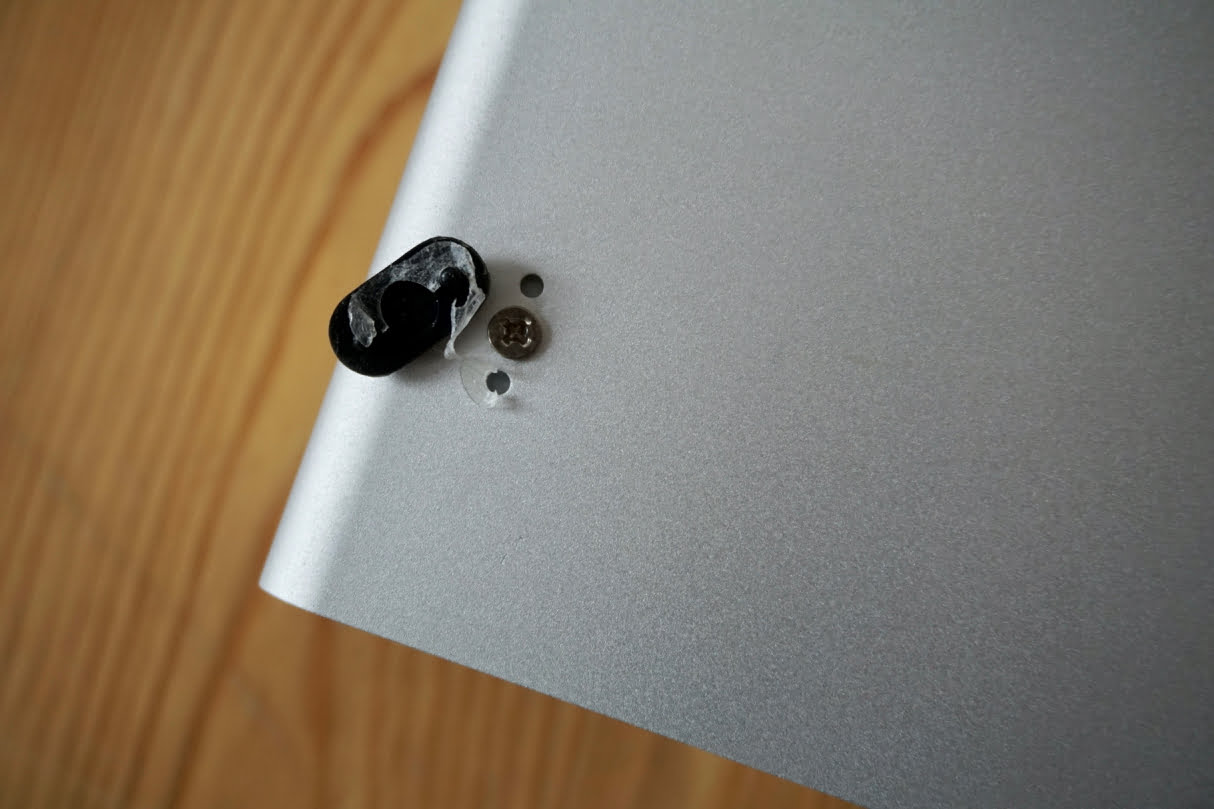
You can open the enclosure easily, after you found the four screws hidden under the rubber feet. Remove them using a Philips head screwdriver.
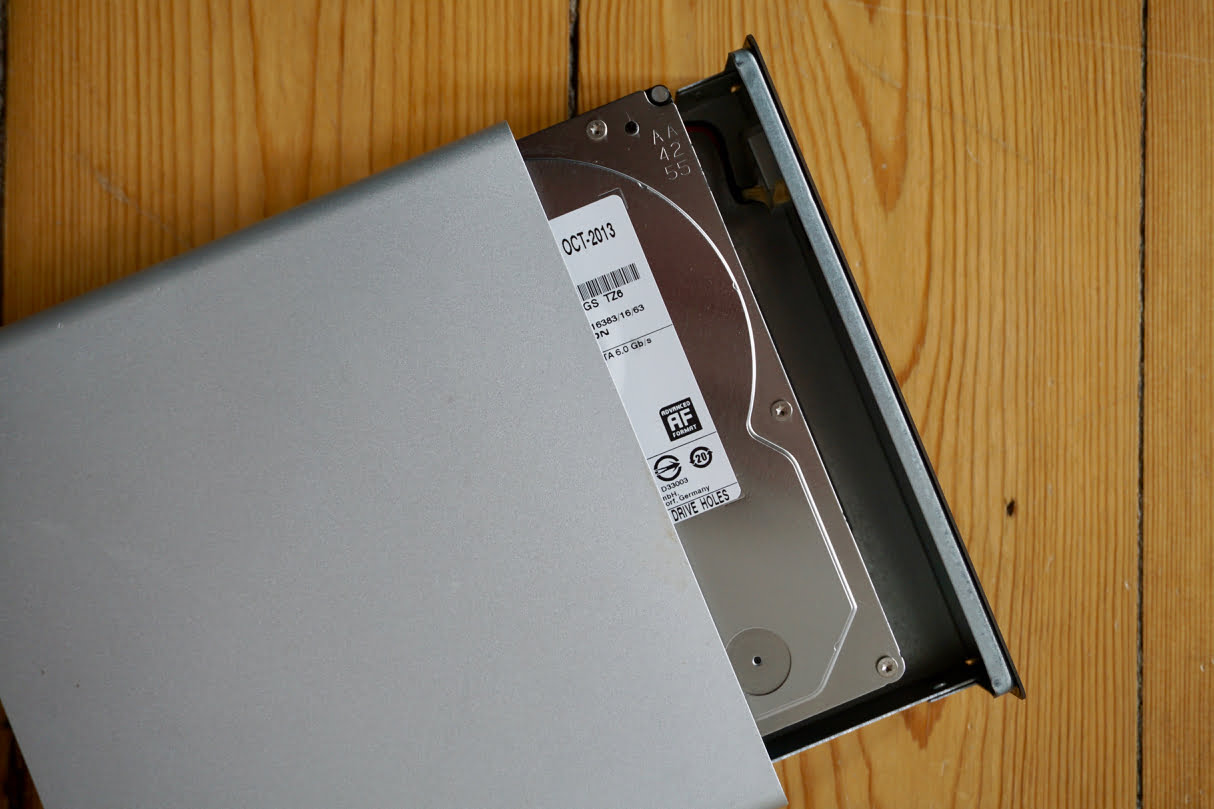
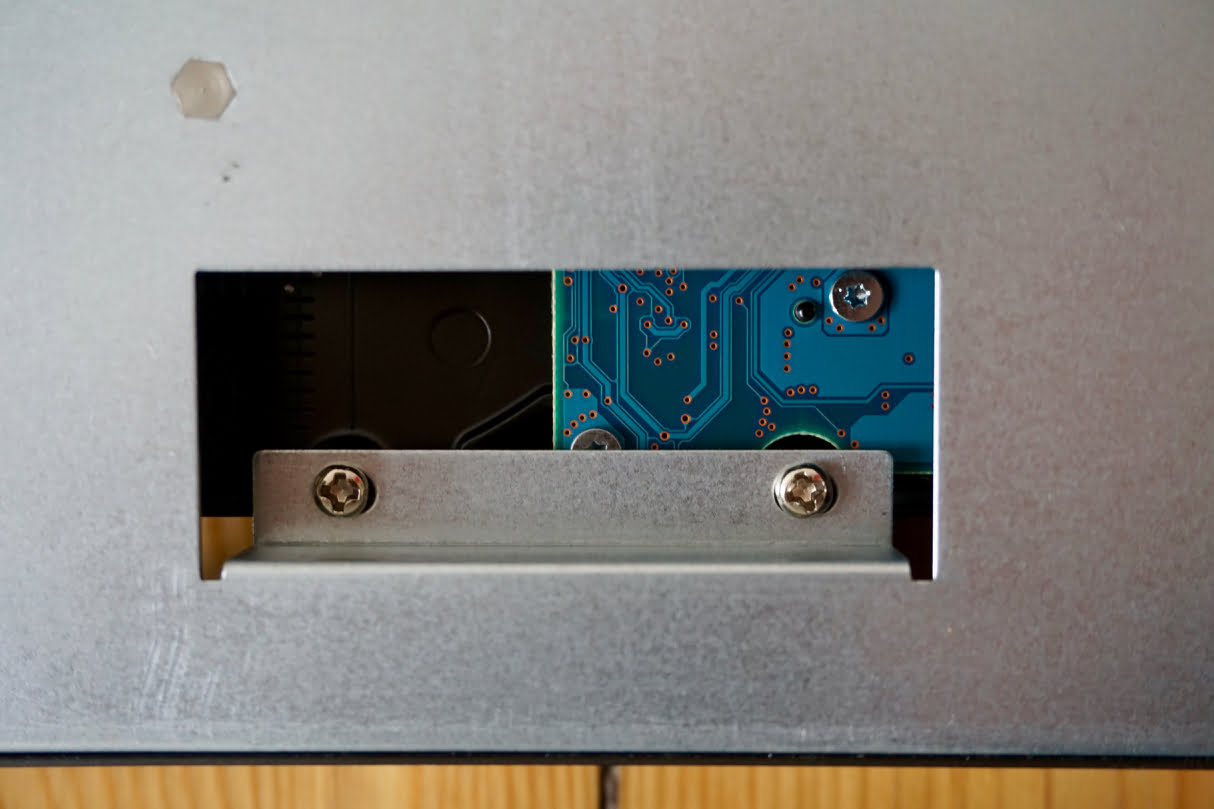
After that, you can move the inner construction out of the aluminum body. On the underside, you will find four screws again, one under a warranty label. Remove all four of them.

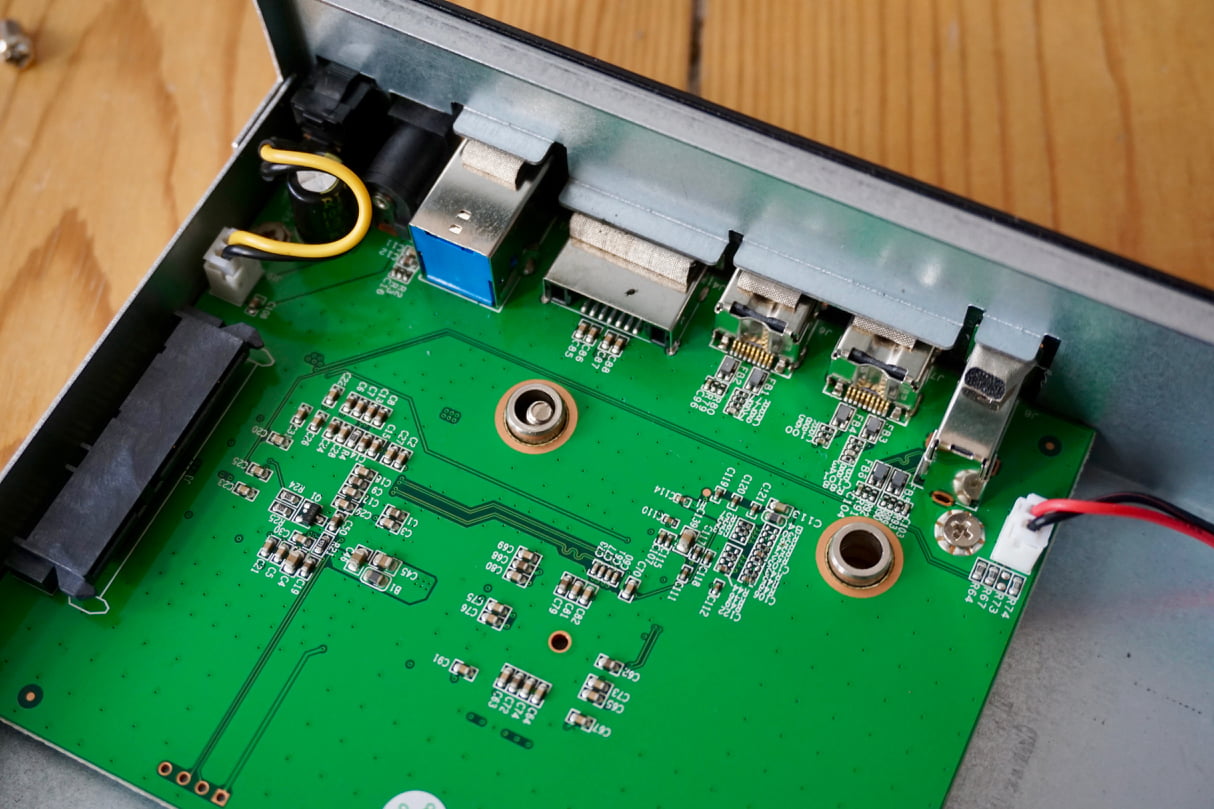
When you do so, be careful and please hold the drive in position. Otherwise it can fall off and damage the SATA connector. The better solution is to move the drive away form the connector in parallel to the board.
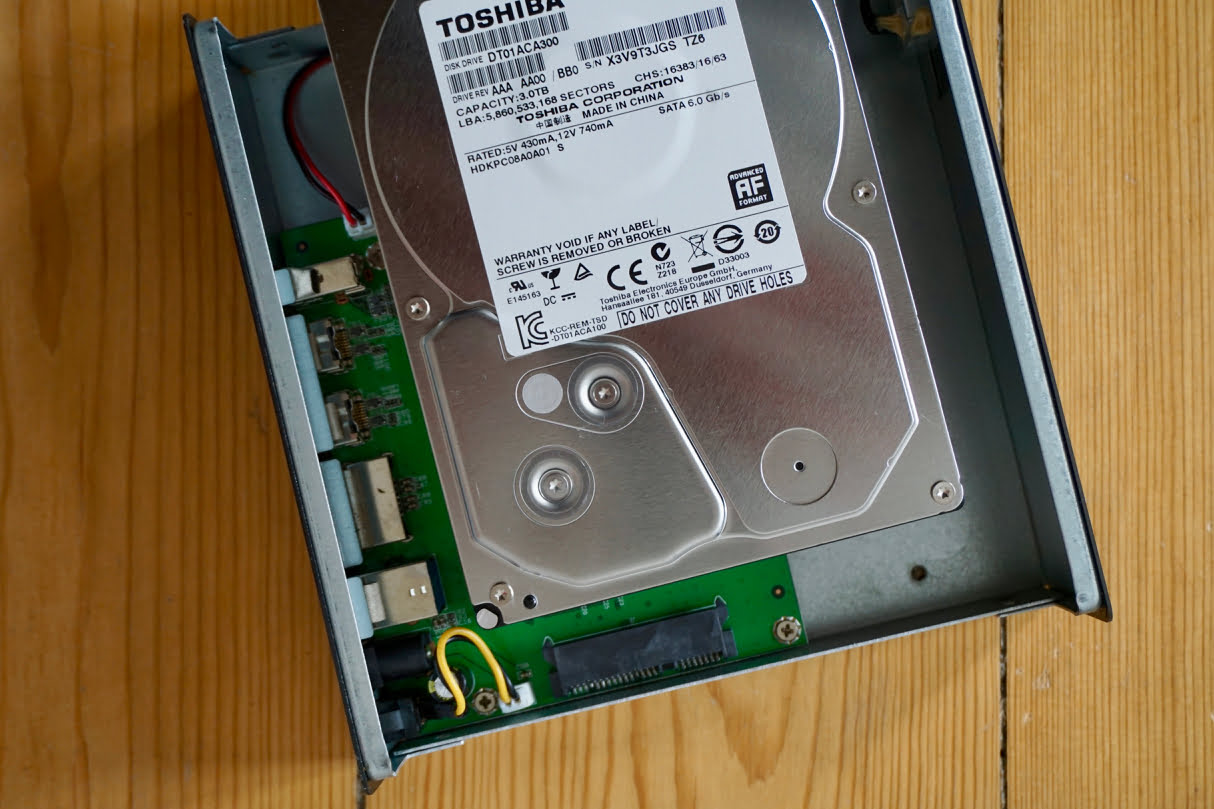
After that, just put in your new hard drive. We had no problems at all replacing the broken drive with a new one. Before assemble everything back together check for good function though.
We don’t know the max. capacity for a hard drive in this enclosure. With exactly the same size you are on the safe side, but a few Gigabytes more could work. But it is your part to find out. If you do, share it with others in the comments. 🙂