The MacBook lies in front of you, all pieces for the upgrade too but there is one screw that dosen’t want to join the party: a screw with a stripped head. We show you a few tricks how to remove it anyway!
A screw with a stripped is extremely annoying. It can happen, when somebody (maybe the author himself) tightened the screw too much last time or it developed some corrosion over time. Maybe you used the wrong screwdriver (Pentalobe and Torx get mixed up often) and the head got damaged. What makes such scenarios even more possible is the fact that the metal this little screws are made of is not the hardest.
First off: keep calm. Nothing is lost yet. All we have is a screw with a stripped head. There are worse things than that and you are not the first person experiencing such annoyance. Here are your options for removing the screw with damaging anything else:
Re-coin the head’s profile with a screwdriver and a hammer
If you are fighting with a screw that sits not particularly tight and only losts its profile, you can try to re-coin it with the correct screwdriver and a hammer. Put the screwdriver into the screw and give it a few strokes with a hammer. Be very careful though: no not use force or you will damage the whole unibody! Only use this method if you think the screw’s head is repairable for this one last time.

Use a wrong screwdriver
This sounds crazy and counterintuitive. Wasn’t this the strategy that brought you in trouble in the first place? Sure, but as the damage is already done, we only have one goal: to remove the screw with any trick possible without damaging the rest of the MacBook. If you damaged a Torx screw for example, the inner profile of the head can get round and the Torx screwdriver doesn’t find enough metal to push against. This is a situation, where a simple slotted screwdriver can help: this old fashioned tool is more edged and can find a stable position in which it can turn the screw. Not very elegant, but often times enough to remove the culprit.
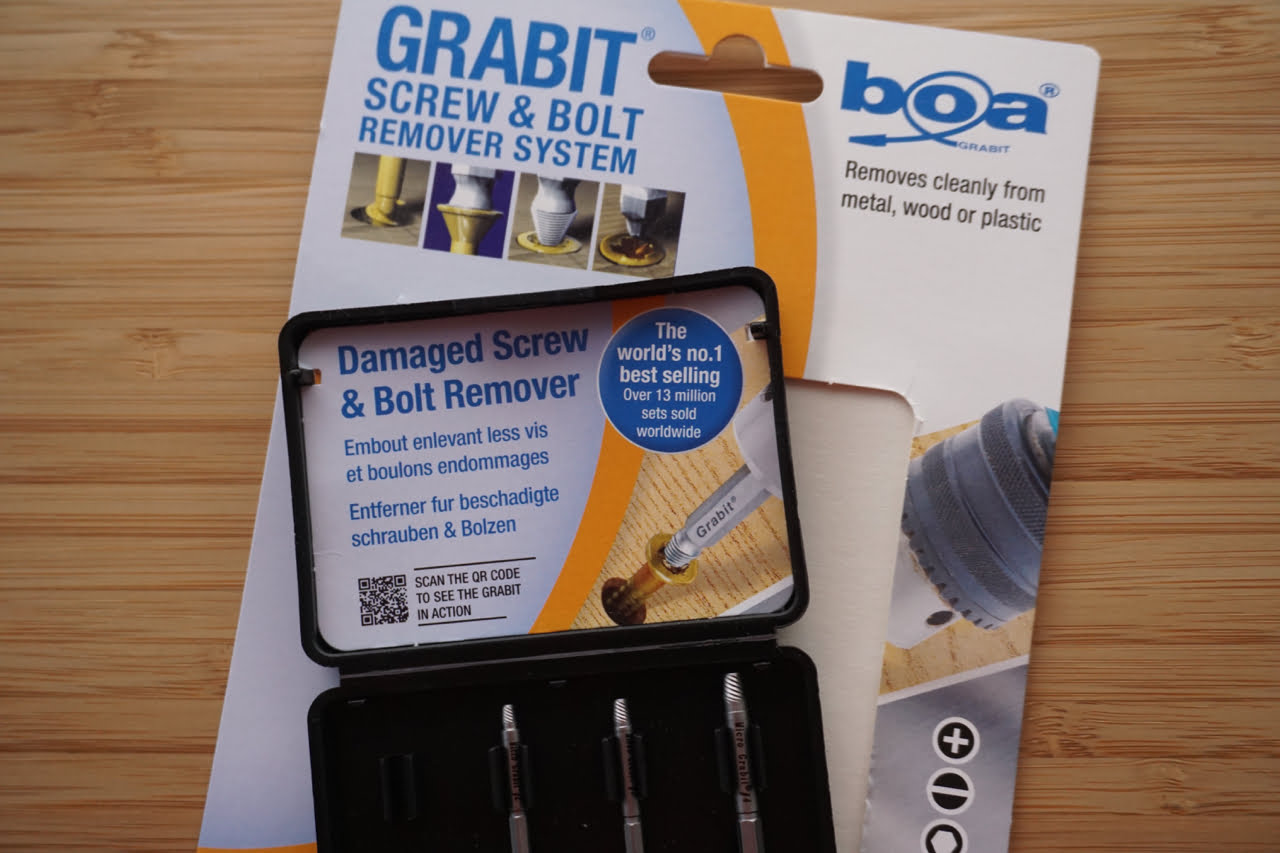
Remove the screw with a bolt remover system
Not we are using professionell tools. We ordered Grabit’s Micro Kit for Screw and Bolt Removal. It costs about 30 bucks and is more or less your less chance to remove a damaged screw in one piece. The tool consists of two ends: one end is like a drill that forms the screw heads metal to a cone. The other one has a thread, that helps to connect itself with the rest of the screw. We used size “1” for the MacBook screw. Use it slowly and step by step.
When you drilled a cone into the screw an think the other side could fit and establish a connection, just turn the tool around. Press slightly to force the two elements together. The the tool should tilt inside the screw and move it.
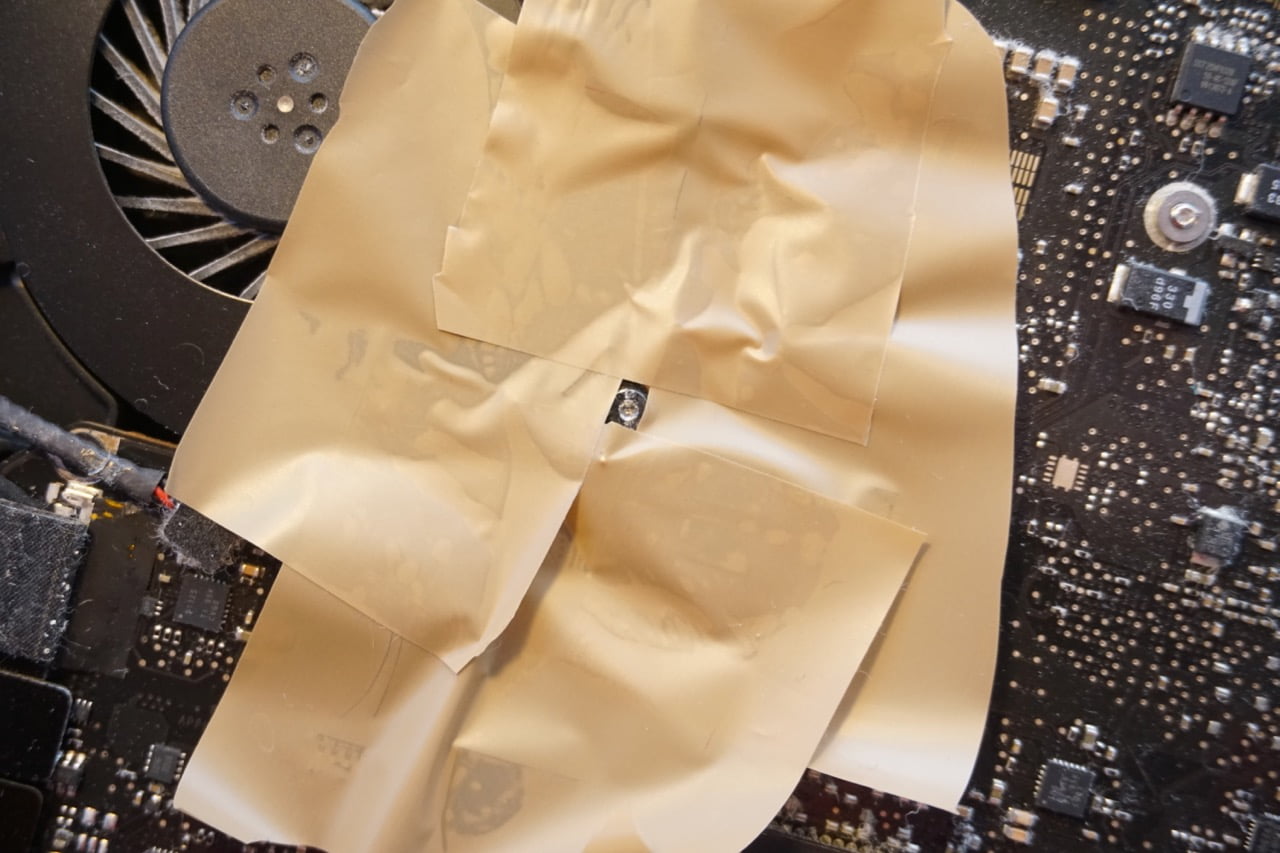
Before you try this, it is a good idea to put some tape on the logicboard around the damaged screw. As you remove metal parts from the screws head, these could find their way on the mainboard and short it out. While you drill in steps you can also use a vacuum cleaner to reduce the risk of metal parts flying around.
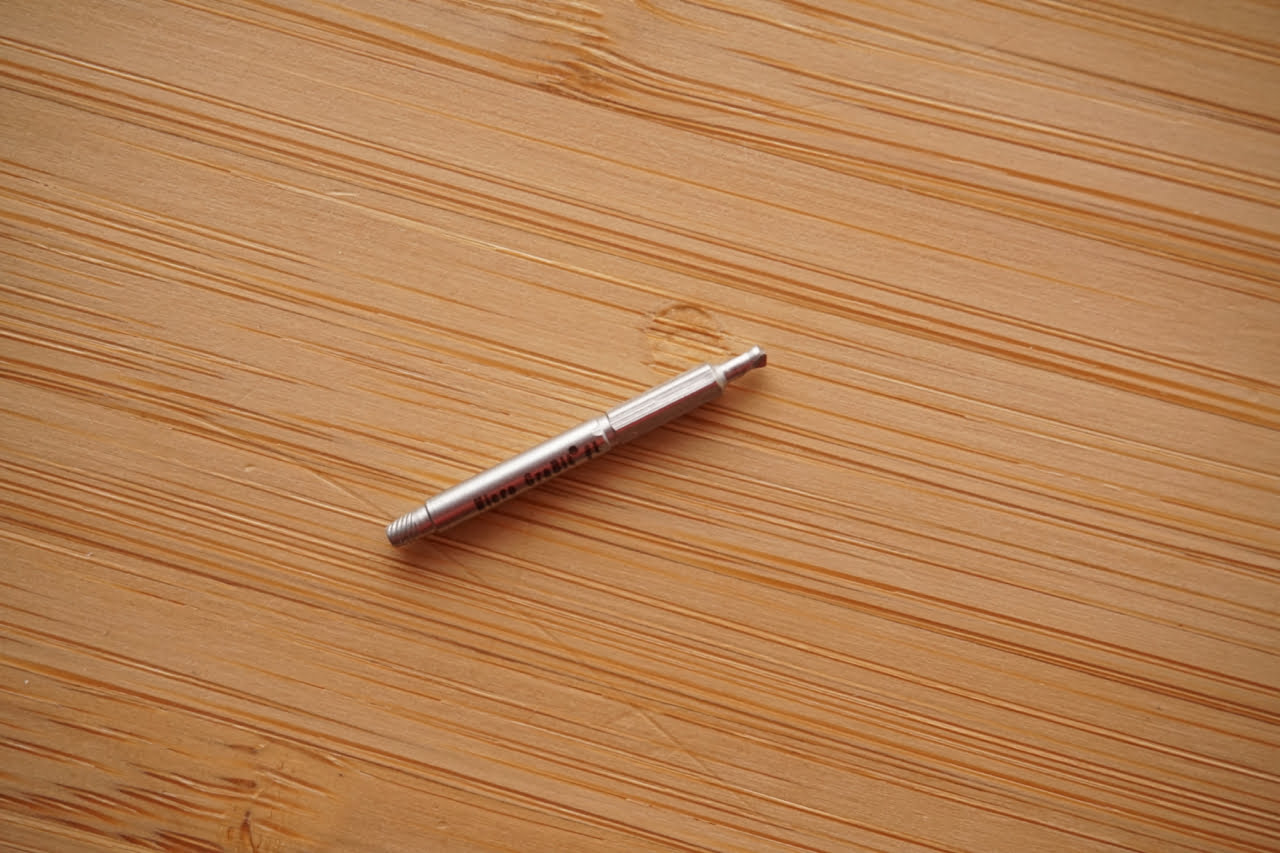
This tool is excellent and we did not expect it to work this well. If you use it for the first time, please use it with a lot of patience. Tip: your electric drill must turn counter-clockwise, because you would like to remove the screw!
Remove the head, use a pair of pliers.
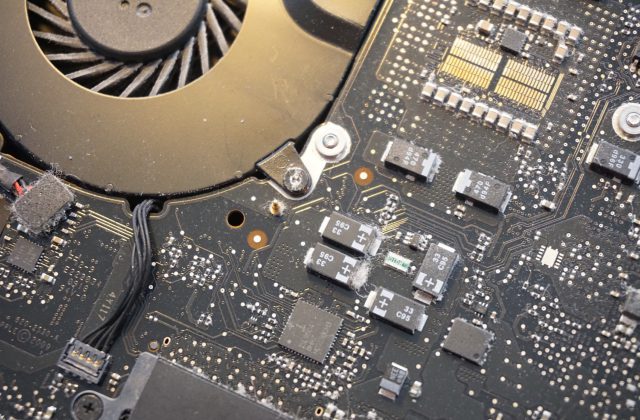
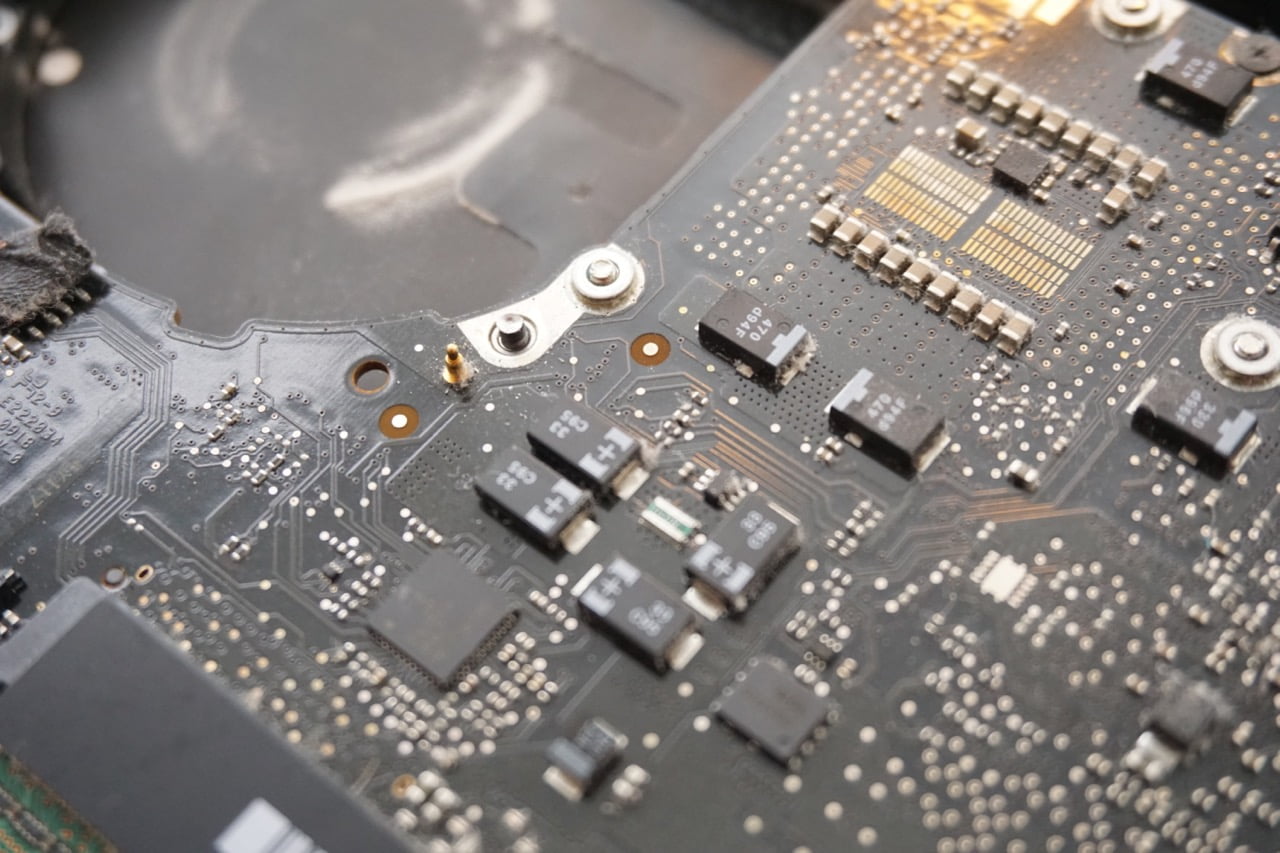
Not even the tool worked? Or maybe you drilled too far? Then there is one chance left. If it happened, that you removed the screw’s head completely, see it positively: you removed the metal part that holds the components in place. In our case, we could remove the fan.

What you see now, is the rest of the screw sticking around from its socket. It should be long enough that you can use a pair of pliers to grab it.
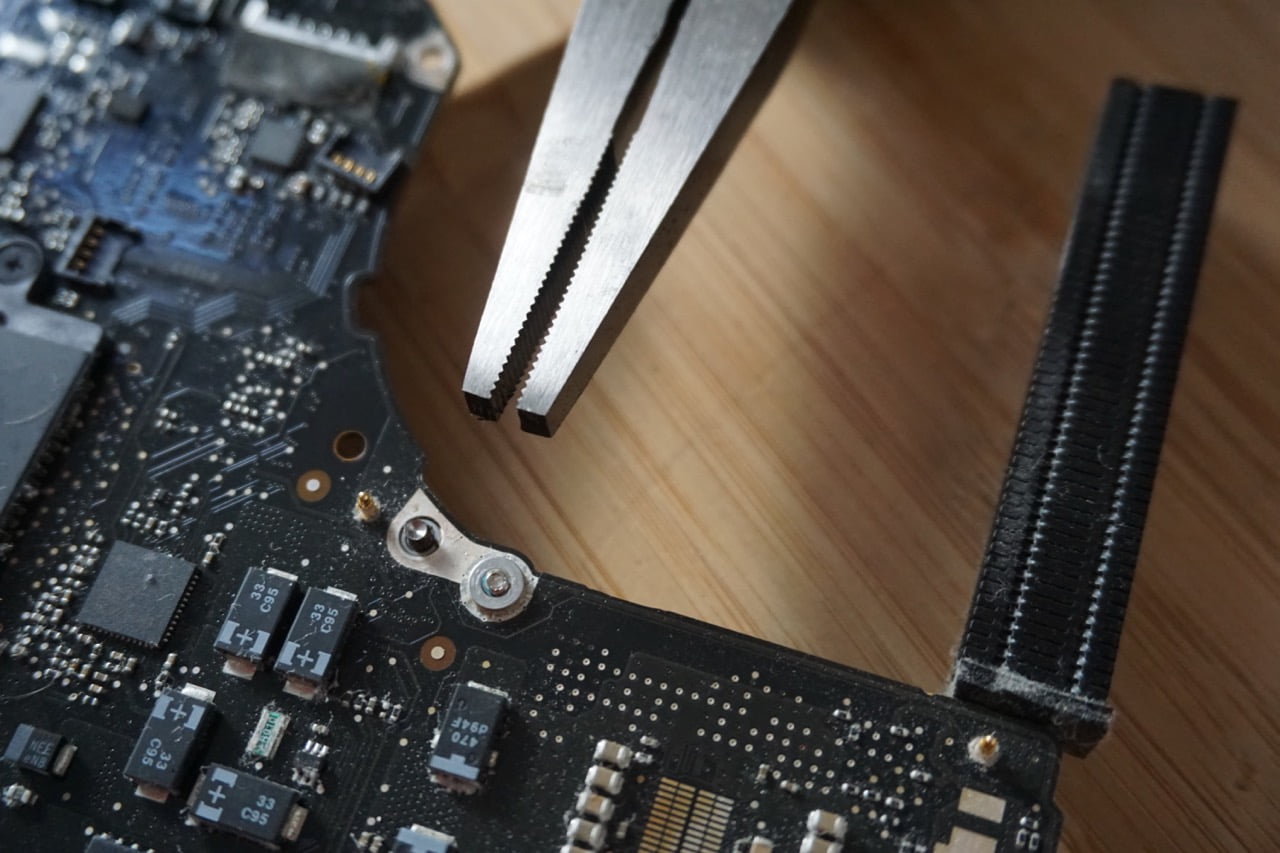
Use good quality flat pliers and remove the last part of the screw with lots of patience. So grab it firm, but not to firm and turn it slowly. After half a turn start over again. This may take some minutes, but it really worth it!
Don’t forget to clean up!
Relieved and ten minutes older you can now return to your upgrade session. To really remove any metal parts, tap with some tape gently over the logicboard to pick up little pieces you may not see.
Amazon: Grabit Remover Tool Flat Pliers