This tutorial shows you how to get a cable signal through a wall with two routers.
The idea is this: you need to have a cable-bound signal at the end of the transmission path, but maybe you have a wall in between you can’t drill into. For this purpose, you can simply let the cable end in a router that translates the signal into WLAN. On the other side of the wall is the second router, which picks up the signal again and sends it back into the cable as if nothing had happened. Even the IPs are all in the same subnet.
We build ourselves a wifi-cable!
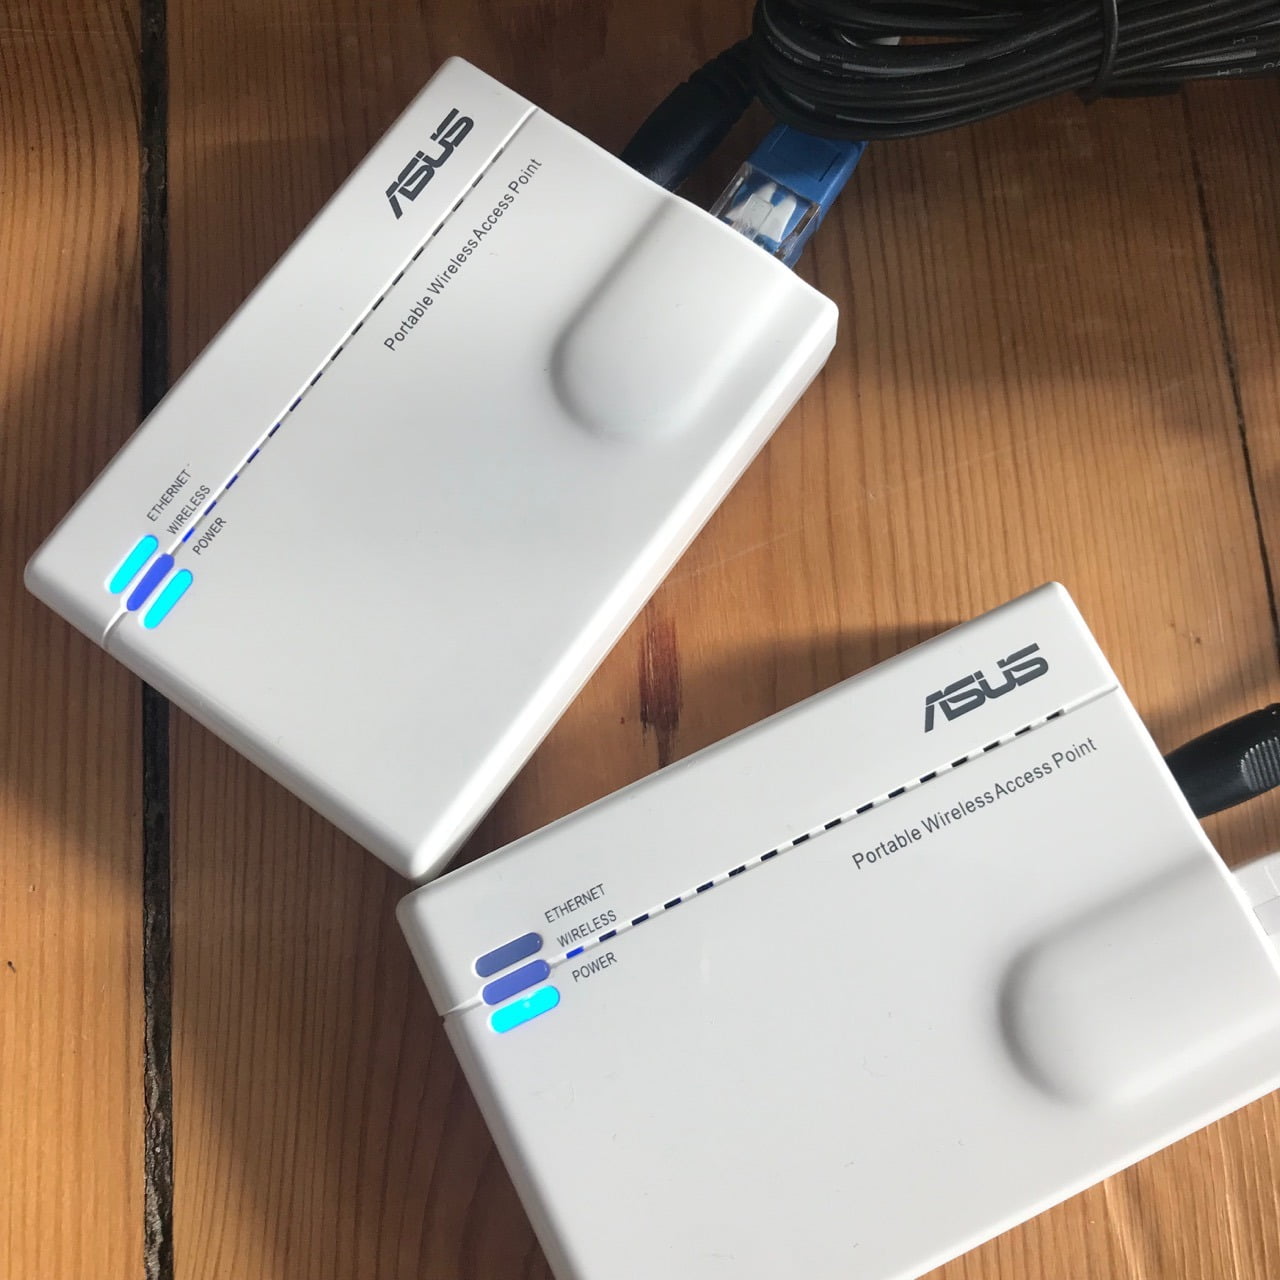
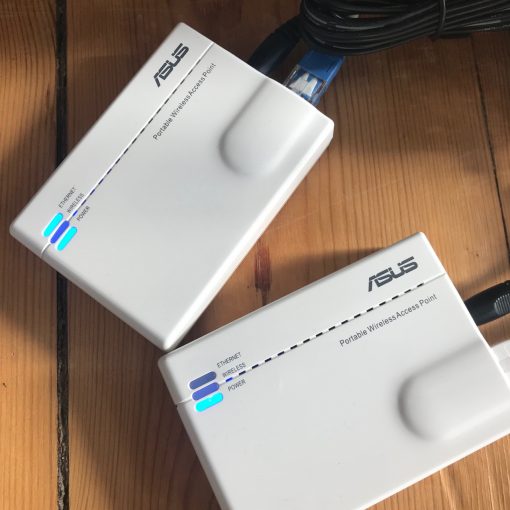
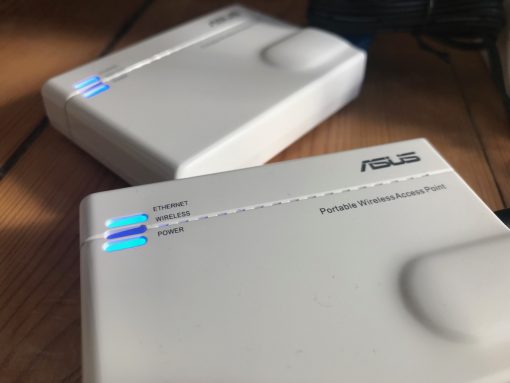
For this purpose we took two old Asus WL-330gE. Under DD-WRT they only manage about 10 Mbit/s, but that’s usually enough for everything you can do while surfing the Internet casually. If you want more throughput, just use two more modern routers.
How to get wifi signal through a thick wall?
The important configuration is made in the second router. The first router can be anything: your main router, any repeater, or just a small router specially picked for this purpose, which serves only as an access point. An access point serves as a translator from cable to WLAN and vice versa, but does not take part in network administration, such as assigning IPs. How to set this up easily you can read here. So if you want to set up an extra access point for this project have a look at the instructions, configure the first one and then continue here.
Set up DD-WRT router as client bridge
Now it’s about the router, which should catch the WLAN and lead it back into the cable. For this purpose we connect the router to our Mac via cable and log in. We assume that the router has been completely reset before. Under 192.168.1.1 the router can be accessed (and you have to choose a password).
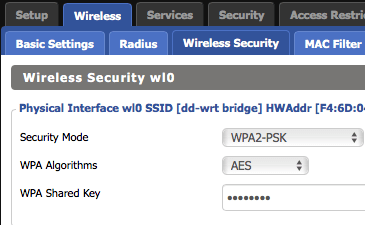
In Wireless > Wireless Security set the settings of the WLAN you want to log on to. The exact same encryption type and logically also the exact same password. Confirm with “Apply” and wait a bit.
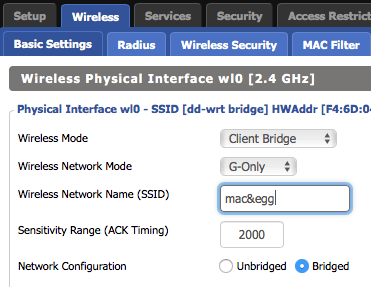
Then set the Wireless Mode to “Client Bridge” in Wireless > Basic Settings, which is exactly what we wanted. Set the rest of the settings to match your network. So chose the exact name and which wireless standard is supported. Finish with “Apply” here as well.
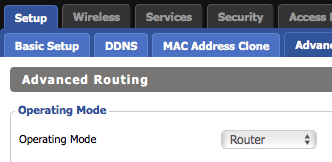
Now a short excursion into Setup > Advanced. Select “Router” instead of “Gateway” as Operating Mode.
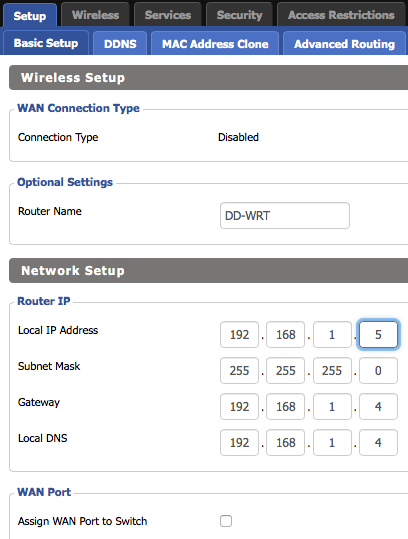
Now the WLAN works, now we give the Client Bridge the right network settings. Open Setup > Basic Setup.
There you manually give the Client Bridge its own IP address. Here in the example this would be 192.168.1.5. 192.168.1.1 is the main router, 192.168.1.4 the access point we log on to.
The picture shows that we have just set the access point with 192.168.1.4 as gateway and DNS server, which again (see instructions above for the Access Point) points to the main router. That was because we were trying out some stuff. Of course, you can also set the main router directly under 192.168.1.1 as gateway and DNS, because it takes over these functions.
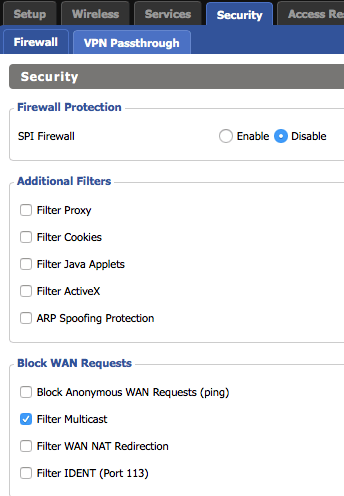
The last thing to do is to restart the router under Administration, now it runs under the address you gave it (so remember :)), in this example 192.168.1.5. So call the interface again and go to Security > Firewall. There you set all options as shown in the picture.
If everything works you have a wifi-cable
Thus the Client Bridge turns a WLAN into a LAN again and forwards all Internet requests to the main router (the gateway) and distributes its IPs to connected devices, since everything is located in the same subnet. If you have set down an extra access point that emits the WLAN, you can now position both devices as favorably as possible on the respective side of the wall to be overcome (or between two houses) and use both ends of the connected cables as if there were no radio interruption at all.
