Do you have a Macbook Pro with Thunderbolt ports but no Touch Bar from 2016 or 2017?
Yes, then you can actually replace and upgrade the SSD. There’s always a rumor going around that devices from 2016 will no longer be able to do this, but the small model with the row of function keys is the exception. The MacBook Pros from the years 2016 and 2017 can be wonderfully upgraded.
Change SSD on MacBook Pro 2016 2017
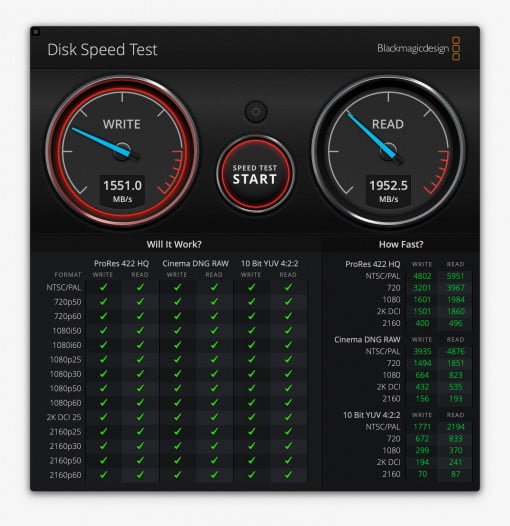
You no longer have to use an adapter, but can buy OEM replicas for the model directly, which also achieve a read rate of almost 2000 MB/s. In case of doubt, you even get additional speed. In addition, the memory prices have fallen sharply in the meantime, so that an upgrade usually makes sense.
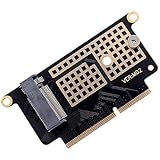
For the project you need a brief summary of the following adapter plus a suitable SSD:
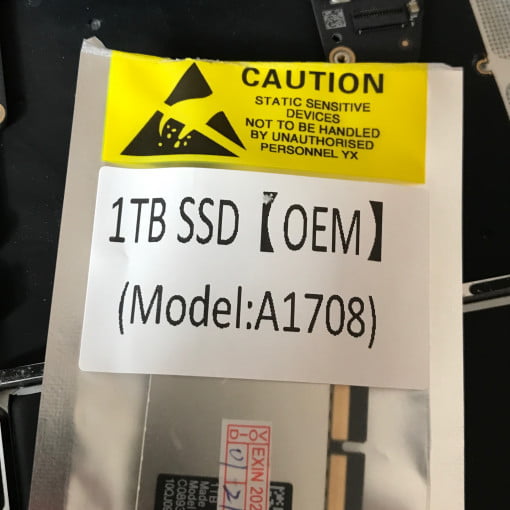
Or – we recommend this solution because it is not much more expensive – an OEM replica of the Apple SSD: Here on Aliexpress you can find SSDs in OEM quality.
This makes the exchange extremely simple and the MacBook finally has enough storage space.
We have described the entire process of installing a new SSD here in detail. >
Remove the metal plate that is only for the optics
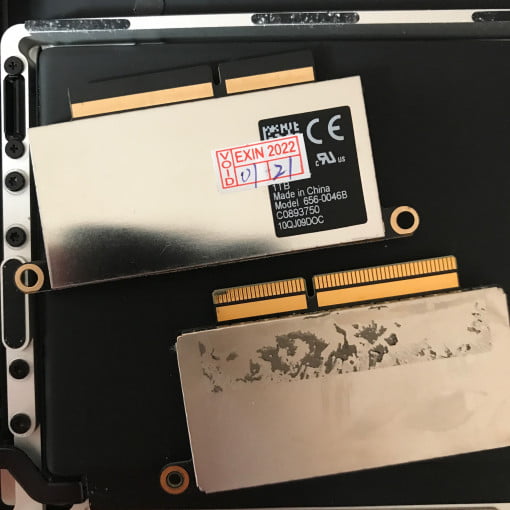
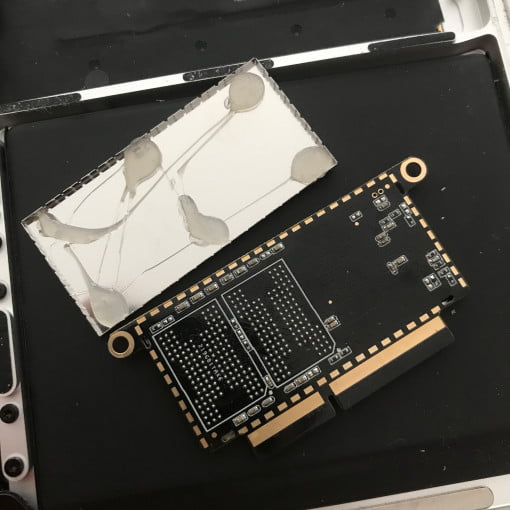
We have one more tip: some models have a metal plate on the back so that the new SSD looks like the old one in the MacBook. However, this is partly only glued and not soldered, because due to technical progress there are simply no more memory chips on one side (depending on the size).
So take a closer look at your copy and if the plate isn’t really soldered on, remove it carefully, it’s superfluous anyway. In the worst case (as in our case), it then dissolves in the MacBook and causes errors. Because this is the side between the keyboard and the board, i.e. not towards the open side of the base plate, this is not immediately noticeable when the SSD is installed.

