Do you have a battery-operated security camera that is HomeKit compatible? Then the run time on the packaging will not necessarily correspond to reality. We give you a few tips on how you can still get as much battery life out of the devices as possible.
Do without HomeKit
The biggest energy guzzler is HomeKit itself. With this function activated, battery-powered security cameras such as those from Eufy, for example, only achieve a fraction of the specified runtime. You have to do without at least half of it, depending on the circumstances even less.
The clear tip here would be: if you can actually do without the integration into HomeKit, then do it. With Eufy, for example, the manufacturer’s app is even more convenient to use than Apple’s home app. However, this also means that you do without Secure Video, i.e. the storage of all the recordings on Apple’s servers. With a cloud solution, everything would end up on Eufy’s servers. The biggest power guzzler is data security, so to speak: If the battery life is more important, do not use the HomeKit integration of the security camera. If data protection is more important, you just have to charge the device more often.
Do not look at recordings in the Home app
Well, you want to stay with HomeKit, that’s not bad either and the costs for cloud storage are relatively cheap. However, the Home App has a disadvantage for battery-operated cameras: To view the recordings, you have to tap on the respective camera in the Home App and scroll through the recordings in the timeline at the bottom. If you are not fast enough here, you always have a direct live connection to the camera, which then shows a live stream – and which costs power every time.
So if you also have your own app from the manufacturer, he may also save the recordings locally, then use this option. Here you can go through all the recordings of the day again without triggering a live stream of the battery camera each time, which lowers the battery level again.
Reduce the triggering factors
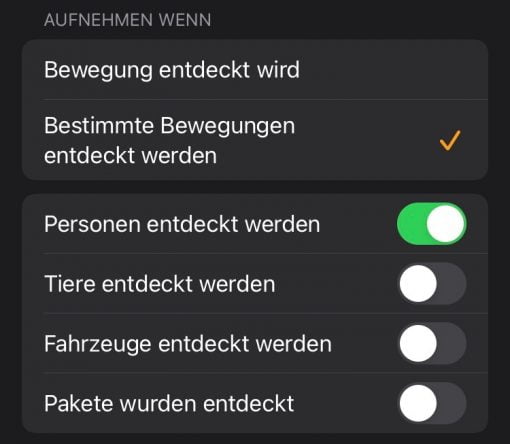
It is also important to lower the camera release, because it decides whether a picture should be taken or not. HomeKit offers a few options for this. The most important thing is to let the camera only react to certain movements and to limit that even more specifically.
So we have set our model so that it only takes recordings of people. If something explodes or a giraffe accidentally walks through the picture, it is not recorded, but we take the risk for a little more battery life.
Switch off the built-in LEDs
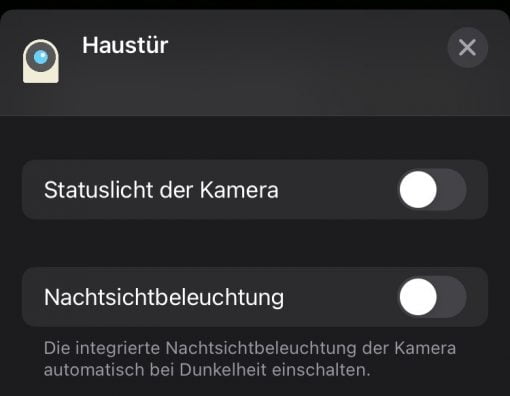
Of course, if the camera is in a place where there is no other light at all, that’s a stupid idea. However, many devices hang at the entrance to the house. There is usually another lamp there, which ideally can also be switched on using a HomeKit-compatible light bulb.
In this case, the camera can switch on this other lamp as a light source or use the valuable electricity for the lighting itself and can only concentrate on the recording. In our case, switching off the normal LEDs was not insignificant with regard to the battery level.
Switch off little things
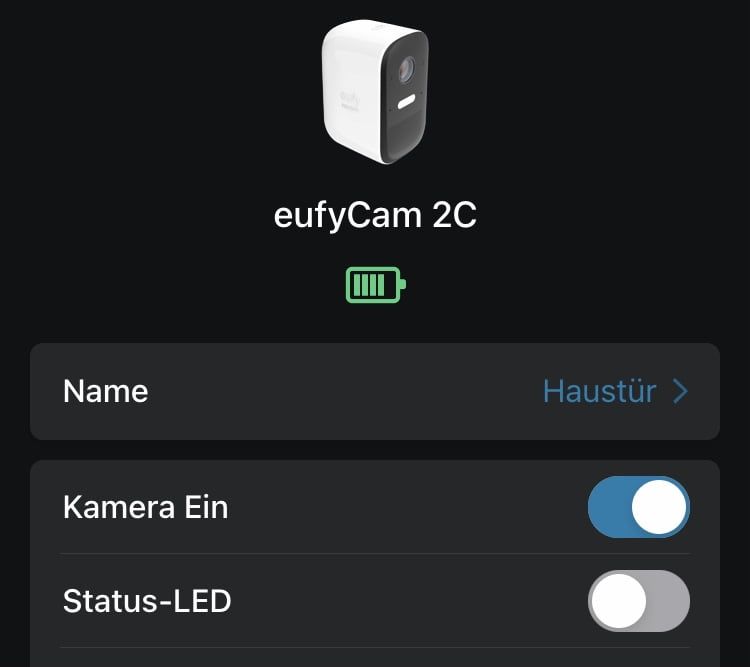
Little things can also be significant, especially when you want to optimize. The standard case is the status LED, often a little red light that comes on when a picture is taken. Why should one waste energy on this? Just turn it off and save a little.
Define the correct recording characteristics
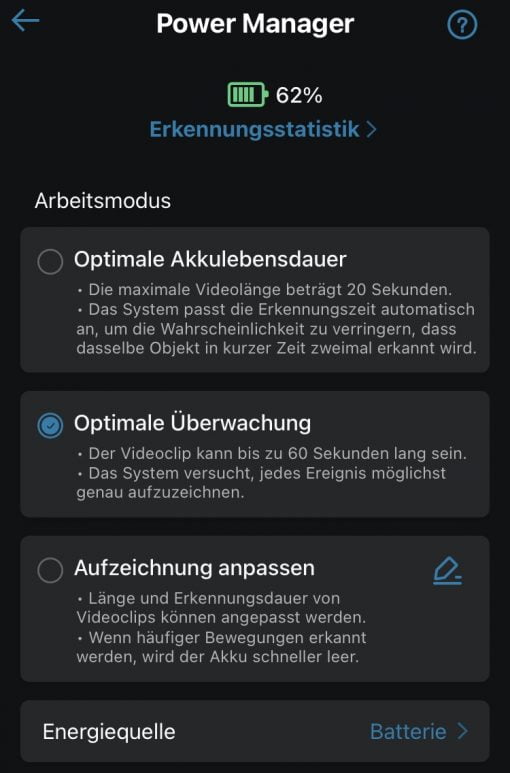
This option is only available when HomeKit is not in use – and therefore probably has such a big impact on the economy of the camera. It is often possible to specify in manufacturer apps how long certain recordings should be and when the camera will switch off again.
Usually there is also an option where you can set the camera times according to your own taste and purpose. This is not possible with HomeKit.
Compare settings between manufacturer app and HomeKit
Apple states that HomeKit does not adapt settings from the manufacturer app but that is not true. We would always configure the camera in the manufacturer app as it is appropriate for the respective situation and then do everything again in the HomeKit app. It doesn’t help if the LED is switched off in the manufacturer app and on in HomeKit – it still lights up and consumes electricity. A check is always useful anyway: because some settings are accepted, others are not. A manual control and a comparison therefore makes sense in principle.
