You want to run nextcloud locally on your Mac and use it instead of macOS server? We show you the easiest way to do this.
If you find the proposed Univention Corporate Server a bit too powerful for your usage habits and “only” need what the excellent nextcloud offers you, we will show you the simplest installation method here. The same should be true for ownCloud, but we have decided to use the forked variant because all functions are available under the open source license and are therefore also usable for us.
How to: nextcloud Installation on macOS
First we download two software packages:
VirtualBox is a program that can be used to virtualize software. For us this means: we run nextcloud with a Linux in VirtualBox on our Mac. This is necessary because there is no native macOS from nextcloud. A small tip on the side: there are also instructions in the net that suggest a MAMP installation of nextcloud on the Mac and this is also tempting, but not supported by nextcloud. This is due to problems with character encoding, i.e. the whole thing runs, but if you save something with special characters, you will probably lose data. So our tip is: don’t do it.
As we want to keep it simple we don’t want to install Linux and nextcloud separately, that’s why we use an OVA (Open Virtualisation Format), a package in which everything is already prepared. This is kindly provided by Tech and Me. Select the one whose size suits you best. A change is still possible afterwards, but quite annoying.
If you are afraid to install a virtual machine now, let me tell you, it is like Word. You have installed Word sometime and then open a document to see what it says. Now we do it the same way: We install VirtualBox and open the provided image to see what’s inside. With the difference, of course, that it contains a complete operating system. So let’s get started:
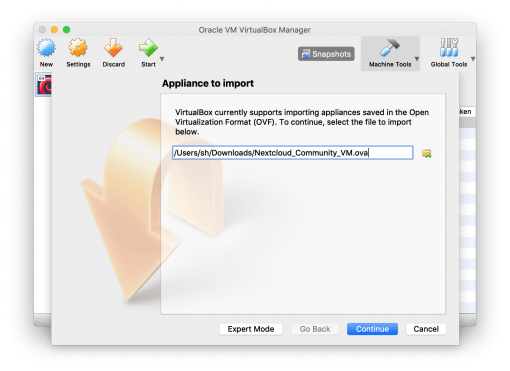
Just double-click VirtualBox and do a normal installation. Then open VirtualBox and go to Files > Import Appliance at the top of the menu bar. Select the downloaded OVA file that you downloaded from Tech and Me. Now you have to wait a few minutes while the image is imported.
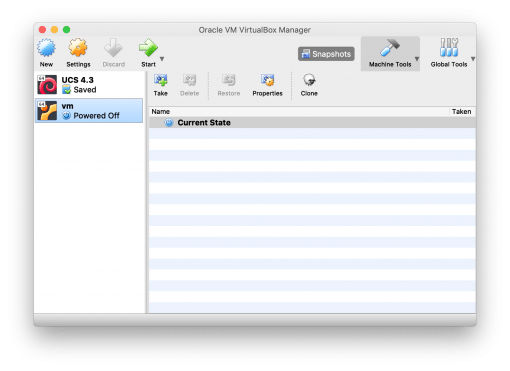
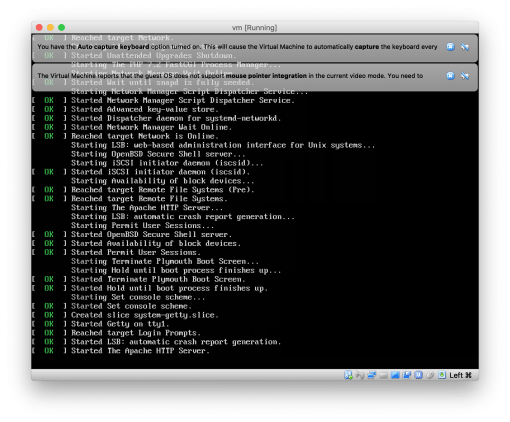
After that it should appear on the left in the overview. Mark it and press the green start arrow at the top. Now Linux should start and welcome you with a lot of continuous information.
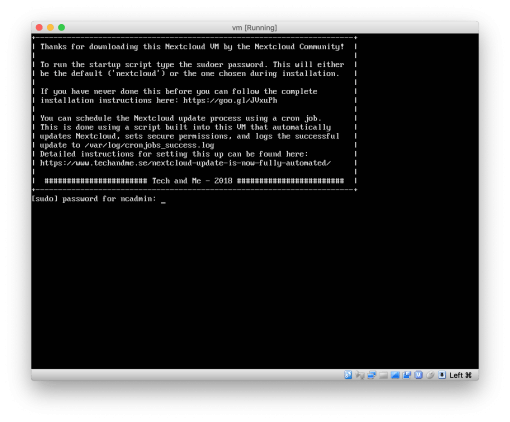
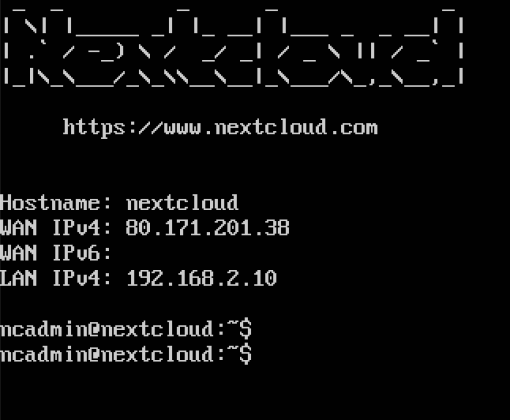
Finally you arrive here and have to log in. The corresponding data are:
- Name: ncadmin
- Password: nextcloud
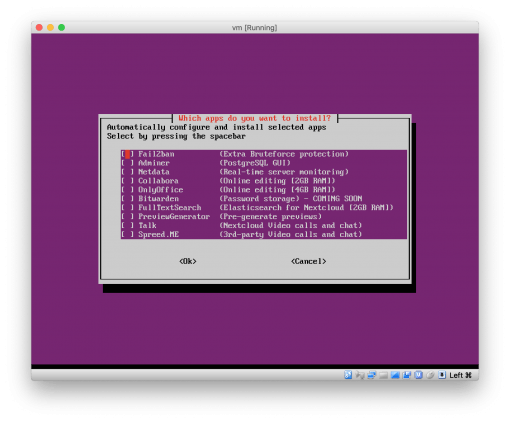
It starts a configuration script that guides you through the installation. If you only want a naked nextcloud, you don’t need to select anything when selecting the additional options. The installation will then go through and show you the IP where you can reach nextcloud in your browser.
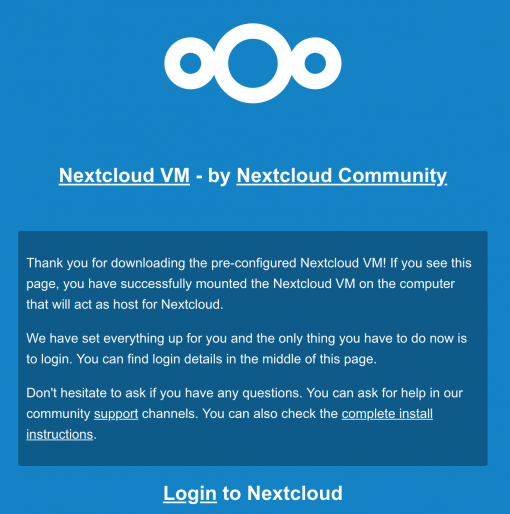
When the installation is finished, your password should also have been changed. Name is now ncadmin and password hopefully *not* “1234” :). Now open the browser, enter https://192.168.something.something and you should be able to log in! If you just enter the IP without the https and therefore http, you will see another screen with a few explanations. So use the secure one.
If you didn’t pay attention, under which IP the installation can be reached, simply open the VirtualBox window with the command line and log in there with the same name and password. There the address will be displayed again.
And now have fun using nextcloud. More FAQ about the installation can be found here and also some tips.
For the use on the iPhone you can download the excellent nextcloud app here.
