A MacBook Air’s SSD is easily exchangeable for a bigger and faster model. There are currently two options that make sense:
NVMe: Cheap, high speed, a little risk
Third Party OEM: fully compatible, a bit more expensive, very stable
You can use a normal NVMe SSD with an adapter or a third party SSD from Transcend or OWC which are especially designed for your MacBook. NVMe SSDs are a lot faster, but may need some troubleshooting and configuration to make them run in your MacBook. Transcend and OWC SSDs therefore run immediately without any fuss but are slower and a bit more expensive.
Different Model?
| MacBook Pro Unibody | MacBook Pro Retina | Upkeep Overview |
| M.2 NVMe SSD | Third Party (Transcend, OWC) | |
|---|---|---|
| advantages | state of the art, native macOS support, very fast, cheap | tuned especially for MacBooks, no adapter necessary, runs immediately |
| disadvantages | adapter necessary, function depends on individual configuration, lower standby time with older MacBooks | slower sequential read and write speeds compared to NVMe SSDs |
| comments | NVMe SSD can turbocharge older MacBooks | rational alternative to original Apple SSD, even though slower |
For older MacBooks it may be necessary to adjust the standby mode when using NVMe models, which can lead to a lower stand by time. There is also a little risk that you have to do some troubleshooting with individual configurations. If you want a solution that work immediately, you should get a Transcend or OWC SSD.
The shown SSD speeds show the maxima. Smaller capacities can have slower speeds, especially write speeds. Furthermore, the speeds depend also on your MacBook model. The linked adapters can look different than the ones in the picture, it is a newer generation.
For those in a hurry: Transcend JetDrives can now handle 1.600 MB/s – the simplest solution
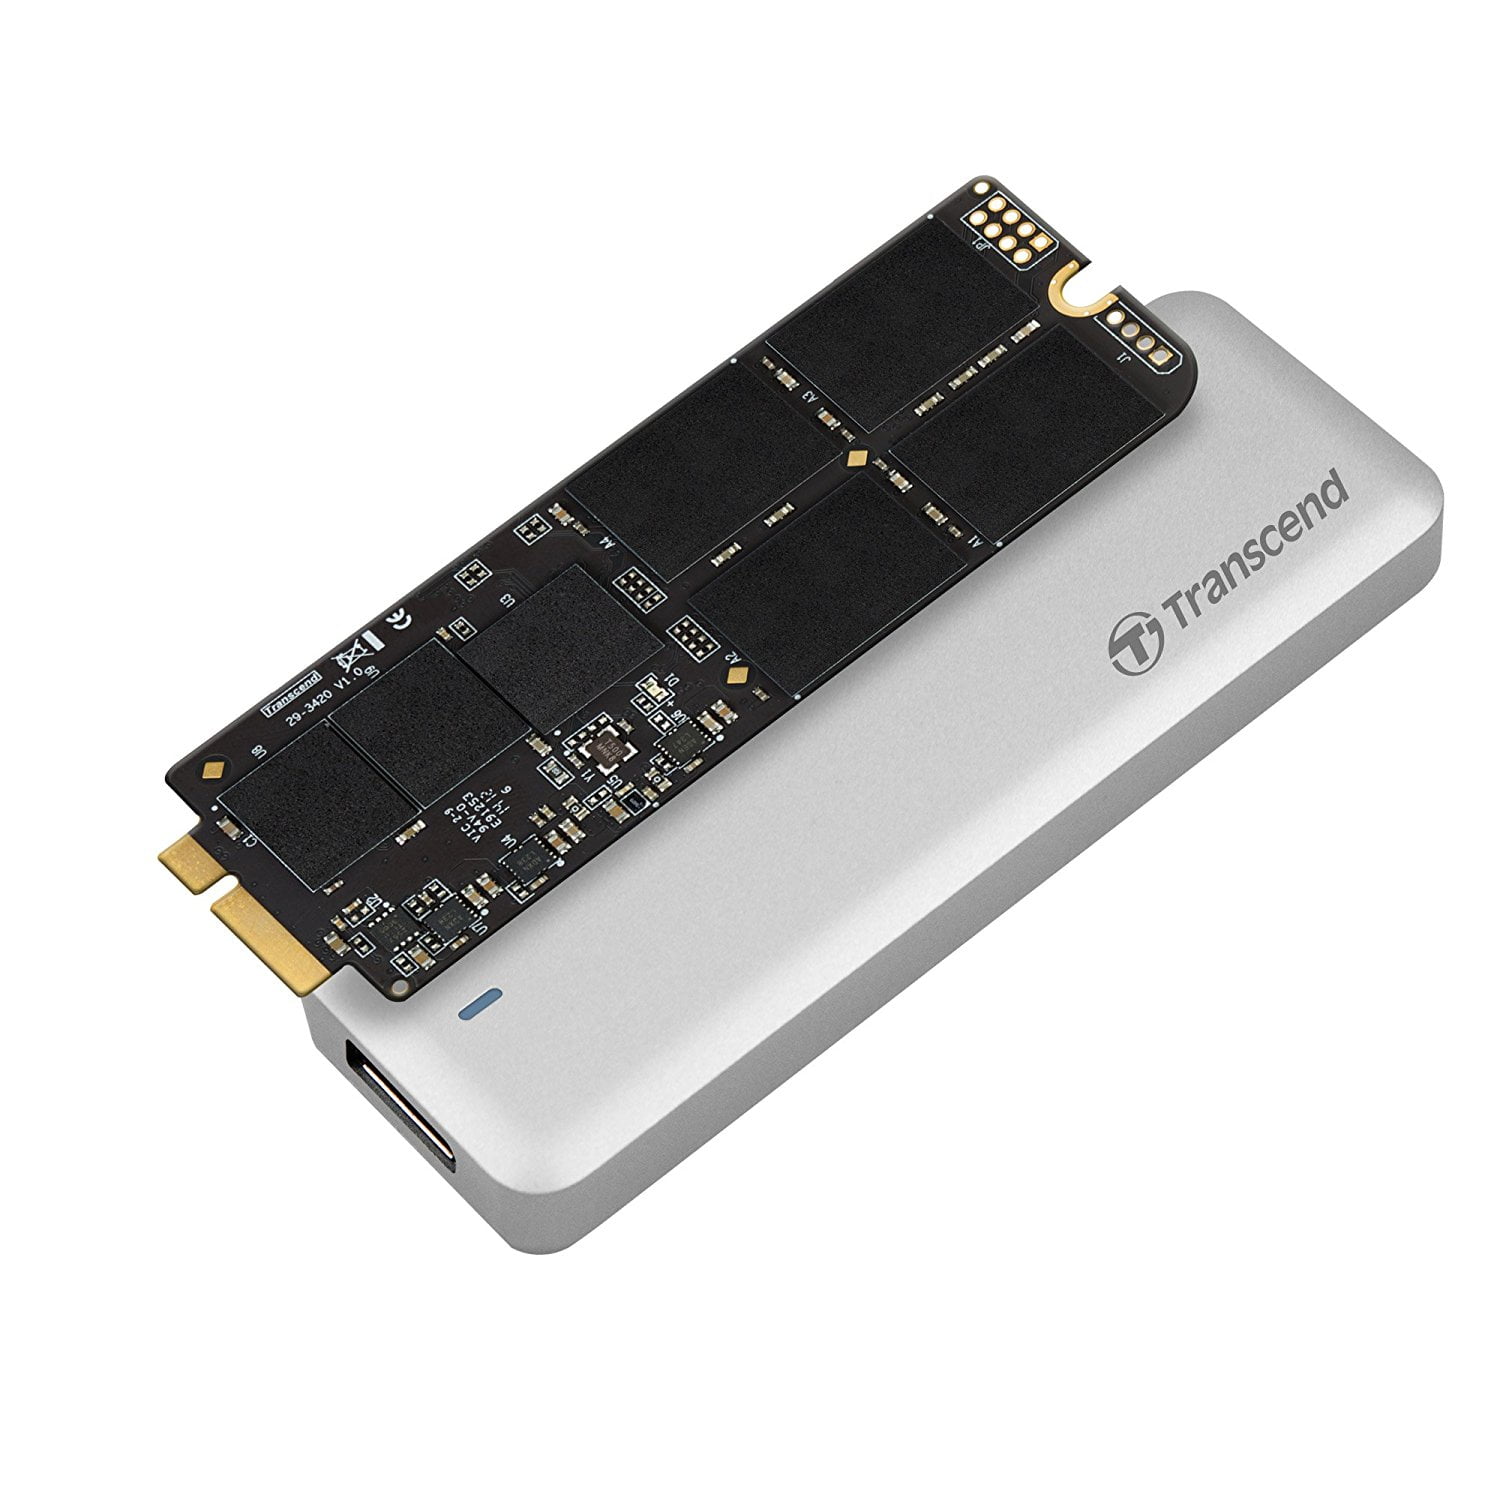
Transcend and others have released a faster version of its SSDs designed specifically for the Macs and MacBooks. These connect also to 4 lanes, so that the speed is 1,600 MB/s when reading and 1,400 MB/s when writing. So some of them are still slower than an NVMe variant with adapter, but the JetDrives are running at almost full speed and the performance difference to the previous version has been greatly minimized. The most serious disadvantage has been eliminated.
| Mac Year und Model | Transcend Model |
|---|---|
| all MacBook Pro Late 2013 - Early 2015 (11,1, 11,2, 11,3, 11,4, 11,5, 12,1) all MacBook Air Mid 2013 - 2017 (still sold) (6,1, 7,1) Mac mini Late 2014 (7,1) Mac Pro Late 2013 (6,1) | JetDrive 820 or 850 Versions 825 and 855 come with external enclosure for old SSD |
| all MacBook Pro 13" Late 2012 - Early 2013 (10,2) all MacBook Pro 15" Mid 2012 - Early 2013 (10,1) | JetDrive 720 JetDrive 725 |
| all MacBook Pro non Retina Late 2008 - Mid 2012 (5,1, 5,2, 5,3, 5,5, 6,1, 6,2, 7,1, 8,1, 8,2, 8,3, 9,1, 9,2) all MacBook non Retina Late 2008 - Mid 2010 (4,1, 5,1, 6,1, 7,1) all Mac mini Mid 2010 - Late 2012 (4,1, 5,1, 5,2, 6,1, 6,2) | JetDrive 420 |
| MacBook Air Mid 2012 (5,1, 5,2) | JetDrive 520 |
| all MacBook Air Late 2010 - Mid 2011 (3,1, 3,2, 4,1, 4,2) --Attention: 480/960GB JDM500 does not support MacBook Air 3,1-- | JetDrive 500 |
Nevertheless, the JetDrives are even more expensive than the normal SSDs plus adapters, but you don’t have to worry about some rare trouble. We have listed all compatible Transcend JetDrives in the table above. Transcend now also offers SSDs for the old Unibody MacBooks. That’s good, because there seems to be a trend towards longer use of the devices. However, we would simply buy cheaper SSDs from such old machines – every SATA model fits. Here is an overview for the old Unibody.

MacBook Air SSD upgrade: Mid 2013, Early 2014, Early 2015 and 2017
Suitable SSDs for Model Number A1465 und A1466 and Model Identifier: MacBook Air 6,1, 6,2, 7,1 und 7,2

Under macOS High Sierra it is possible to use NVMe SSDs from other manufacturers (with the corresponding mechanical adapter). This has the advantage of high capacities at low prices. The 2015 and 2017 models tolerate the SSDs without problems.
The maximum speed for 2013 is 700 MB/s, for the 2014 model years and newer it is approximately twice as fast. Please note that this can only be achieved with the adapter solution. The OWC and transcend solutions can only read a maximum of 800 to 900 MB/s, write a little less.
For the 2013 and 2014 models, the standby mode must also be adjusted, which results in a slightly shorter standby time (more below in the manual).
Transcend and OWC solutions are for you if you just want to upgrade your memory and don’t want to invest time in possible troubleshooting. These SSDs models just work:
| JetDrive 820 | Adapter | Amazon Link | |||
|---|---|---|---|---|---|
| 240 GB | not necessary | JetDrive 240 | |||
| 480 GB | not necessary | JetDrive 480 GB | |||
| 960 GB | not necessary | JetDrive 960 | |||
| OWC Aura | Adapter | Amazon Link |
|---|---|---|
| 240 GB | not necessary | n/a |
| 480 GB | not necessary | OWC 480 GB |
| 960 GB | not necessary | n/a |

- Compatible with MacBook Air 11" & 13" (Mid 2013 – 2017), MacBook Pro Retina 13" & 15" (Late 2013 – mid 2015), Mac Mini (Late 2014), and Mac Pro (Late 2013)
- Ahci PCIe Gen3 x2 interface
- Up to 950 MB/s Read; 950 MB/s write
- Installation tools included
- Free download of the JetDrive Toolbox Software
- Compatible with devices running macOS Yosemite (10.10) or later
| NVMe SSDs 250 GB | Adapter | Amazon Link | |||
|---|---|---|---|---|---|
| Kingston KC1000 | M.2 to Apple 2013+ | Kingston 240 GB | |||
| Western Digital Black | M.2 to Apple 2013+ | WD 256 GB | |||
| Intel 600p | M.2 to Apple 2013+ | Intel 256 GB | |||
| Samsung EVO 970 | M.2 to Apple 2013+ | Samsung 250 GB | |||
| NVMe SSDs 500 GB | Adapter | Amazon Link | |||
|---|---|---|---|---|---|
| Kingston KC1000 | M.2 to Apple 2013+ | Kingston 480 GB | |||
| Western Digital Black | M.2 to Apple 2013+ | WD 512 GB | |||
| Intel 600p | M.2 to Apple 2013+ | Intel 512 GB | |||
| Samsung EVO 970 | M.2 to Apple 2013+ | Samsung 500 GB | |||
| Samsung PRO 970 | M.2 to Apple 2013+ | Samsung 512 GB |
| NVMe SSDs 1 TB | Adapter | Amazon Link | |||
|---|---|---|---|---|---|
| Kingston KC1000 | M.2 to Apple 2013+ | Kingston 960 GB | |||
| Western Digital Black | M.2 to Apple 2013+ | WD 512 GB | |||
| Intel 600p | M.2 to Apple 2013+ | Intel 1 TB | |||
| Samsung EVO 970 | M.2 to Apple 2013+ | Samsung 1 TB | |||
| Samsung PRO 970 | M.2 to Apple 2013+ | Samsung 1 TB |
| NVMe SSDs 2 TB | Adapter | Amazon Link | |||
|---|---|---|---|---|---|
| Samsung EVO 970 | M.2 to Apple 2013+ | Samsung 2 TB | |||
| Samsung PRO 970 | M.2 to Apple 2013+ | Samsung 2 TB |
NVMe SSDs are state of the art. The Kingston HyperX AHCI model became more expensive than the newer models in the meantime. It is listed here only for a complete picture.
| HyperX Predator | Adapter | Amazon Link | |||
|---|---|---|---|---|---|
| 240 GB | M.2 to Apple 2013+ | Kingston 240 GB | |||
| 480 GB | M.2 to Apple 2013+ | Kingston 480 GB | |||
| 960 GB | M.2 to Apple 2013+ | Kingston 960 GB | |||

MacBook Air Mid 2012 SSD upgrade
Suitable SSDs for Model Number A1465 and A1466 and Model Identifier: MacBook Air 5,1 and 5,2

Upgrading MacBook Air 2012 is very good value. The SATA SSDs are cheaper than its newer PCIe counterparts, and therefore big capacities are not that expensive. We again linked to the correct adapter and a few SSDs we think are excellent. In general, all M.2 SATA SSDs in the 2280 format (22mm wide, 80mm long) should fit together with the mentioned adapter.
| SSDs 250 GB | Adapter | Amazon Link |
|---|---|---|
| Samsung 860 Evo | M.2 to Air 2012 | Samsung 250 GB |
| Sandisk X600 | M.2 to Air 2012 | Sandisk X400 256 GB |
| Crucial MX500 | M.2 to Air 2012 | Crucial 250 GB |
| Transcend MTS800S | M.2 to Air 2012 | Transcend 256 GB |
| OWC Aura Pro | not necessary | OWC 240 GB |
| Transcend JetDrive 520 | not necessary | JetDrive 240 GB |

- Compatible with MacBook Air (Mid 2012),MacBook Air 11" & 13" Mid 2012 MacBook Air 5,1 / 5,2 JetDrive 520
- Max. Read 530MB/s, Max. Write 285MB/s
- Next-generation SATA III 6Gb/s interface
- Free download of Jet Drive Toolbox SSD monitoring software
- External enclosure is fully compatible with SuperSpeed USB 3.0 & Hi-Speed USB 2.0
- SSD upgrade kit included
- Operating Temperature 32F-158F
- Repurpose original SSD into external SSD
- Dual color LED indicator (Power, data transfer and USB 3.0/2.0 connection)
| SSDs 500 GB | Adapter | Amazon Link |
|---|---|---|
| Samsung 860 EVO | M.2 to Air 2012 | Samsung 500 GB |
| Sandisk X600 | M.2 to Air 2012 | Sandisk 512 GB |
| Crucial MX500 | M.2 to Air 2012 | Crucial 525 GB |
| Transcend MTS800 | M.2 to Air 2012 | Transcend 512 GB |
| OWC Aura Pro | not necessary | OWC 480 GB |
| Transcend JetDrive 520 | not necessary | JetDrive 480 GB |
- Compatible with MacBook Air (Mid 2012)
- Max Seq. Read: 495MB/s, Max Seq. Write: 427MB/s
- Next-generation SATA III 6Gb/s interface
- Free download of Jet Drive Toolbox SSD monitoring software. Operating voltage 5V
- External enclosure is fully compatible with SuperSpeed USB 3.0 and Hi-Speed USB 2.0
- SSD upgrade kit included
- Operating Temperature 32F-158F
- Repurpose original SSD into external SSD
- Dual color LED indicator (Power, data transfer and USB 3.0/2.0 connection)
| SSDs 1 TB | Adapter | Amazon Link |
|---|---|---|
| Samsung 860 EVO | M.2 to Air 2012 | Samsung 1 TB |
| Sandisk X600 | M.2 to Air 2012 | Sandisk 1 TB |
| Crucial MX500 | M.2 to Air 2012 | Crucial 1 TB |
| Transcend MTS800S | M.2 to Air 2012 | Transcend 1 TB |
| Transcend JetDrive 520 | not necessary | JetDrive 960 GB |
OWC’s and Transcend’s solution don’t need an adapter, they are quite more expensive though.
For users of a MacBook 2012 or older is a huge amount of storage very cost effective.

MacBook Air Late 2010, Mid 2011 SSD upgrade
Suitable SSDs for Model Number A1369 and A1370 and Model Identifier: MacBook Air 3,1, 3,2, 4,1 and 4,2
MacBook Air from 2010 and 2011 do use the same SATA SSDs as the 2012 model does. The adapter though is slightly different, as Apple changed the SSD slot a bit. That is no problem, however, as we linked to the right one in the table.
| SSDs 250 GB | Adapter | Amazon Link |
|---|---|---|
| Samsung 850 EVO | M.2 to Air 2010,11 | Samsung 250 GB |
| Sandisk X400 | M.2 to Air 2010,11 | Sandisk X400 256 GB |
| Crucial MX300 | M.2 to Air 2010,11 | Crucial MX300 275 GB |
| Transcend MTS800 | M.2 to Air 2010,11 | Transcend 256 GB |
| OWC Aura Pro | not necessary | OWC 240 GB |
| Transcend JetDrive 520 | not necessary | JetDrive 240 GB |

- Compatibility: 11-inch, Mid 2011, 13-inch, Late 2010, 13-inch-Mid 2011
- Next-generation SATA III 6Gb/s interface
- Free download of Jet Drive Toolbox SSD monitoring software
- External enclosure is fully compatible with SuperSpeed USB 3.0 & Hi-Speed USB 2.0
- SSD upgrade kit included
- Operating Temperature 32F-158F
- Repurpose original SSD into external SSD
- Dual color LED indicator (Power, data transfer and USB 3.0/2.0 connection)
| SSDs 500 GB | Adapter | Amazon Link |
|---|---|---|
| Samsung 850 EVO | M.2 to Air 2010,11 | Samsung 500 GB |
| Sandisk X400 | M.2 to Air 2010,11 | Sandisk X400 512 GB |
| Crucial MX300 | M.2 to Air 2010,11 | Crucial MX300 525 GB |
| Transcend MTS800 | M.2 to Air 2010,11 | Transcend 512 GB |
| OWC Aura Pro | not necessary | OWC 480 GB |
| Transcend JetDrive 520 | not necessary | JetDrive 480 GB |
| SSDs 1 TB | Adapter | Amazon Link |
|---|---|---|
| Samsung 850 EVO | M.2 to Air 2010,11 | Samsung 1 TB |
| Sandisk X400 | M.2 to Air 2010,11 | Sandisk X400 1 TB |
| Crucial MX300 | M.2 to Air 2010,11 | Crucial MX300 1 TB |
| Transcend MTS800 | M.2 to Air 2010,11 | Transcend 1 TB |
| Transcend JetDrive 520 | not necessary | JetDrive 960 GB |
OWC’s and Transcend’s solutions do not need an adapter piece, they are more expensive though. The little mechanical helper makes sense in any case.
MacBook Air from 2010 and 2011 are still great work devices. SSD storage was extremely expensive back in the day, not is the time to upgrade. For installation, you just need to fit the adapter between the slot on the logicboard and the SSD.
Expand MacBook Air 2010 to 2017 with memory for the SD card slot
Suitable SD memory for all MacBook Air with SD card slot
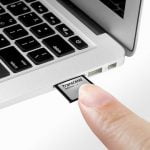
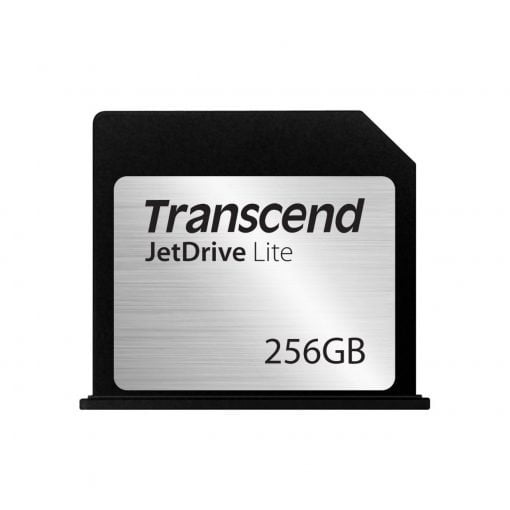
You want more memory, but you don’t want to use a screw drive? Then there is a smart alternative if you have the 13″ model with SD card slot. Transcend offers a memory expansion which can simply be inserted into the slot for the SD card and still (depending on the year of construction of your MacBook) offers up to 95 MB/s speed. The expansion is available in 64, 128 and 256 GB capacity.
If you want to save or have even more capacity (up to 400 GB currently), you can also buy an adapter and the matching micro SD card separately. For 200 GB of storage you the pay around 60 dollars, for 400 GB as micro SD card around 160 dollars.
| Solutions for SD-card slot | memory | Amazon Link |
|---|---|---|
| 64 GB Transcend | integrated | JetDrive 130 - 64 GB |
| 128 GB Transcend | integrated | JetDrive 130 - 128 GB |
| 256 GB Transcend | integrated | JetDrive 130 - 256 GB |
| up to 400 GB Sandisk | Micro-SD-card | Adapter - variabel |
Strategy Decision for a MacBook Air Backup
Not only is a backup a basic obligation when upgrading your Mac, it should be an everyday task to help prevent loss of your important data. If you are exchaning a still functioning SSD for a new one, a bit of preparation makes the life a lot easier.
Always important:
Unplug the device and remove the power supply!
We don’t wanna get in contact with electricity and safety is always first.
Option 1: Data Migration via Internet Recovery und Time Machine Backup

This Option is the easiest, but you’ll need a fast internet connection, a bit of patience and a new Mac that is capable of Internet Recovery. Is your machine from 2009 or older, this option does not exist for you. Users of 2010 and 2011 Mac can update their Firmware first. Newer Macs are all capable of Internet Recovery.
If you decide for this option, you just fit the new SSD like in the instructions below and then start the Mac white holding cmd + alt + R. Internet Recovery starts and you can install macOS on your newly installed SSD. After that, you get your data back via your Time Machine backup.
Option 2: Bootable macOS und Time Machine
If your Mac is too old for Internet Recovery or your internet connection is way to slow it can be more helpful to make a bootable medium, like a USB Stick or SD card first. With that, you can download everything first and when you start installing, the installer starts immediately from the bootable medium.
If you have a bootable USB stick for example, you plug it in, after you installed your new SSD. When you switch it on for the first time, press the alt-key. This shortcut lists all your possible boot devices. Choose your installation medium. Before you start installing macOS, it can be necessary to format the drive first via Disk Utility.
During the installation of macOS you will get the chance to play back your saved data from Time Machine.

Option 3: Clone your drive first

This option is for all those who want to invest the time for copying date before changing the drive. When you would like to do that, please be aware that you will need an external USB enclosure for your M.2 SSD (or other format that you decide to buy).
After connecting it to the Mac you need to first format it via Disc Utility. You find it in Programs > Utilities > Disk Utility. The correct format is “Mac OS Extended Journaled”.
Then, you can clone your internal SSD 1:1 onto the external new one, which will soon change places. Programs for this task are Carbon Copy Cloner or SuperDuper.
SSD replacement MacBook Air – Preparation
First thing you do before accessing the internal SSD is removing all the screws from the underside of the MacBook. Don’t be too afraid: they are only a few and it really is easy. You will need the following two screwdrivers for the upgrade process:
- one TS4 Pentalobe screwdriver for the bottom screws
- one Torx T5 for the screw holding the SSD in place
The good thing is, that the adapters mentioned above should come with these two screw drivers. So you can start right away. The Pentalobe one for the external screws looks like a five point star, the Torx one for the SSD like a six point star.

Tip: Make a little drawing on paper to remember the screws positions on the MacBook. They may have different lengths, and this makes it easer to build everything back together.
After you removed all the screws, just take the backplate off. you will now see the inner construction of the machine.

The fist step to do is to disconnect the battery. Pull on the transparent plastic handle on the left side to do that.
How to: SSD upgrade MacBook Air
1. Loosen the SSD screw
The actual SSD replacement is more than simple: unscrew the one screw holding in the original SSD place.


2. Remove the original SSD
Just use the Torx screwdriver and then pull the original SSD carefully out of its socket.

Perfect! You can now use it otherwise.
3. Fit the SSD adapter
Now assemble the adapter: push it into the socket parallel to the logicboard. If it is positioned correctly, push it in with a little bit of force, until it connects fully with the metal part (see pictures).


This was the whole preparation for fitting a normal M.2 SSD.
4. Insert the new SSD
The following step is the same as it would be when you would like to fit an original Apple drive: just fit the SSD. When using the short adapters it is helpful to plug in the drive in a 45 degree angle and then press it down. This is true for MacBook models from 2013 and younger.

If you have a machine from 2010 – 2012 the adapers are a bit longer. In this case, move the SSD almost parallel to the logicboard into place.

5. Re-fit the screw. Done!
Now refit the single screw. It should be very easy, as the little gap at the end of the SSD should fit perfectly over the screws socket. If that is not the case, double check. Maybe the adapter or drive is not pushed deep enough into the socket.

Done! Don’t forget to reconnect the battery:

Now you can reassemble the bottom case and screw on the Pentalobe screws. They should go in easily and only at the end tighten. If they go in heavily, remove them and try to fit them with a bit of an angle.
Here is a video with the whole process showing the installation of a Transcend drive. If you have decided for the adapter solution, just add that bit during assembly:
The mechanical part of your SSD installation is now done.
First Boot, Formatting the new SSD
Now is the time to boot your MacBook for the first time and format the new drive (unless you have cloned the data before, see above). So you start the machine and while the chime sounds, you press alt + cmd + R for Internet Recovery or just alt if you have prepared a bootable drive to start from. In any case, you will find yourself in the menu for the OS X/macOS Utilities. The fist option to choose is the Disk Utiliy:

There you can find the new drive. Click on it on the left side and then choose “Erase”. If you have an older Mac it looks like this:


Newer machines do show the following design:

For a name you can use the classic “Macintosh HD”. Filesystem must be “macOS Extended (Journaled) and scheme should be “GUID Partition Map”. After a short period of time, the formatting should be done.


Now the new drive is usable. Close Disk Utility and begin installation of OS X or macOS or recover your data via a Time Machine backup.