The modular construction makes them very flexible and they can be upgraded as you wish. Maximal SSD storage is currently 4 TB with one and 8 TB with two solid state drives, which is not even possible with Apples current lineup.

SSDs for MacBook Pro Late 2008 to Mid 2012 without Retina Display
Suitable SSDs for Model Nummer A1286, A1297 and A1278 and Model Identifier:
MacBook Pro 5,1, 5,2, 5,3, 5,4, 5,5, 6,1, 6,2, 7,1, 8,1, 8,2, 8,3, 9,1 und 9,2
2,5″ SATA SSDs are the right choice for every Unibody MacBook. These are good value, fast and give your MacBook a new lease on life. We don’t list 128 GB models any more as prices are so cheap that a 256 GB SSD should be the smallest choice.
Different model?
| MacBook Pro Retina | MacBook Air | Upkeep overview |
| SSDs 250 GB | comment | Amazon Link |
|---|---|---|
| Samsung 860 Evo | very good and reliable SSD | Evo 250 GB |
| Samsung 860 Pro | in heavy duty use even more durable than Evo | Pro 256 GB |
| Crucial MX500 | fast even when almost full, a bit higher capacity than others | Crucial 275 GB |
| Kingston A400 | very cheap | Kingston 240 GB |
| SanDisk SSD Plus | very cost effective and fast enough for older MacBooks | Sandisk 240 GB |
| SSDs 500 GB | comment | Amazon Link |
|---|---|---|
| Samsung 860 EVO | for normal use very sufficient reliability and very fast | EVO 500 GB |
| Samsung 860 Pro | designed for very many writing operations, extremely durable | Pro 512 GB |
| Crucial MX500 | permanent fast even when nearly full | Crucial 500 GB |
| Kingston A400 | cheap | Kingston 480 GB |
| SanDisk Plus | for older MacBooks or office machines sufficient, very good value | SSD Plus 480 GB |
| Drevo X1 | good value no name SSD, runs in MacBook | Drevo 512 GB |
| SSDs 1 TB | comment | Amazon Link |
|---|---|---|
| Samsung 860 EVO | huge capacity in a reliable package, also as 2 TB and 4 TB variant | Evo 1 TB |
| Samsung 860 Pro | excellent speed and durability, also in 2 TB and 4 TB | 850 Pro 1 TB |
| Crucial MX500 | huge capacity for small money, also in 2 TB | Crucial 1 TB |
| Kingston A400 | power and performance in a good value package | Kingston 960 GB |
| SanDisk Extreme Pro | the cheapest SSD for huge amounts of storage space | Sandisk 960 GB |
| SSDs 2 TB | comment | Amazon Link |
|---|---|---|
| Samsung 860 EVO | huge capacity in a reliable package, also as 2 TB and 4 TB variant | Evo 2 TB |
| Samsung 860 Pro | excellent speed and durability, also in 2 TB and 4 TB | Pro 2 TB |
| Crucial MX500 | huge capacity for small money, also in 2 TB | Crucial 2 TB |
| SSDs 4 TB | comment | Amazon Link |
|---|---|---|
| Samsung 860 EVO | huge capacity in a reliable package, also as 2 TB and 4 TB variant | Evo 4 TB |
| Samsung 860 Pro | excellent speed and durability, also in 2 TB and 4 TB | Pro 4 TB |

RAM for MacBook Pro Late 2008 to Mid 2012 without Retina Displa
Suitable SSDs for Model Nummer A1286, A1297 and A1278 and Model Identifier:
MacBook Pro 5,1, 5,2, 5,3, 5,4, 5,5, 6,1, 6,2, 7,1, 8,1, 8,2, 8,3, 9,1 und 9,2
| MacBook Pro | year | Amazon Link | ||
|---|---|---|---|---|
| 9,1 (15 Zoll), 9,2 (13 Zoll) | Mid 2012 | PC3-12800 SO-DIMM | ||
| 8,1 (13 Zoll), 8,2 (15 Zoll) 8,3 (17 Zoll), | Early 2011, Late 2011 | PC3-10600 SO-DIMM | ||
| all from Late 2008 to Mid 2010 except 17" MacBook Pro 4,1 | Mid 2010, Mid 2009, Early 2009, Late 2008 | PC3-8500 SO-DIMM | ||

SuperDrive Replacement for second harddrive or SSD
If you would like to replace your SuperDrive with a second SDD or an additional harddrive, you can do so with this adapter. Your MacBook can get huge amounts of storage then.Because you can now mount two drives into your MacBook Pro unibody with this adapter, you can create different configurations. We tested them for you:
Internally possible drive combinations MacBook Pro Unibody
All drives available on the market are used:
- mechanical hard disk (HDD)
- Solid State Drive (SSD)
- mechanical hard disk with small SSD part (SSHD)
We used a 13″ MacBook made in 2008 with 2 GHz and a 2011 model with 2.3 GHz for testing. We wanted to know what effect the corresponding combinations have on boot time and general usability. You can find the boot times in the table, the felt experiences and further tips follow below. To sum up: An SSD is always worthwhile, no matter in which combination.
As you can see in the table, the 2008 MacBook always boots stoically in 40 seconds. Here, the age becomes noticeable after all. In everyday use, however, the difference between mechanical disk and SSD is easily felt. It just takes a few years off the device.
| Configuration | MacBook Unibody 13" 2008 2 GHz 4 GB | MacBook Pro Unibody 13" 2011 2,3 GHz 4 GB |
|---|---|---|
| 10.5.6 HDD | 35s | - |
| 10.13.5 SSD | 40s | 26s |
| 10.13.5 SSD RAID 0 | 40s | 23s |
| 10.13.5 SSD + HDD | 40s | 24s |
| 10.13.5 SSD + SSHD | 40s | 22s |
| 10.13.5 SSHD | 40-45s | 35-40s |
| 10.13.5 Fusion Drive | 40s | 24s |
The 2011 MacBook Pro also benefits greatly from an SSD. The previously usual start time of 45 to 60 seconds is now just over 20 seconds. And this with one (or two) relatively small 64 GB SSDs, which we used for testing. So with larger models there are still a few more seconds in it.
When upgrading, please note the following: In 2011 Apple started to switch the second SATA port (which connects to the DVD drive) from SATA 3 to SATA 6. What sounds nice at first brings a huge disadvantage: SATA 6 SSDs do not run stable at this connection for some reason. There are examples where this works, but in most cases MacBook will cause trouble if it is from 2012 or 2011 and both internal SATA ports support the newer variant.
Everything is fine until 2010, you can install the SSD where you want. For 2011 models, check the System Profiler to see if the second connection is the newer version or not – both standards have been used. So if you have a Macbook Pro that supports SATA 6 on the second port, ironically a mechanical disk belongs here, otherwise you run into problems with the stability. (tested with 2012 MacBook Pro > problems and with 2011 > stable despite SATA 6 and SSD)
But which combinations make sense? Here are a few words about the configurations:
SSD alone
The usual combination. The mechanical hard disk is defective, a new SSD is coming in. Smooth, quiet and fast. Make sure to transfer the four small screws on the hard disk to the new SSD.
SSHD alone
If you are not so keen on speed but still want to have a lot of capacity without living in the past, you can use a SSHD. This combination of mechanical hard disk and approximately 8 GB SSD combines the best of two worlds. For average use actually faster than purely mechanical plates. A very good solution for price-sensitive users.
SSD + SSD = RAID 0
If you want to get the most out of your old MacBook, you can connect a SSD on both interfaces and configure it to a RAID 0. This means that the data is distributed between both drives. This is super fast but also vulnerable: If one SSD fails, all data is gone. A nice solution, however, if you have two older 64 GB SSDs and an old MacBook and only surf the net anyway. Although the boot time is not noticeably faster than with an SSD, you can still notice the further bit of performance when using it. Notice our warning above though.
SSD + HDD
This combination has two motivational reasons: Either you want a lot of storage space and speed or you want to save money.
In the first case, the SSD is connected to the main connector and a new hard disk with a maximum height of 9 mm is connected to the DVD drive. If you want to keep the old hard disk (which is usually still 12.5 mm high and does not fit in the place of the DVD drive) in place, simply screw in the SSD using an adapter instead of the DVD drive. Notice our warning above though.
SSD + SSHD
If you have the habit of having the system data on the SSD and the user folder in terabyte size on the hard disk, the use of an SSHD could be clever. This only offers a small SSD buffered zone, but it is self-optimizing and can buffer the documents and data that you are constantly using.
Fusion Drive
You can also connect an SSD and a hard disk to a Fusion Drive. That’s a good solution if you have a very small SSD and just want to keep cost down and usability high.
USB 3.0 and eSATA for older MacBook Pros
Would you like to upgrade your older Mac with USB 3.0? That is not a problem when you own a Mac Pro that allows you to install PCIe cards or a MacBook Pro with an ExpressCard 34 Slot (which are 15″ models from 2006 until 2008 and 17″ models from 2006 until 2012). After that, all Unibody MacBooks got SD-card slots instead this upgrade possibility. So this is a situation where older is better. If you are lucky and do have a machine with ExpressCard slot or a suitable Mac Pro, you can easily upgrade to a few fast USB 3.0 port with the following products. How that is done is explained here for the MacBook Pro. It just takes seconds, as no software is needed.
USB 3.0 for older Macs.
USB 3.0 card will be send directly from our partner in Hong Kong, shipping is free. For our readers we could negotiate a little rebate. If you decide to guy such a product just follow the link on eBay, choose “Make Offer” and subtract two Dollars form the official price. In “Add message to seller.” you add “macandegg” and a few nice words and you will get the reduced price.
We would like to ask you to check the technical detail before buying. Altzough we made sure everything worked for suitable systems, details can change over time. So read the description carefully and make sure the product fits your Mac perfectly.
2 Port ExpressCard 34 USB 3.0 bis macOS 12

2 Port ExpressCard 34 USB 3.0 für OS X 10.6.8 bis 10.10.5
The following should be noted: some 17″ MacBooks do not seem to accept the corresponding ExpressCards, so it may be that the cards cause problems. This phenomenon is not known for 15″ models. In addition, it is possible that after a standby, the error message appears that the drives have been disconnected without deregistering them. However, this is not true and the drives are still connected and can continue to be used.
If you have already purchased the older, non-natively supported version of the card but are looking for a driver for Yosemite, you can email the seller and the new version of the driver will then be sent to you. This means that the card can continue to be used without any problems under OS X 10.10. The new driver also comes with kext signing.
No driver needed!
Simply retrofit USB 3.0 for the MacBook Pro and connect fast hard drives. The card does not require any additional drivers if you have OS X 10.8.5 or higher. Drivers are available for older operating systems. The card supports speeds up to 5 Gbps.
Instructions for Upgrading your MacBook Pro
Not only is a backup a basic obligation when upgrading your Mac, it should be an everyday task to help prevent loss of your important data. If you are exchaning a still functioning SSD for a new one, a bit of preparation makes the life a lot easier.
Always important:
Unplug the device and remove the power supply!
We don’t wanna get in contact with electricity and safety is always first.
Option 1: Data Migration via Internet Recovery und Time Machine Backup

This Option is the easiest, but you’ll need a fast internet connection, a bit of patience and a new Mac that is capable of Internet Recovery. Is your machine from 2009 or older, this option does not exist for you. Users of 2010 and 2011 Mac can update their Firmware first. Newer Macs are all capable of Internet Recovery.
If you decide for this option, you just fit the new SSD like in the instructions below and then start the Mac white holding cmd + alt + R. Internet Recovery starts and you can install macOS on your newly installed SSD. After that, you get your data back via your Time Machine backup.
Option 2: Bootable macOS und Time Machine
If your Mac is too old for Internet Recovery or your internet connection is way to slow it can be more helpful to make a bootable medium, like a USB Stick or SD card first. With that, you can download everything first and when you start installing, the installer starts immediately from the bootable medium.
If you have a bootable USB stick for example, you plug it in, after you installed your new SSD. When you switch it on for the first time, press the alt-key. This shortcut lists all your possible boot devices. Choose your installation medium. Before you start installing macOS, it can be necessary to format the drive first via Disk Utility.
During the installation of macOS you will get the chance to play back your saved data from Time Machine.

Option 3: Clone your drive first

This option is for all those who want to invest the time for copying date before changing the drive. When you would like to do that, please be aware that you will need an external USB enclosure for your M.2 SSD (or other format that you decide to buy).
After connecting it to the Mac you need to first format it via Disc Utility. You find it in Programs > Utilities > Disk Utility. The correct format is “Mac OS Extended Journaled”.
Then, you can clone your internal SSD 1:1 onto the external new one, which will soon change places. Programs for this task are Carbon Copy Cloner or SuperDuper.
…and two screw drivers
First thing you do before accessing the internal drive is removing all the screws from the underside of the MacBook. Don’t be too afraid: they are only a few and it really is easy. You will need the following two screwdrivers for the upgrade process:
After you removed all screws and removed the bottom plate, you can see the internals of your MacBook. On the left is the optical drive, on the right the logicboard, in the left corner the harddrive and on the right the battery. First step: remove the battery plug from the logicboard.
Macbook Pro RAM Upgrade
This part is the easiest of all. The RAM models are hold by little brackets. You can bend them carefully away from the module. The module itself then can be removed by rising it to a 45 degree angle and then way from the MacBook. The one below as well. The installation of the new modules is exactly the other way around: insert them in a 45 degree angle and then push them down, until the brackets hold them in place. You can only install them in one position: please have a look at the key, that makes installation in the wrong orientation impossible.

Replace the harddrive for a SSD
Replacing the harddrive for a SSD is just two more Torx screws away: these are above the drive and hold a platic bracket in place. Remove it and then lift the drive carefully out of the MacBook. Then remove the cable carefully.

As you can see, there are four little screws on the sides of the drive. Remove these from the old drive and attach them to the new SSD. After that, plug in the connection cable and place it in the MacBook. Re-attach also the little plastic bracket to hold everything in place. Done!
Installation of a second drive
If you would like to replace the optical drive by a hard drive or even a second SSD, you make full use of the MacBook Pro’s variability. With an above mentioned adapter, this is very easy.
First Boot, Formatting the new SSD
Now is the time to boot your MacBook for the first time and format the new drive (unless you have cloned the data before, see above). So you start the machine and while the chime sounds, you press alt + cmd + R for Internet Recovery or just alt if you have prepared a bootable drive to start from. In any case, you will find yourself in the menu for the OS X/macOS Utilities. The fist option to choose is the Disk Utiliy:

There you can find the new drive. Click on it on the left side and then choose “Erase”. If you have an older Mac it looks like this:


Newer machines do show the following design:

For a name you can use the classic “Macintosh HD”. Filesystem must be “macOS Extended (Journaled) and scheme should be “GUID Partition Map”. After a short period of time, the formatting should be done.


Now the new drive is usable. Close Disk Utility and begin installation of OS X or macOS or recover your data via a Time Machine backup.

If you’d like to share your success with some pictures and help other, feel free to post in our forums! >>>
How to update from OS X 10.6.8 to 10.11, 10.12 or macOS High Sierra 10.13
Either you’ve made a bargain and the MacBook you’ve purchased hasn’t been updated in a long time? Or you have been too lazy lately and read one of our upgrade guides, but can’t get the latest operating system installed? We’ll show you how it’s done. As an example, we assume a 2009 MacBook Pro that is not yet suitable for Internet recovery to install an operating system.

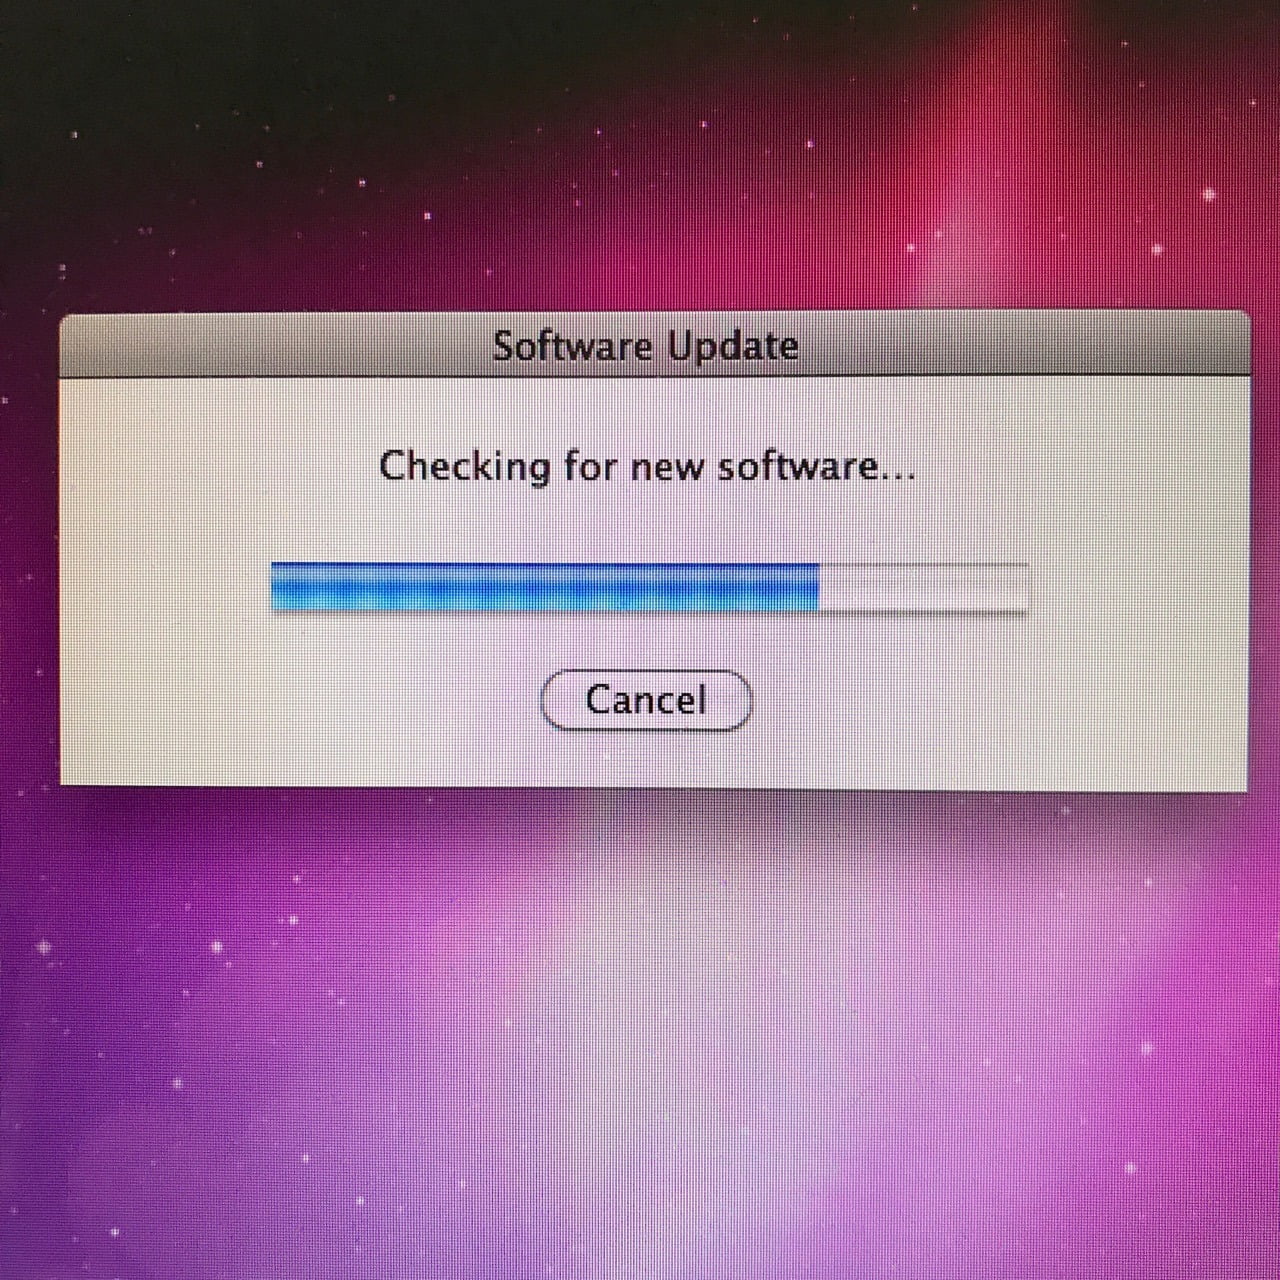
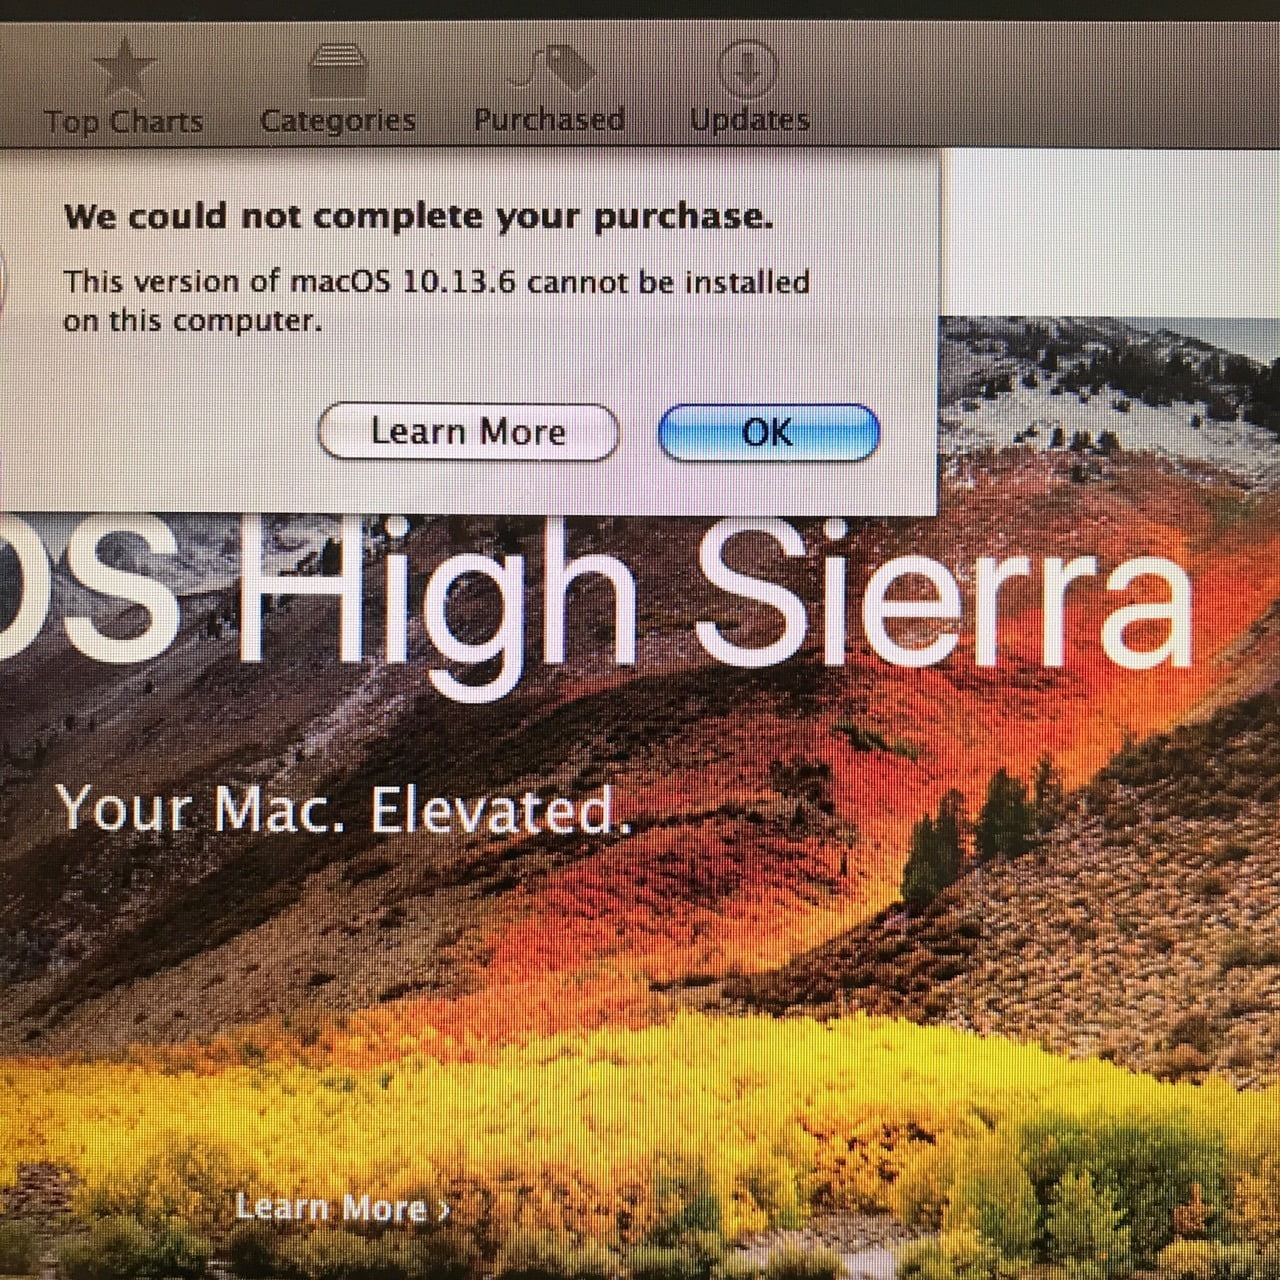
Apple allows you to jump directly from 10.6.8 to 10.11. You have to do this on the old Snow Leopard version under Apple > Software Updates. Sometimes you have to call this function twice in a row. If nothing new is found, go to Apple > App Store. There you will be offered macOS High Sierra under “Updates” – but this can’t be installed on your MacBook.
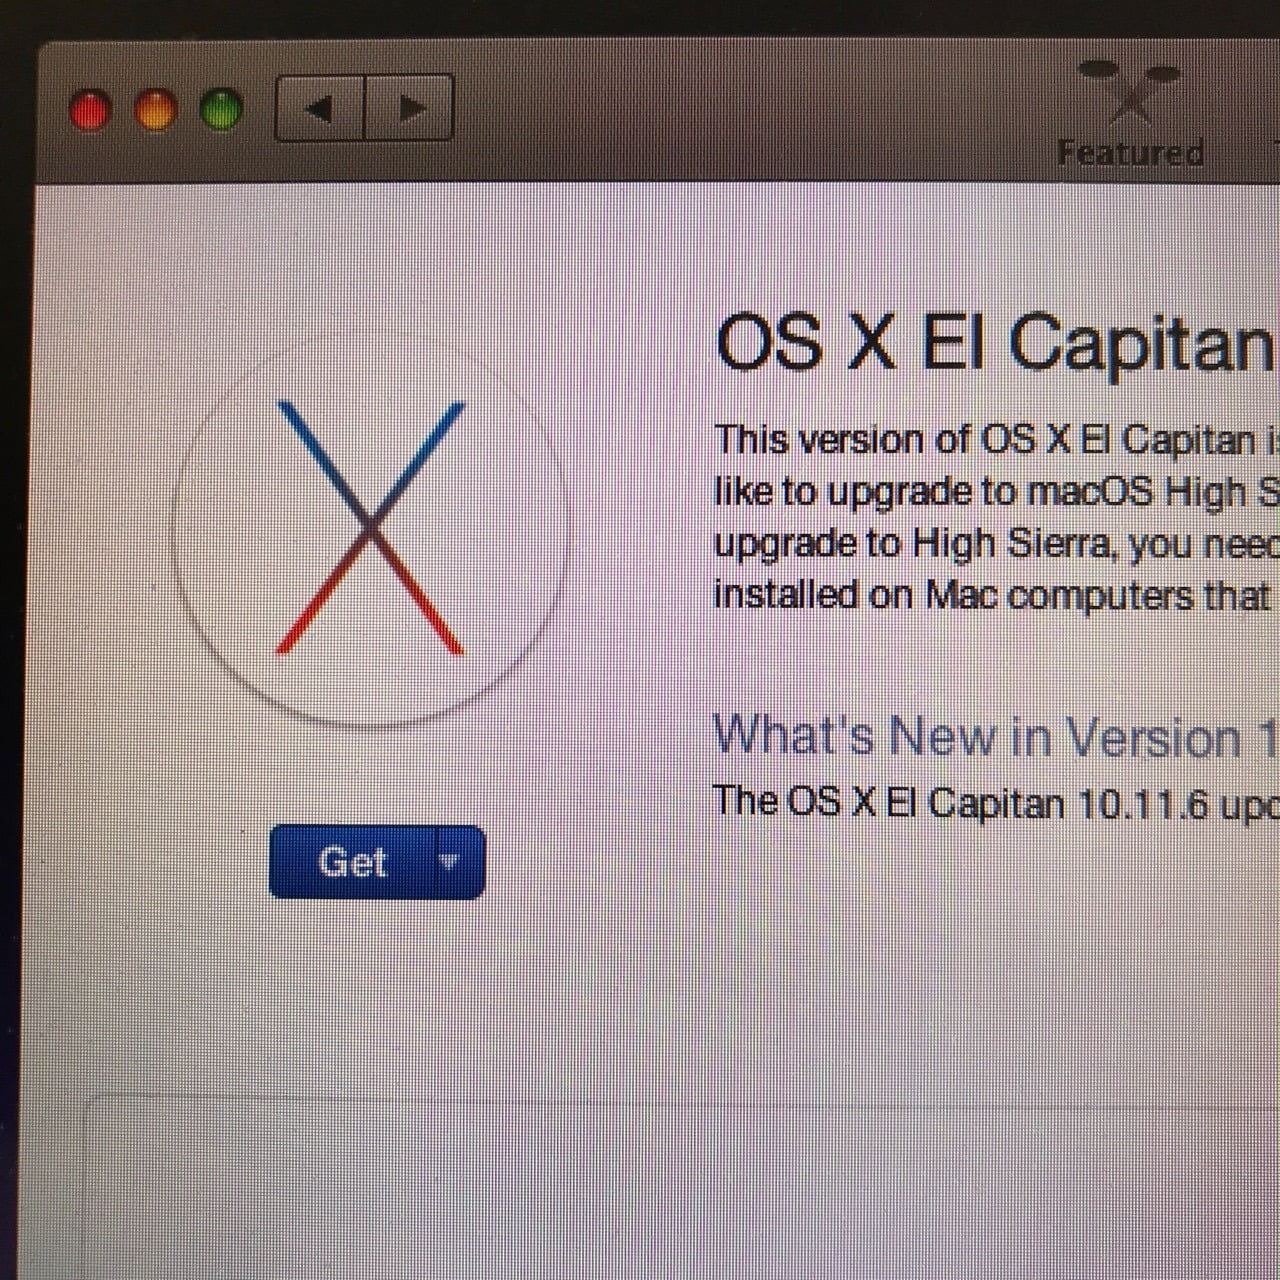
What we need is El Capitan 10.11. Because Apple hides it in the search, we can’t find it on the App Store by ourselves. Leave the App Store open and click on the following link in the browser of the MacBook you want to install on:
You will find the required operating system version in the App Store and can click on “download”. Now it’s getting a bit absurd: The App Store asks for your Apple ID and password.
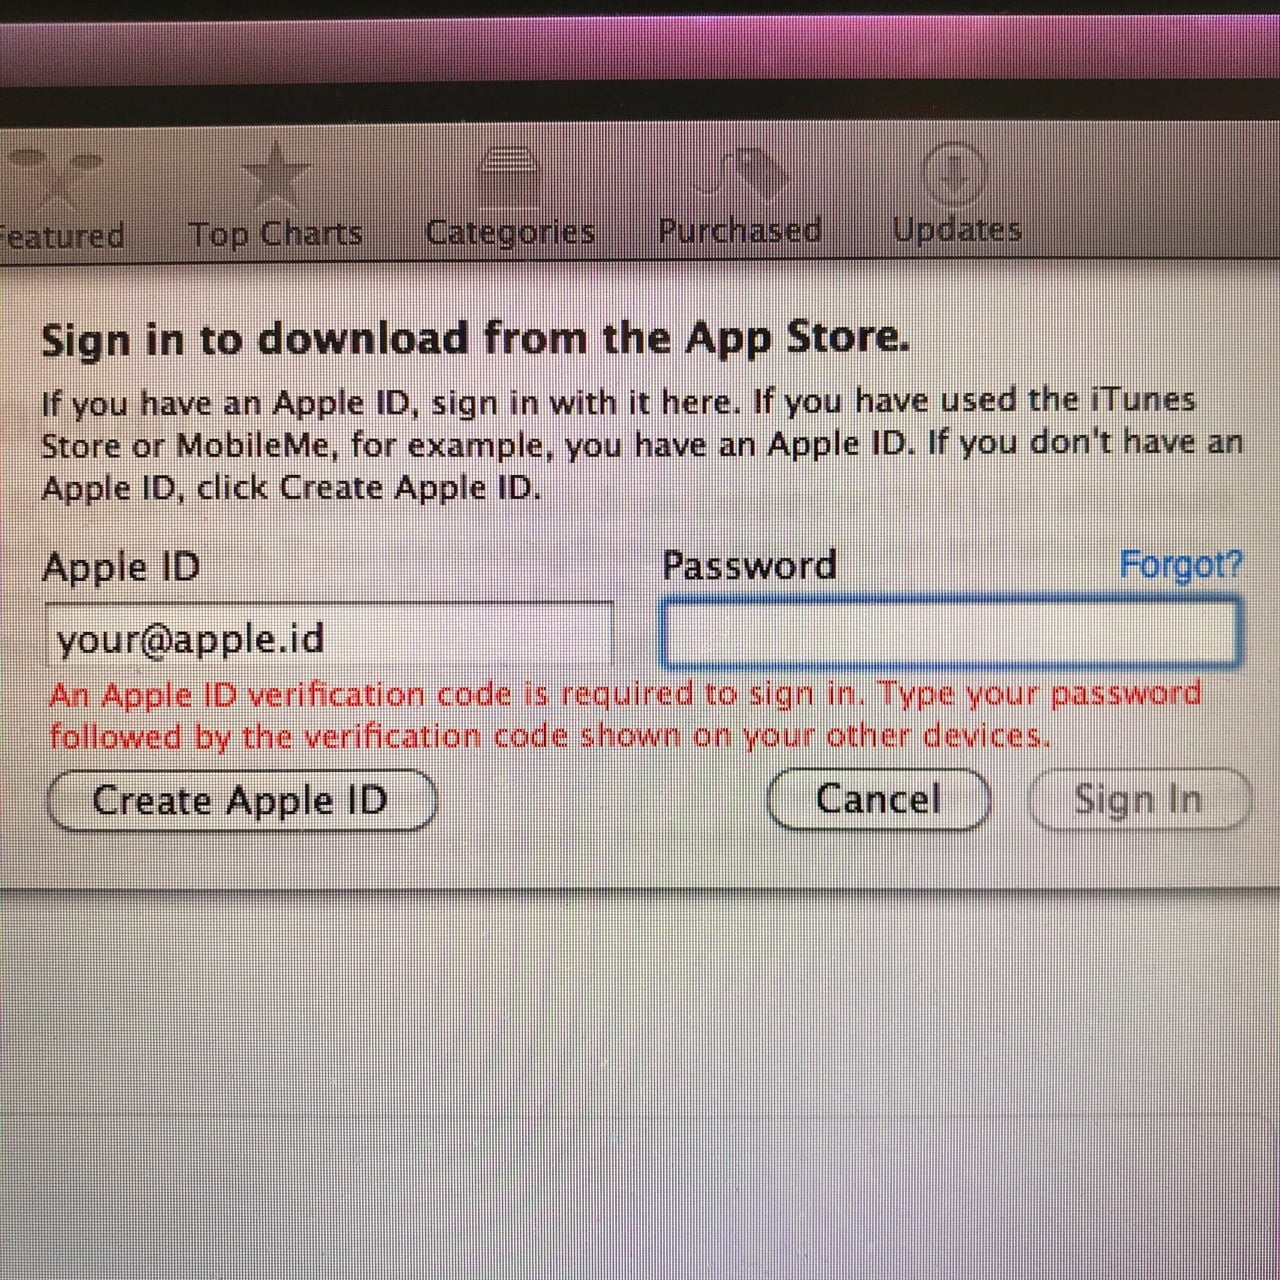
If you also have Two Factor Authentication enabled for your Apple ID, your iPhone will now log in and display the usual six-digit code to unlock it. Let’s assume 111 222, the only field in the old Snow Leopard where this code could not be entered at all. The trick is to attach the code to your password. The entries in the fields for Apple ID and password will look like this, including the code:
- Apple ID: your@apple.id
- Password: yourpassword111222
So just add the code to the back of your password. Then the two factor authentication is satisfied and you can download 10.11. In principle a very clever solution from Apple to make an old system fit for a function, which did not exist at that time at all. But a bit absurd if you don’t know how to do it.
Then you can upgrade even more, depending on the age of your Mac. Apple has listed the requirements here: https://support.apple.com/de-de/HT201475