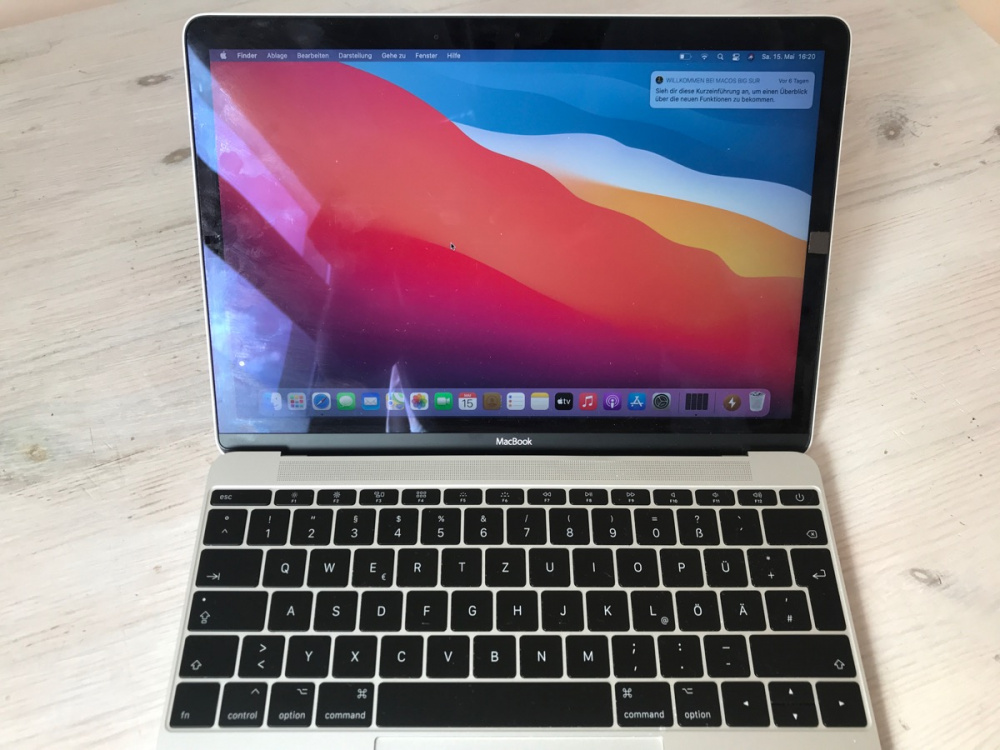
MacBook 12 Retina A1534 Display 2015 on 2016 2017 model

You are currently repairing a MacBook 12" Retina A1534 and wonder if you can use a display of the 2015 model also on the devices from 2016 and 2017? This is possible with a little trick.
Mechanically it fits and also the display cable is exactly the same. However, Apple always builds in a few hurdles so that spare parts from MacBooks of different years cannot always be taken over without problems. In the case of our A1534, the trick is that Apple plays with the number of magnets in the display. The 2015 model has a magnet on the left side and a Hall sensor in the keyboard on the left side so that it can detect when it is closed and should fall asleep.
MacBook A1534: 2016 2017 Display needs two magnets
The 2016 and 2017 models have a magnet on the left and right and therefore two sensors in the keyboard as well. So if you now take a 2015 display for a new model, one magnet is missing and the Mac doesn't fall asleep (the other way around works of course, the second magnet of the newer display is simply ignored in the 2015).
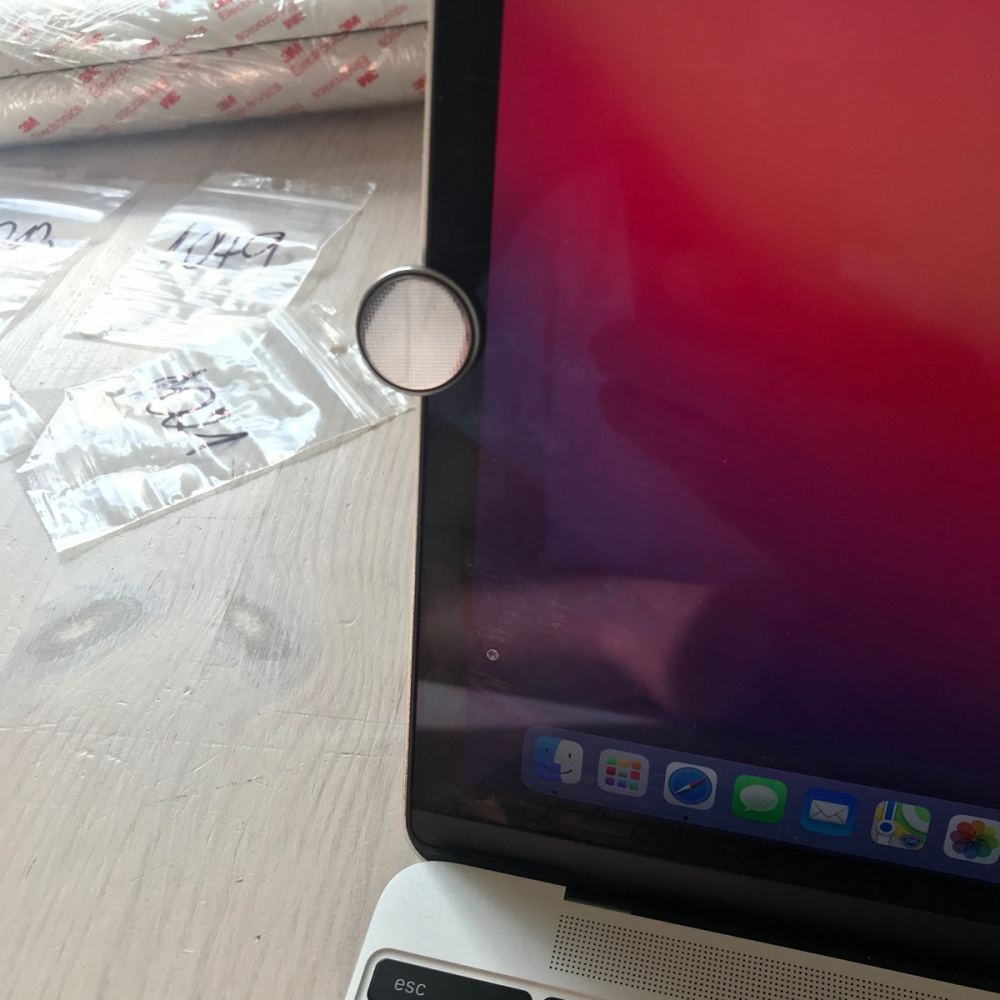
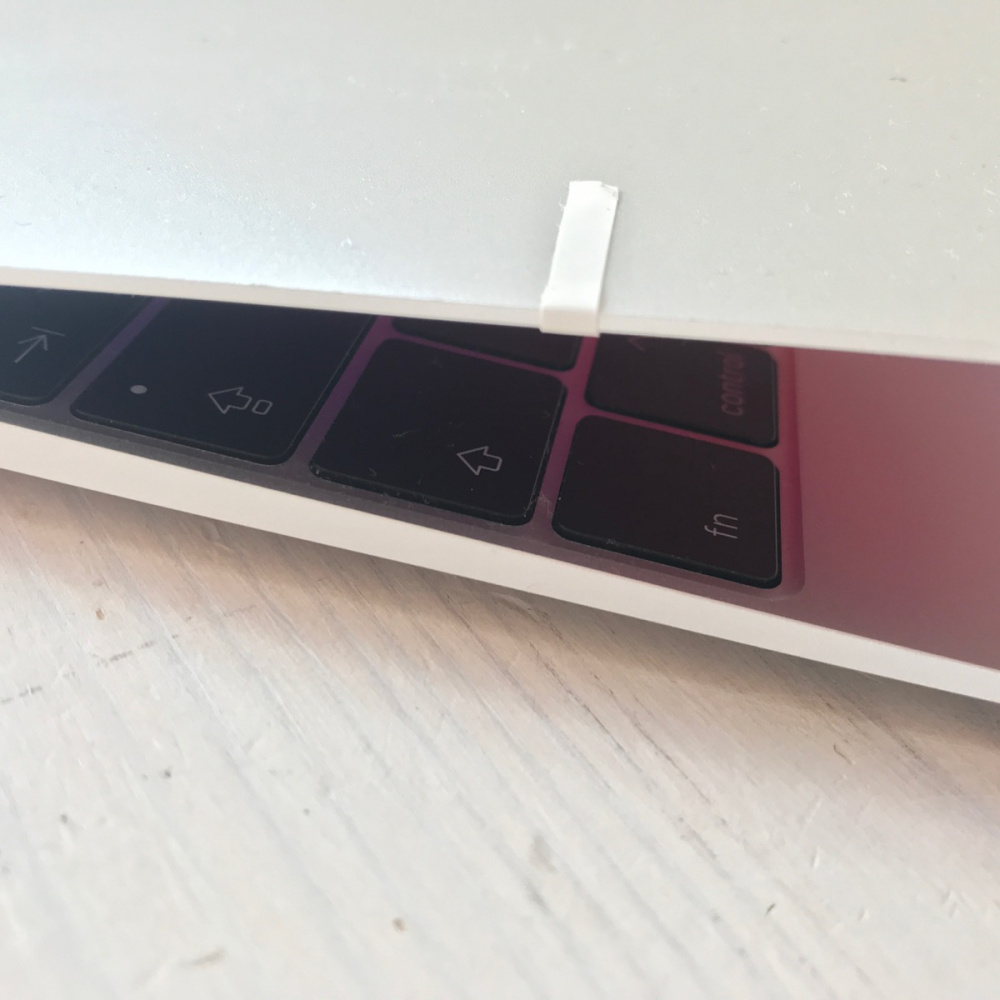
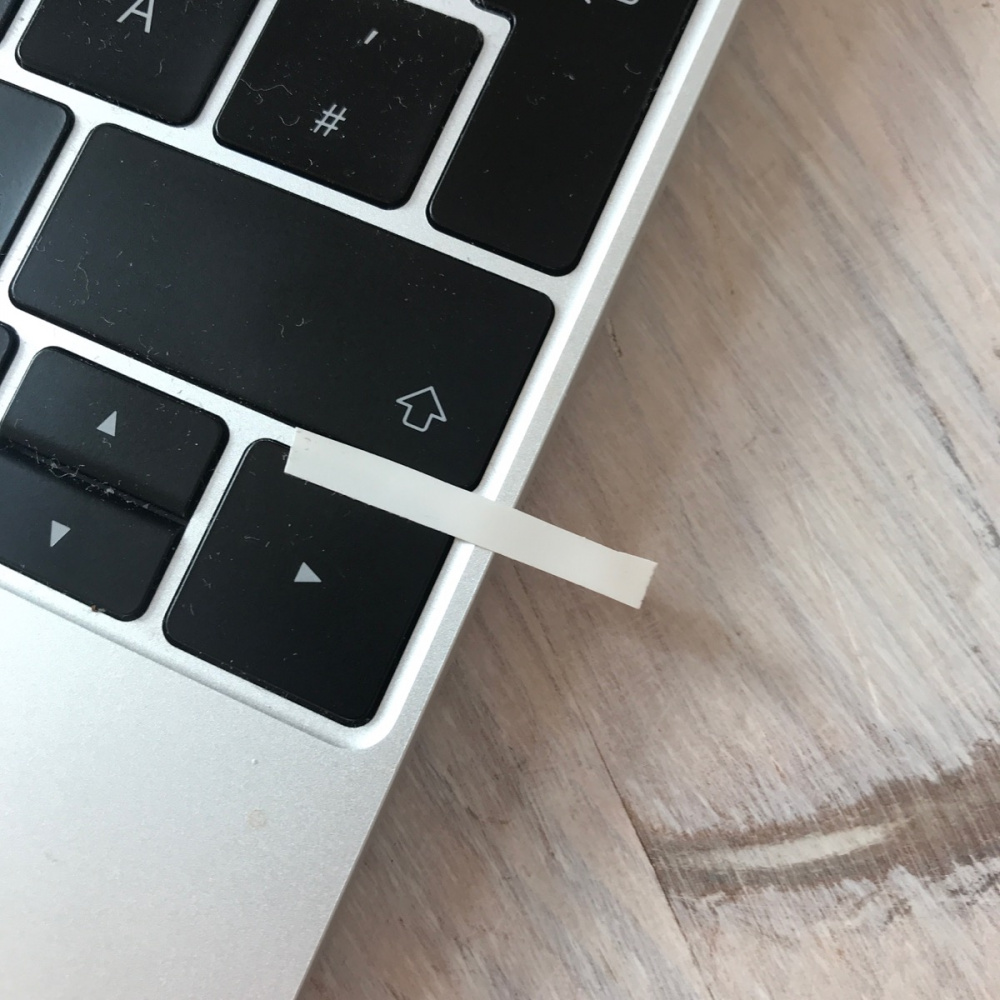
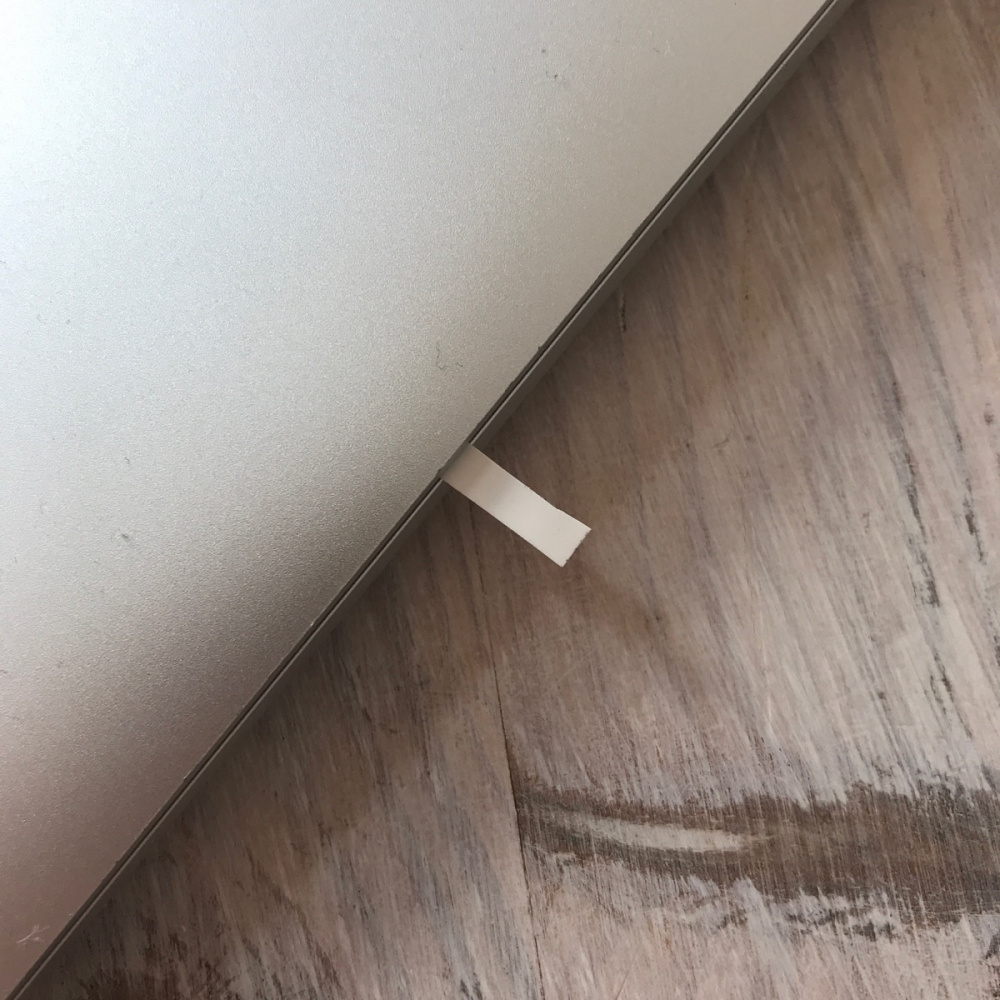
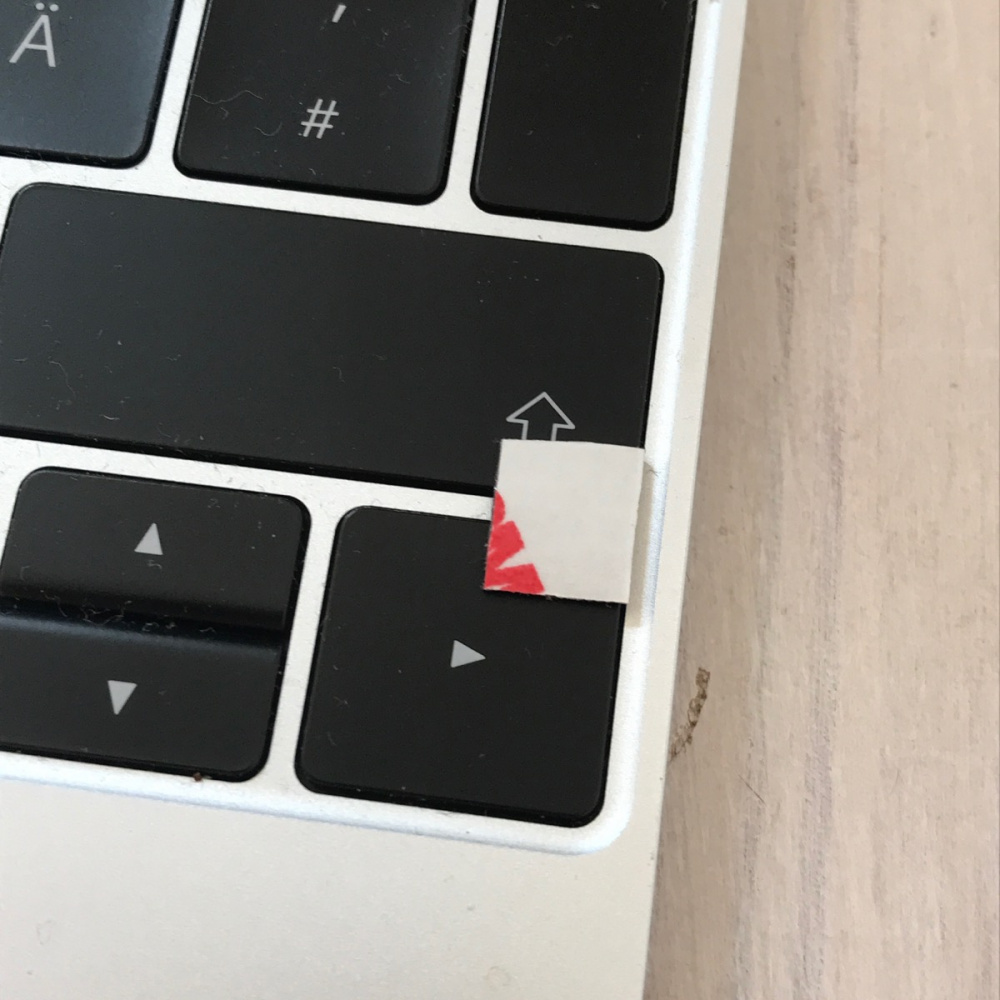
The workaround is as follows: You simply attach a second magnet to the right place of the 2015 display or even more elegant: You simply use a piece of magnetic foil that you stick on the edge of the display. The position of the magnet and the Hall sensor is easy to find out: something metal sticks to the corresponding spot on the display. Note the position, fold down the display and look at where the magnet would land: exactly between the last and second to last row of the keyboard on the outside. We transfer this to the right side, where the additional magnet is missing. Take a piece of tape, put it with the adhesive side up and fold the display on top. Now you know where the magnet has to go.
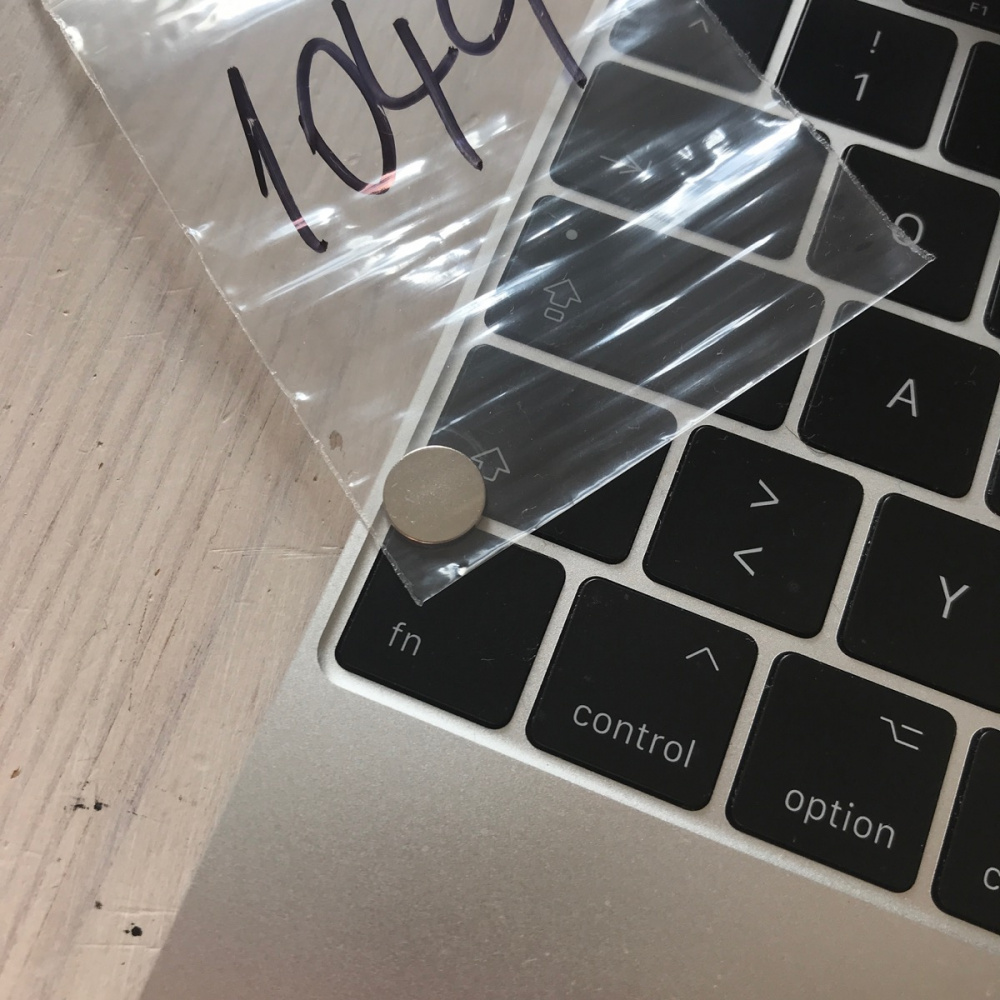
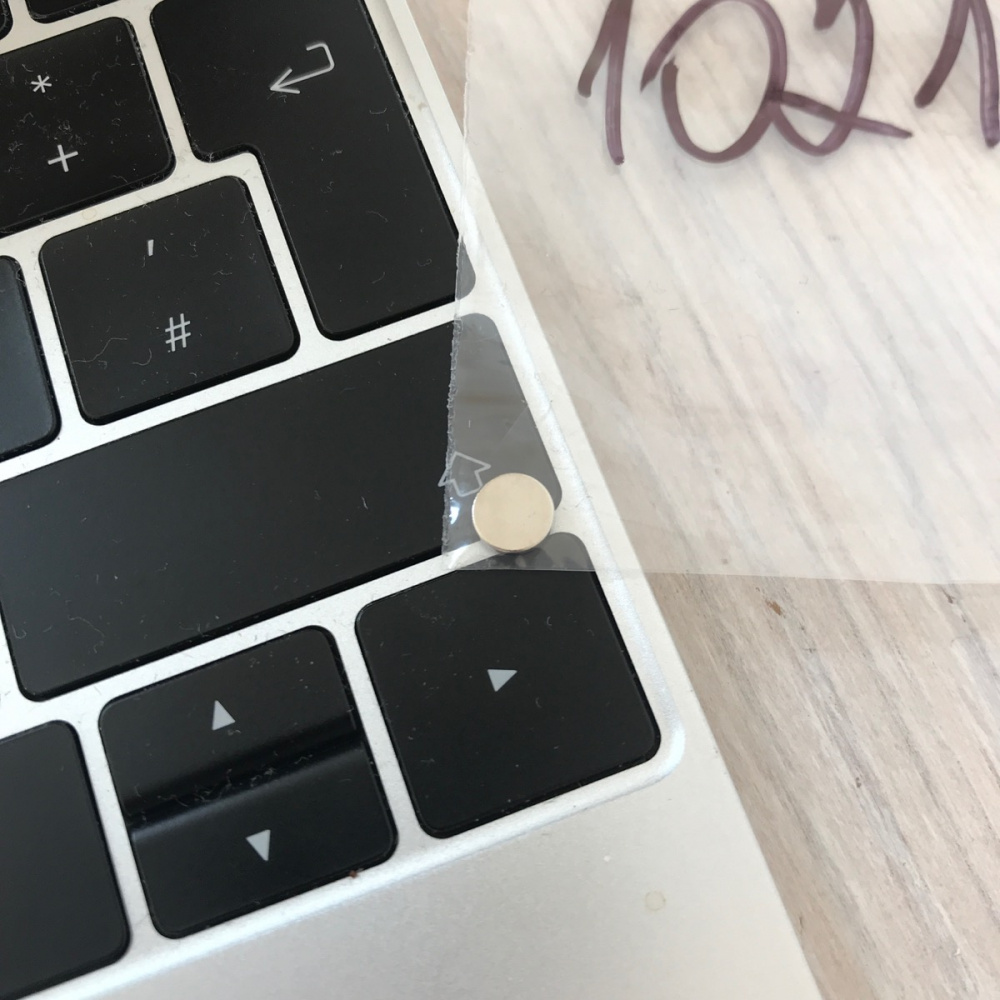
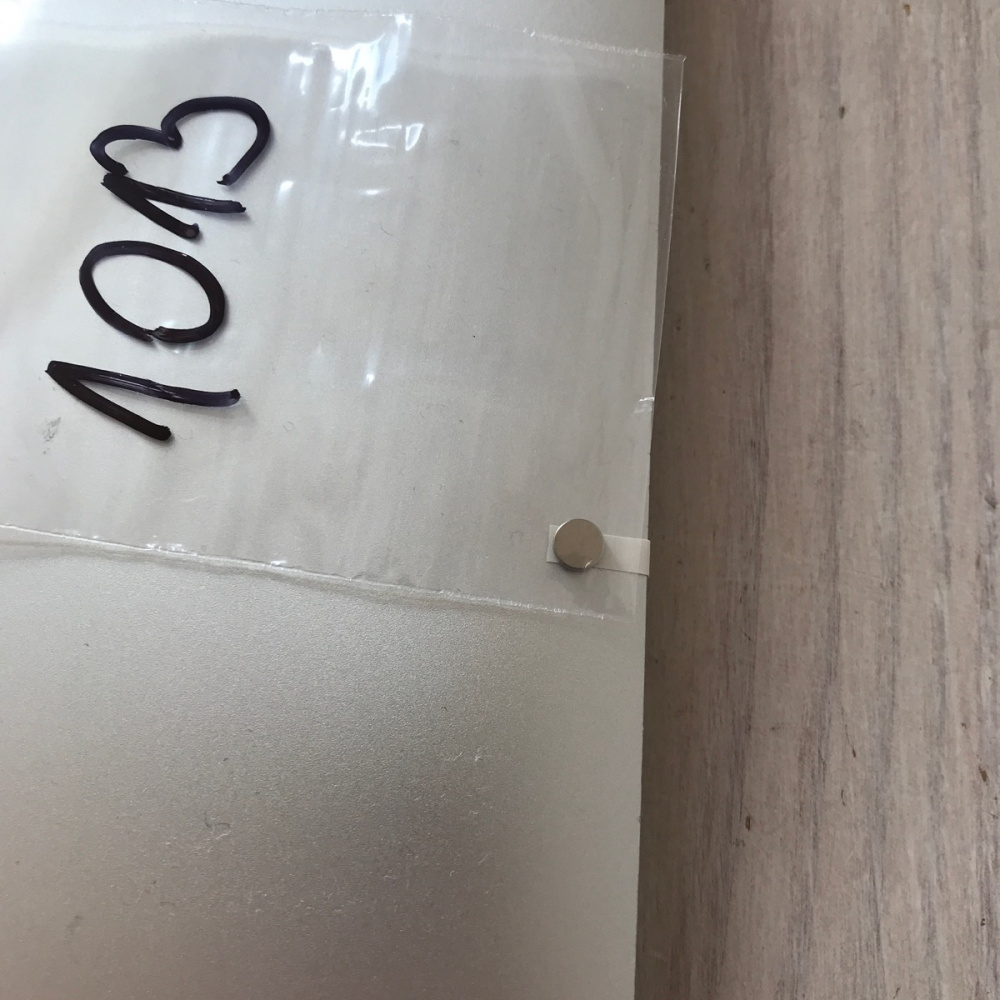
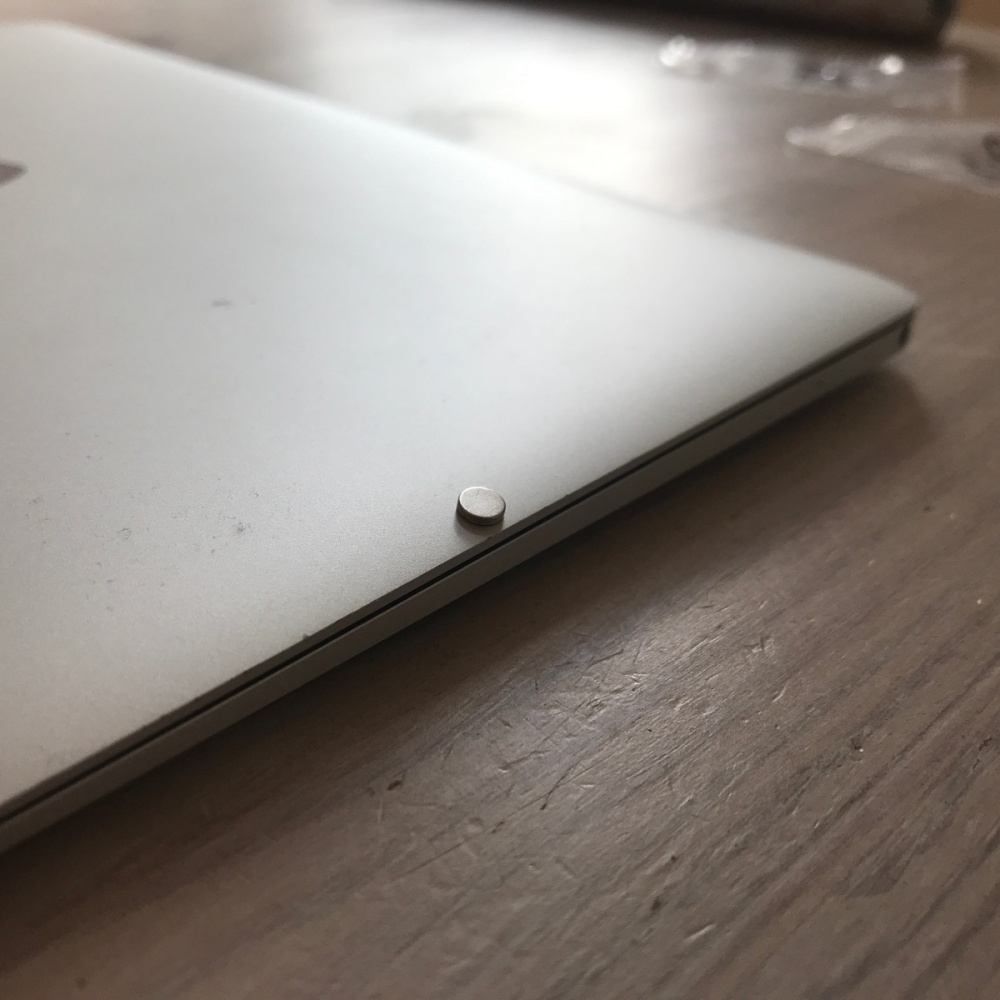
Either take a small neodymium magnet and stick it on the outside of the display (handy if you don't travel much with the MacBook). It is so strong that the Hall sensor on the right side of the keyboard reacts to it. The smallest one we tested was 6x1 mm and cost 6 cents (see picture).
Or, much more elegant: You get yourself some neodymium magnetic sheet. It is not available everywhere and is very expensive as a whole roll, but they are available at MagnoSphere for example. You'll have to see where it's currently available at a good price. The specifications are:
- Neodymium magnetic sheet 3M
- Adhesion: about 200 g/m²
- 0,5mm thickness
Just cut out a small square, no bigger than the black border of the display and stick it on the intended place. It doesn't look too bad and it even glitters a bit. And when working with the display turned on, you don't pay attention to it anyway. It is important that you take the version that is only 0.5 mm thick. It will just fit between the display and the keyboard without causing problems, even if it protrudes slightly beyond the rubber lip.

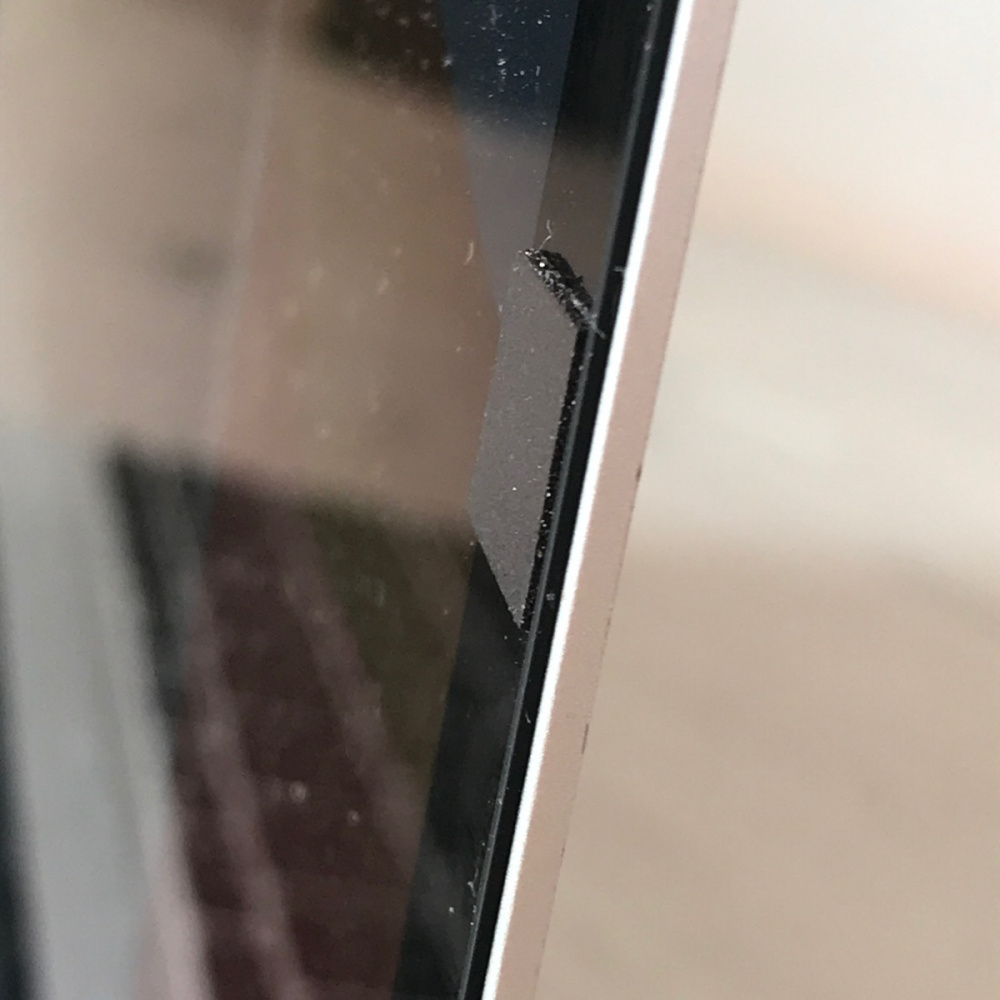
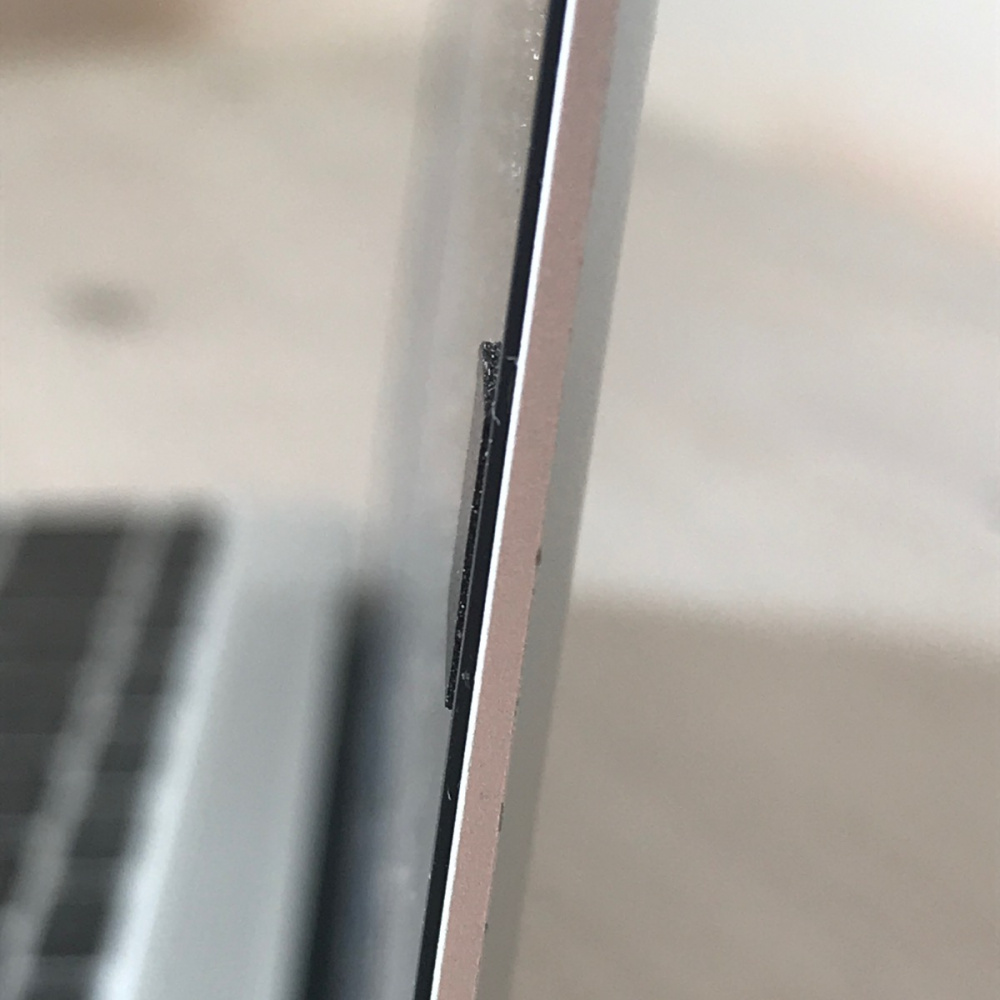
And with that, you simply added the second magnet on the right side. The neodymium version of the foil is strong enough to trigger the Hall sensor and thus the standby mode of the MacBook with the "wrong" display. We didn't succeed with a weaker conventional foil, but you can try it out if you have one by placing it on the corresponding parts of the keyboard. The neodym sheet seems to be four to five times stronger than other magnetic sheets. Otherwise, just use the small external magnet on the outside of the MacBook.