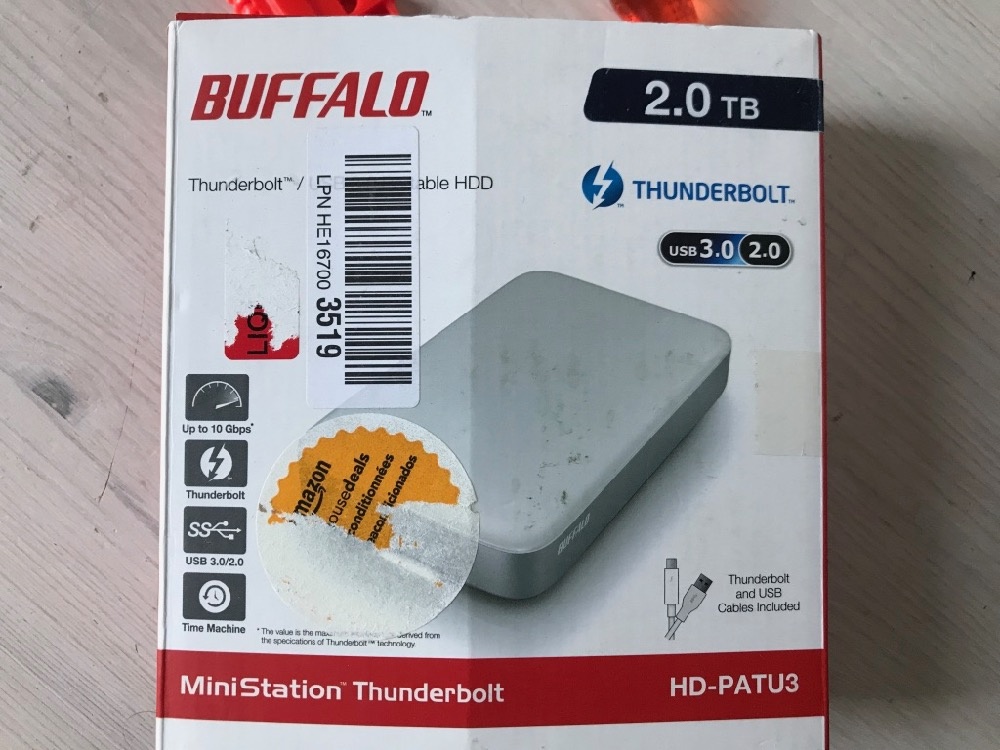
Buffalo MiniStation Thunderbolt SSD hard drive swap

Instructions: Open/repair the Buffalo MiniStation Thunderbolt and replace the hard drive.
If you have a defective Buffalo MiniStation Thunderbolt and simply want to swap the hard drive or SSD, you can do so relatively easily. The case is a bit stuck, but it's not impossible to open it, replace the drive and close it again afterwards. We will show you how.
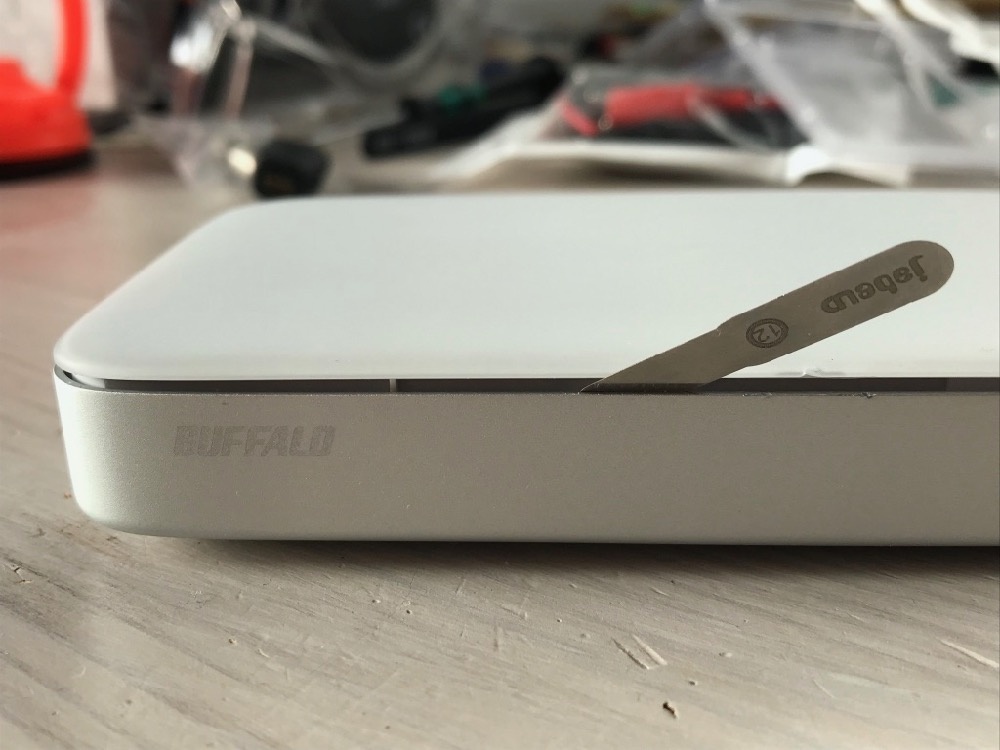
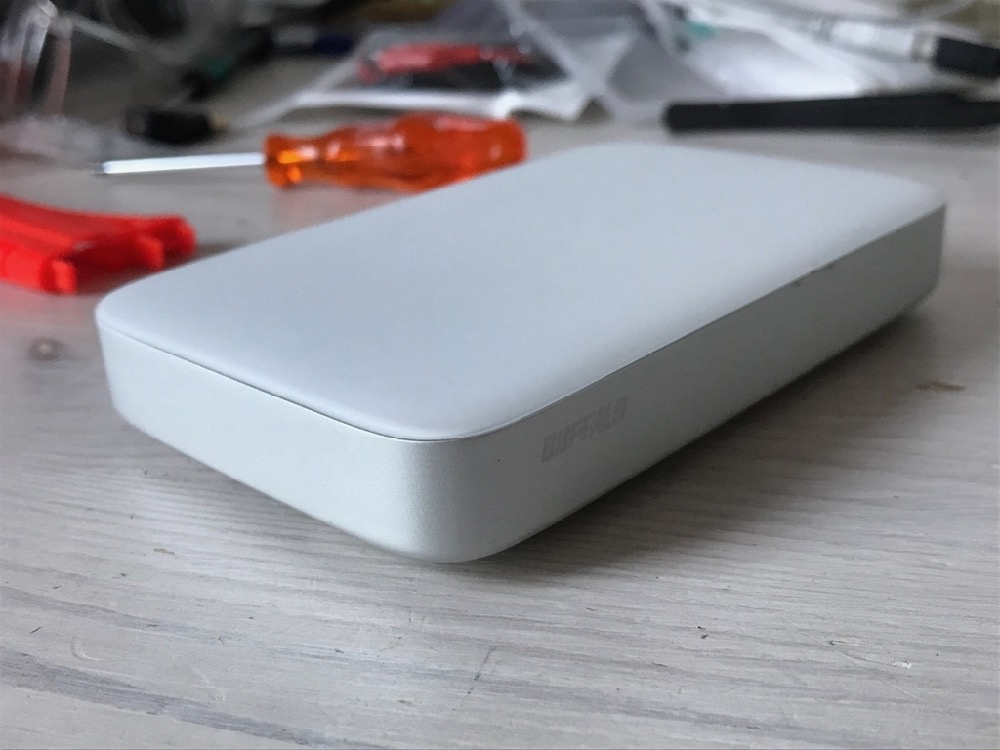
First of all, you should warm up the bottom side, the aluminum case with a hair dryer. Just blow dry it a little bit until the case is quite warm. This will loosen the glue inside a bit.
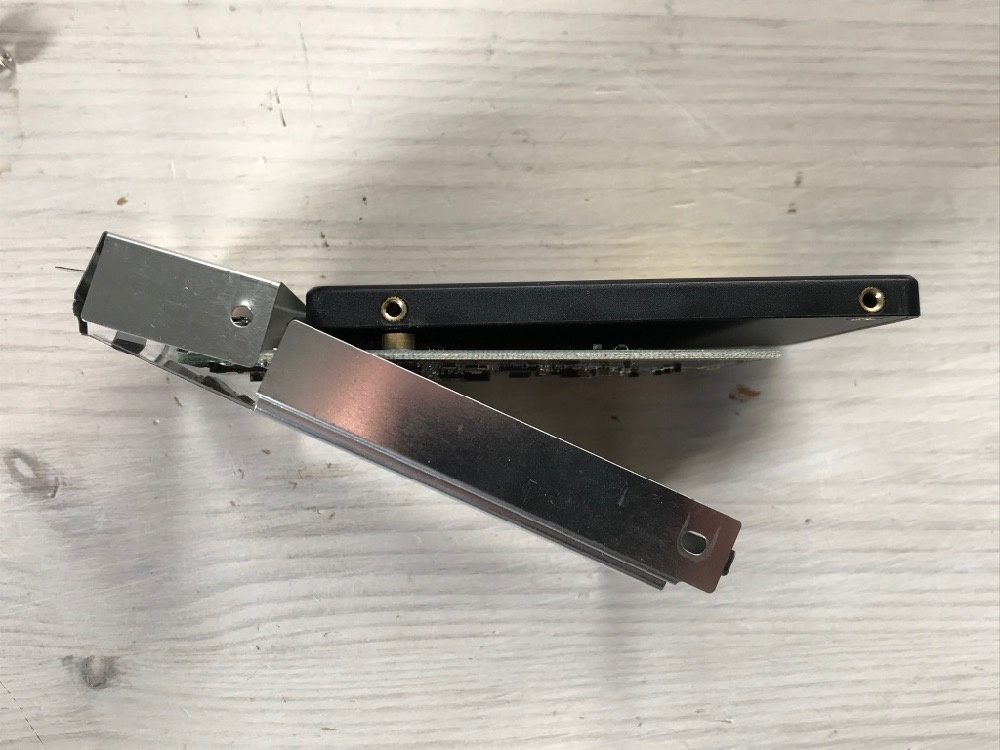
Then press on the two U-shaped rubber feet. Press them in firmly so that the white plastic lifts upwards. If you like, you can also use a plastic spatula on the top. Don't use metal (as shown in the picture), it will scratch the surface.
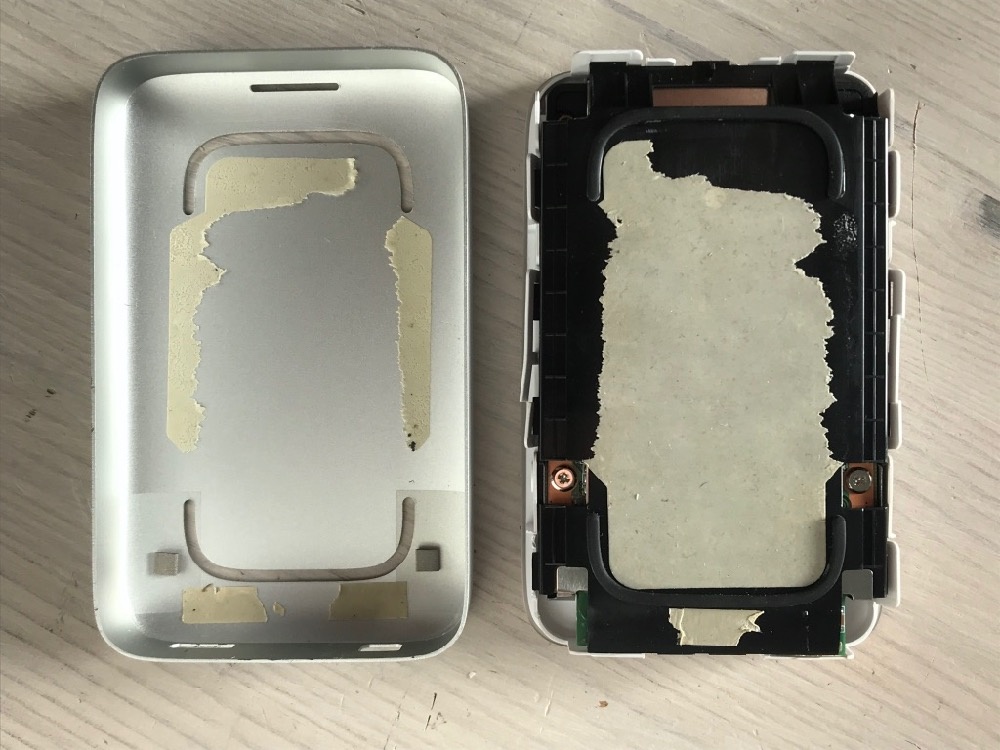
Eventually the glue will come off and you can remove the whole top pack from the aluminum tray. That was the hardest part. Make sure that the glue does not collect too much dust, we want to reassemble the whole thing afterwards.
Now loosen the four screws all around.
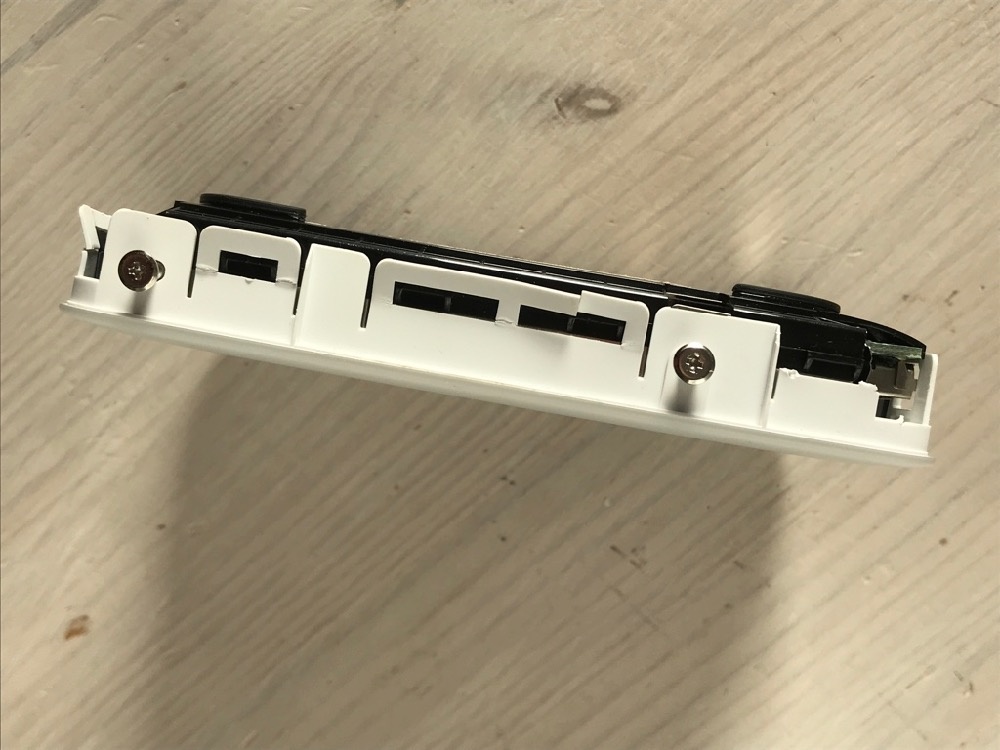
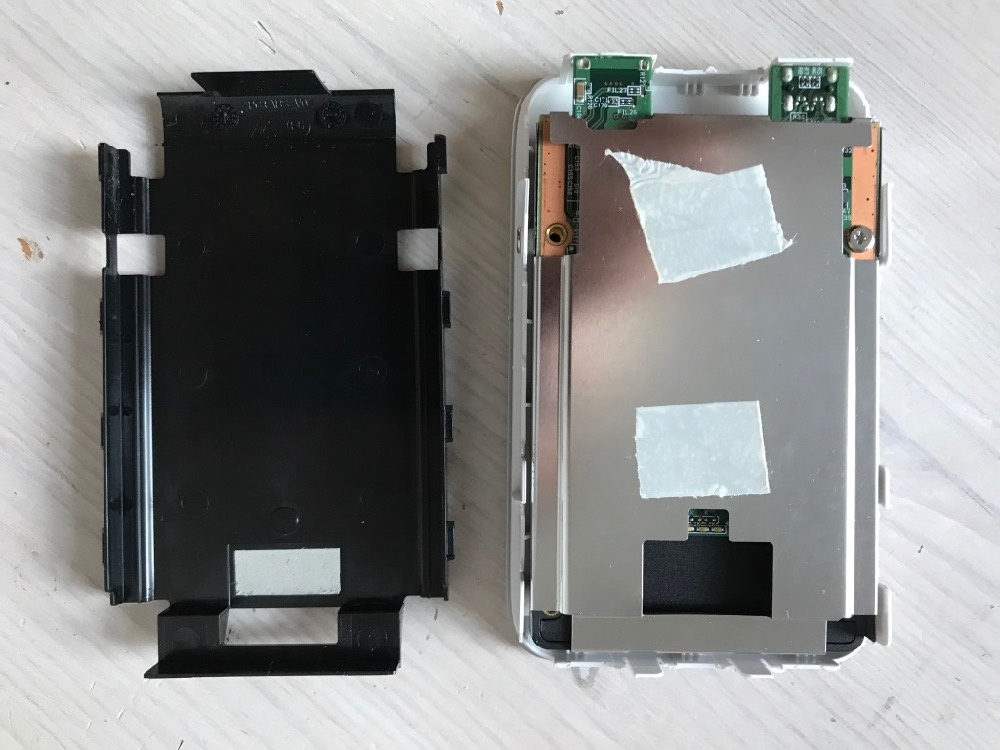
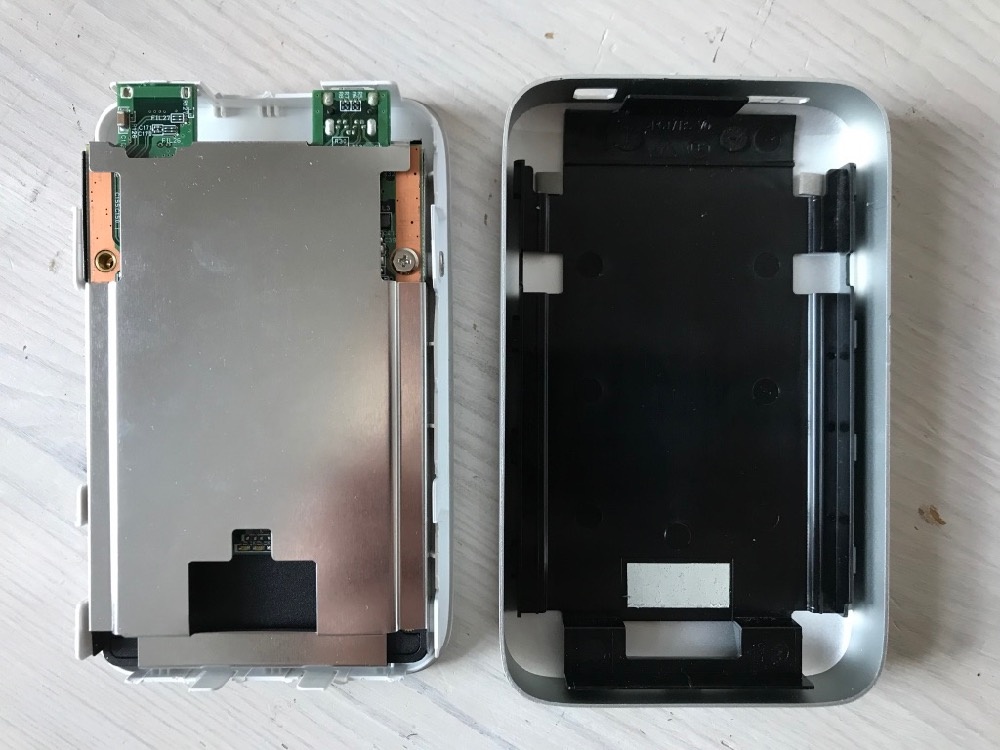
Next you have to remove the black plastic part. This is held by white hooks on the top. Try to bend them carefully without breaking them. That they break can happen, the main thing is that they still stay on. Some instructions on the net say it doesn't matter if they break off, but that's not true. We had one with such brittle plastic that really all broke off, but then that leads to problems when reassembling.
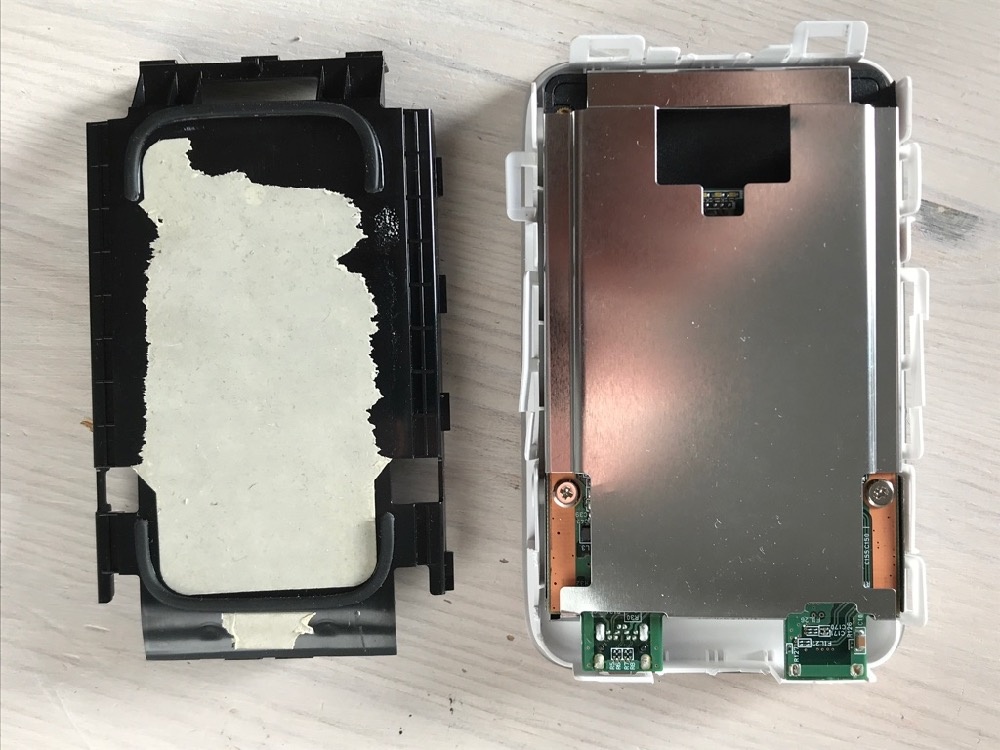
While you are carefully bending the hooks, remove the black plastic and also the metal package from the white top shell.
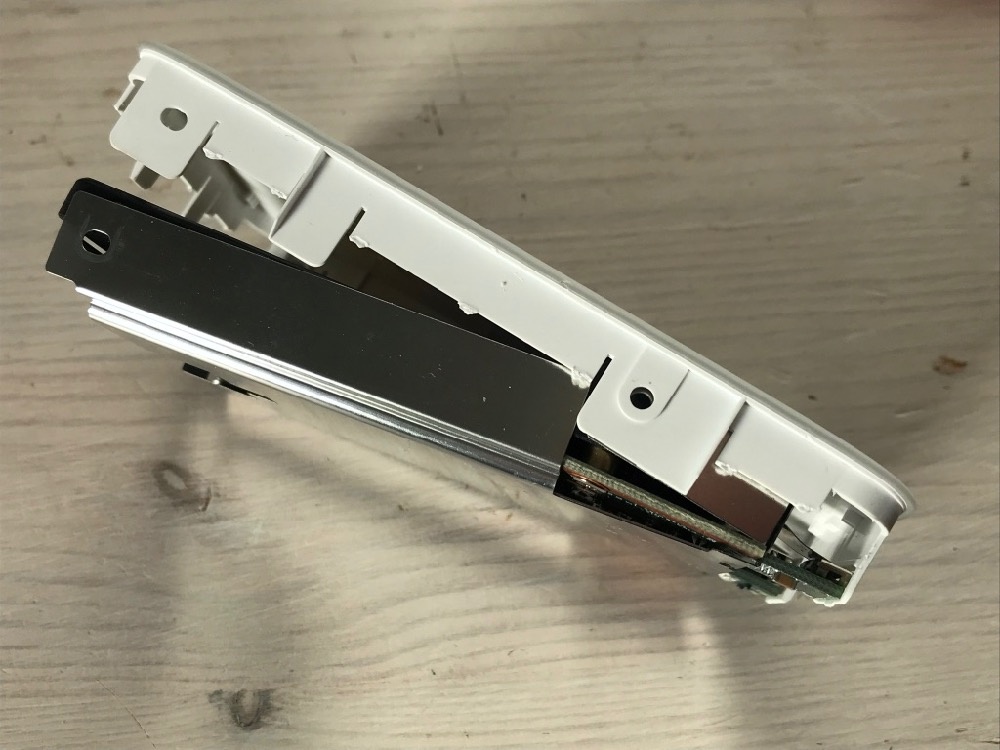
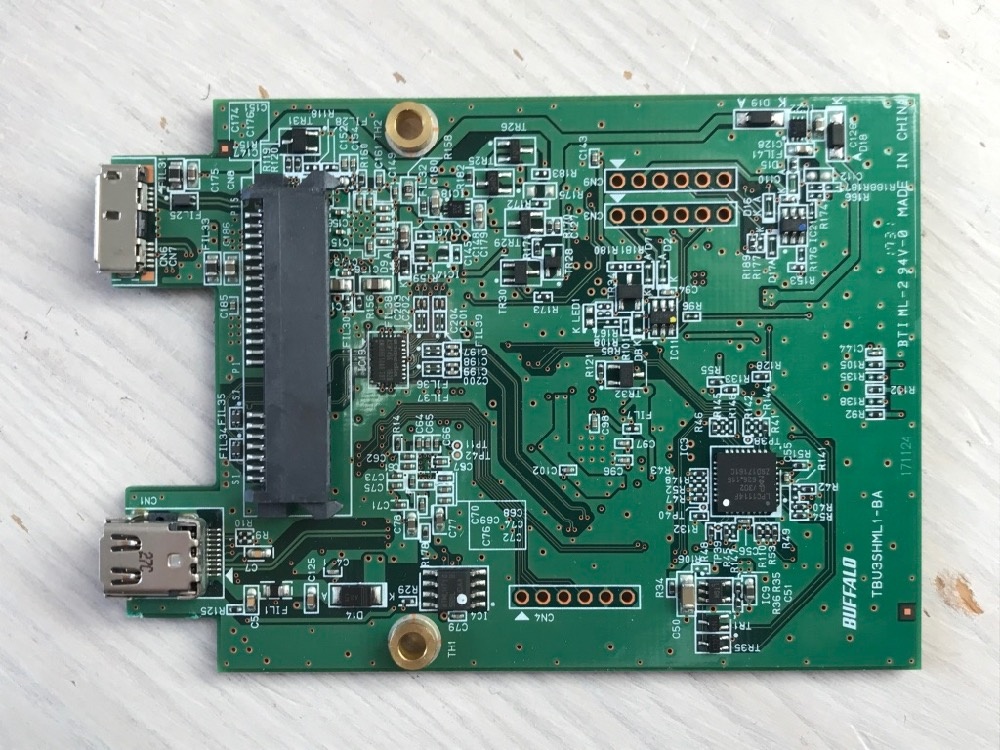
You can now simply turn this so that you can pull out the hard drive with the board diagonally to the back.
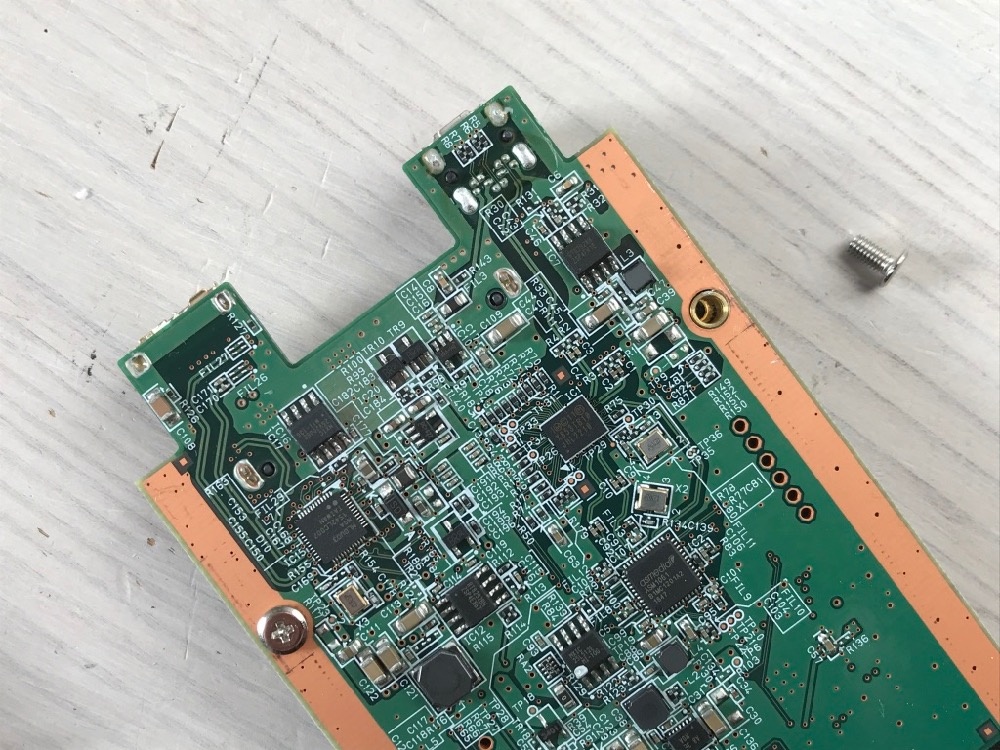
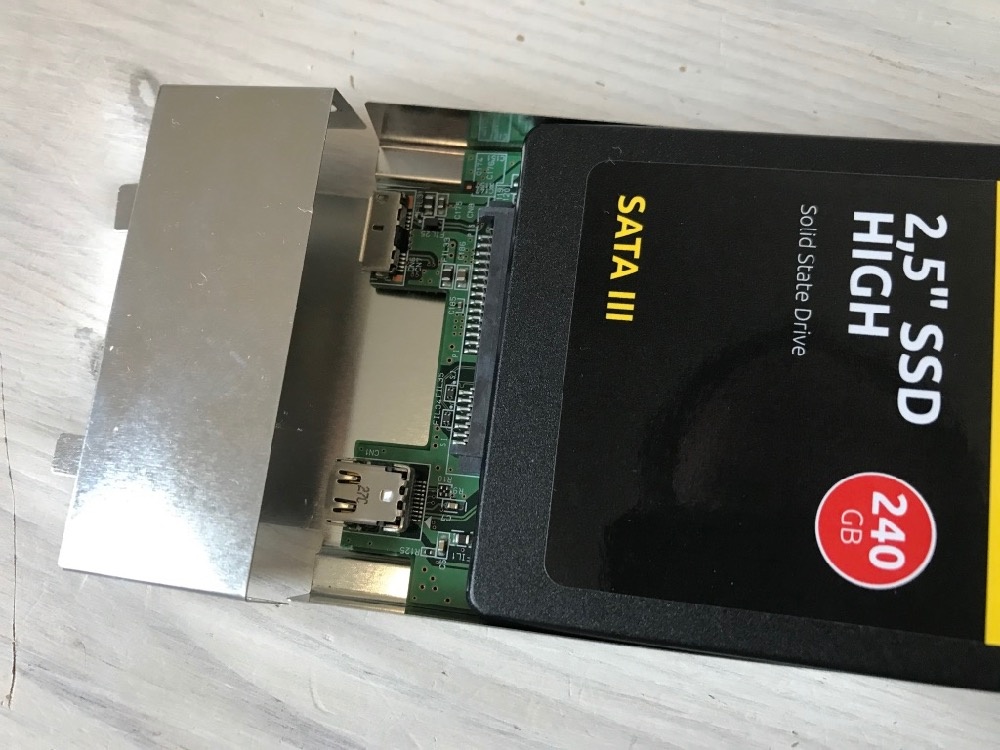
Remove the two screws that connect both elements and change the drive. Now simply reassemble everything backwards. We found it a bit easier to first put the black plastic back on the metal part and then put everything at once back into the white part.
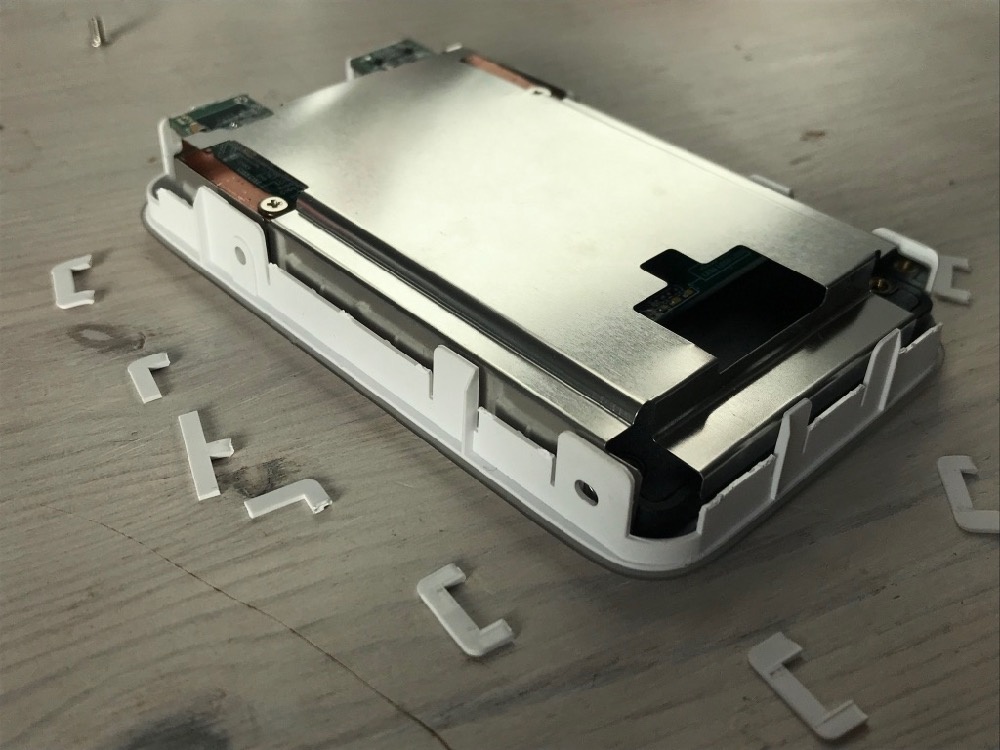
A little hint for all of you, where all clips should have been broken off: these clips hold the black and the white plastic part together, the black part in turn sticks to the aluminum case with the double glue. So if there is no more connection between the black platform and the white cover by the hooks, there is nothing to hold the hard drive, which is after all fixed with screws to the white top, in the aluminum case.
For this purpose we simply used double glue between the metal bottom and the black plastic plate. This way, the whole thing doesn't fall apart after assembly. However, a small flaw remains: since the double glue doesn't bond the white top to the rest as tightly as the hooks, a small gap remains between the lid and the aluminum case. Nevertheless, it is fully functional. So watch out that the plastic lugs stay on somehow. Even if they are a bit cracked they can still usually do their job of holding the two plastic parts together.
If you don't want that, you can also put the black part with glue back into the aluminium enclosure and just lay the part with the drive on top. Then it is not fixed, but gives you a bit more flexibility in case you want to change the drive again - a viable solution for static use cases.

Here are a few suggestions for a couple of 2.5" drives:
as normal 2.5" drive*
as SSHD - handy if you want to use the external disk for an operating system*
a NAS model - if you want it to run 24/7*
a couple of SSDs - convenient as you have a Thunderbolt/USB 3.0 connection*
and a few Thunderbolt 2 cables*