Tutorial: Display Repair (Inverter, CCFL, Panel) MacBook white 2006 to 2009 A1181

Why repair such an old MacBook at all? Because it works, because it reduces electrical waste, because the device costs nothing anymore and you can learn to do repairs for little cost. You will also learn how to make one out of two old devices. Or you are a collector and love this model, but you have to repair it and want to keep it as original as possible. Everyone else may just be curious and want to see what the display looks like from the inside. ![]()
Our instructions start where ifixit stops. Our first tip for a broken display is to take a complete assembly from another MacBook. That's what we did: Change assembly, done.
However, there are three other possibilities: often it is the inverter, if the display still shows information, but the lighting does not work anymore. This is easy to change, once the display is removed. If more is defective, the entire panel can be replaced. If you don't want to and just replace the small fluorescent tube (CCFL) (yes, no LED), then read to the end.
Aliexpress: Inverter for MacBook A1181
Aliexpress: Panel for MacBook A1181
Aliexpress: CFFL for MacBook A1181
In any case: have fun!
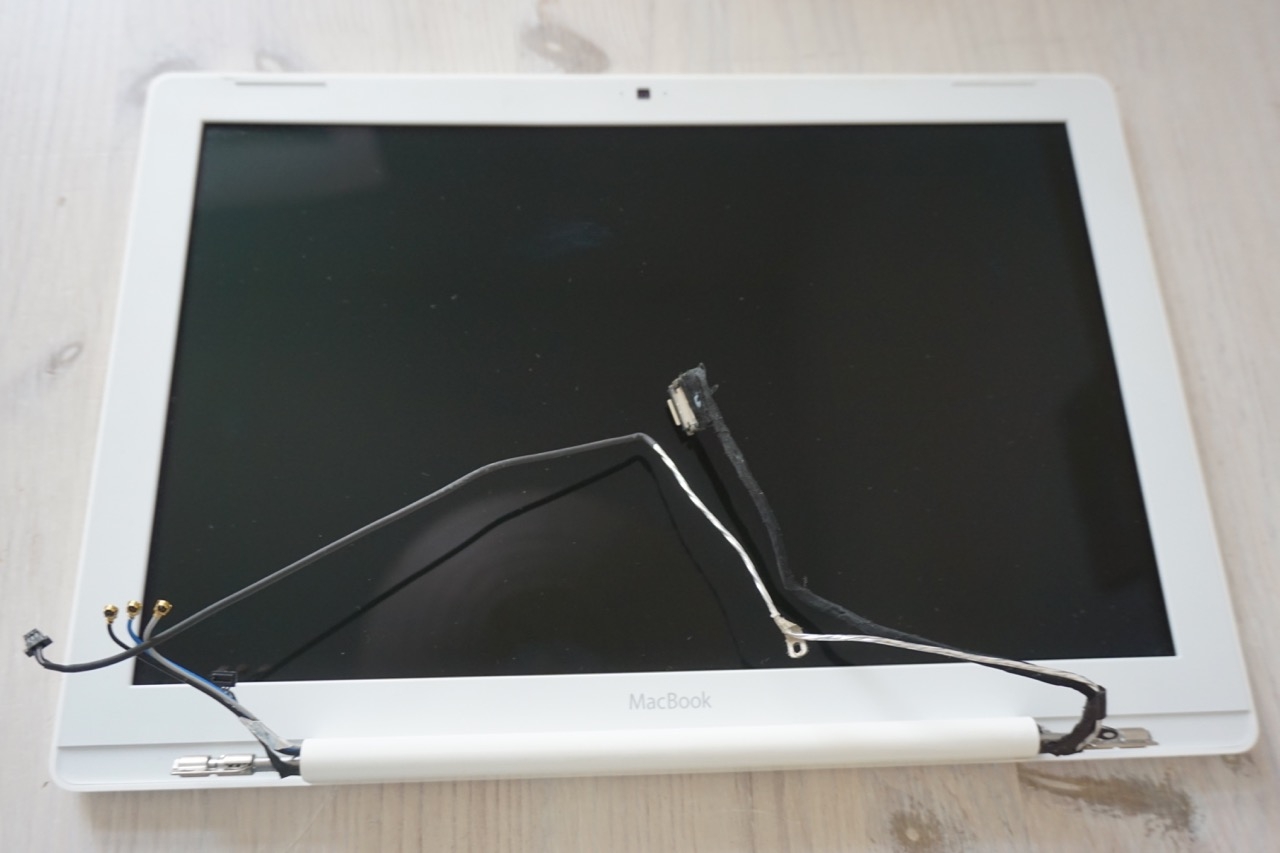
We assume that the display assembly is already in front of you.
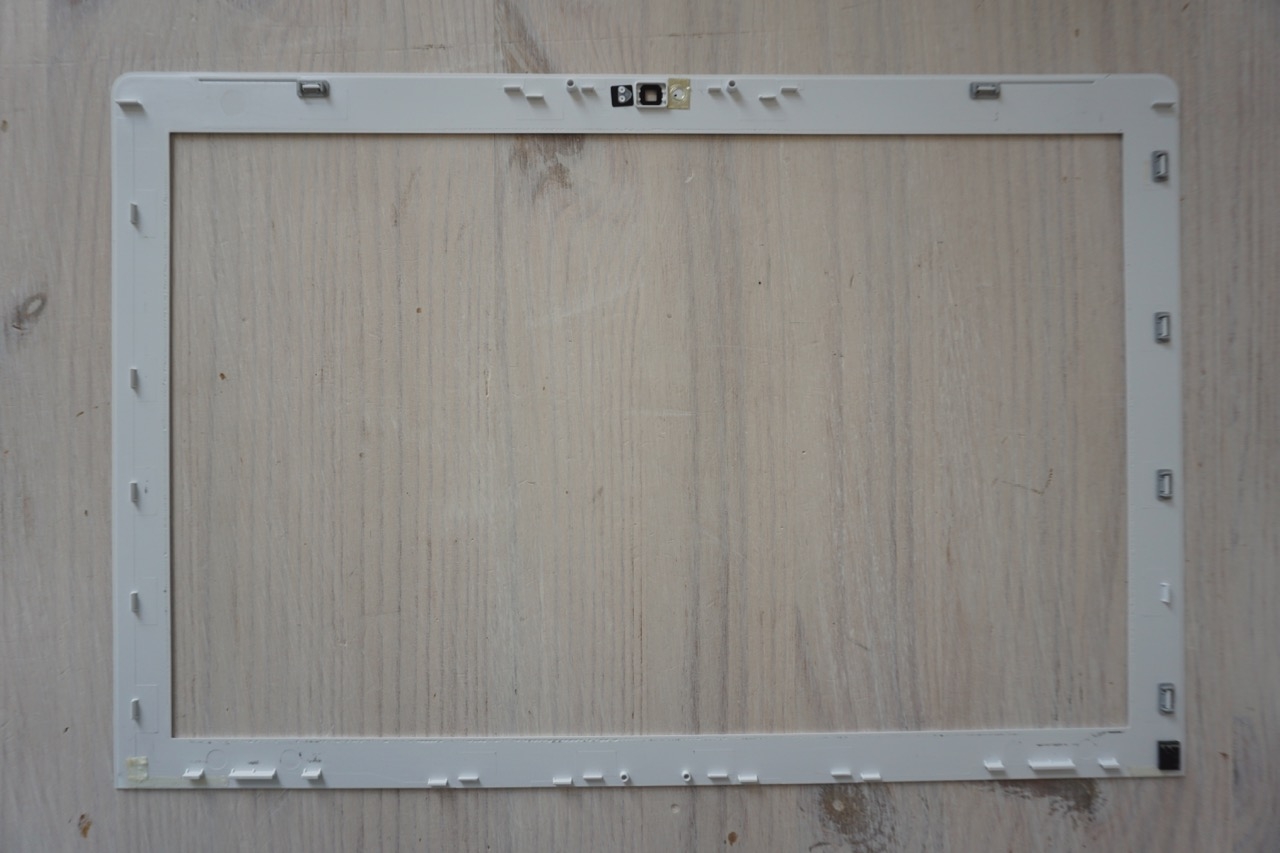
Start removing the display bezel. It can be lifted carefully with your finger.
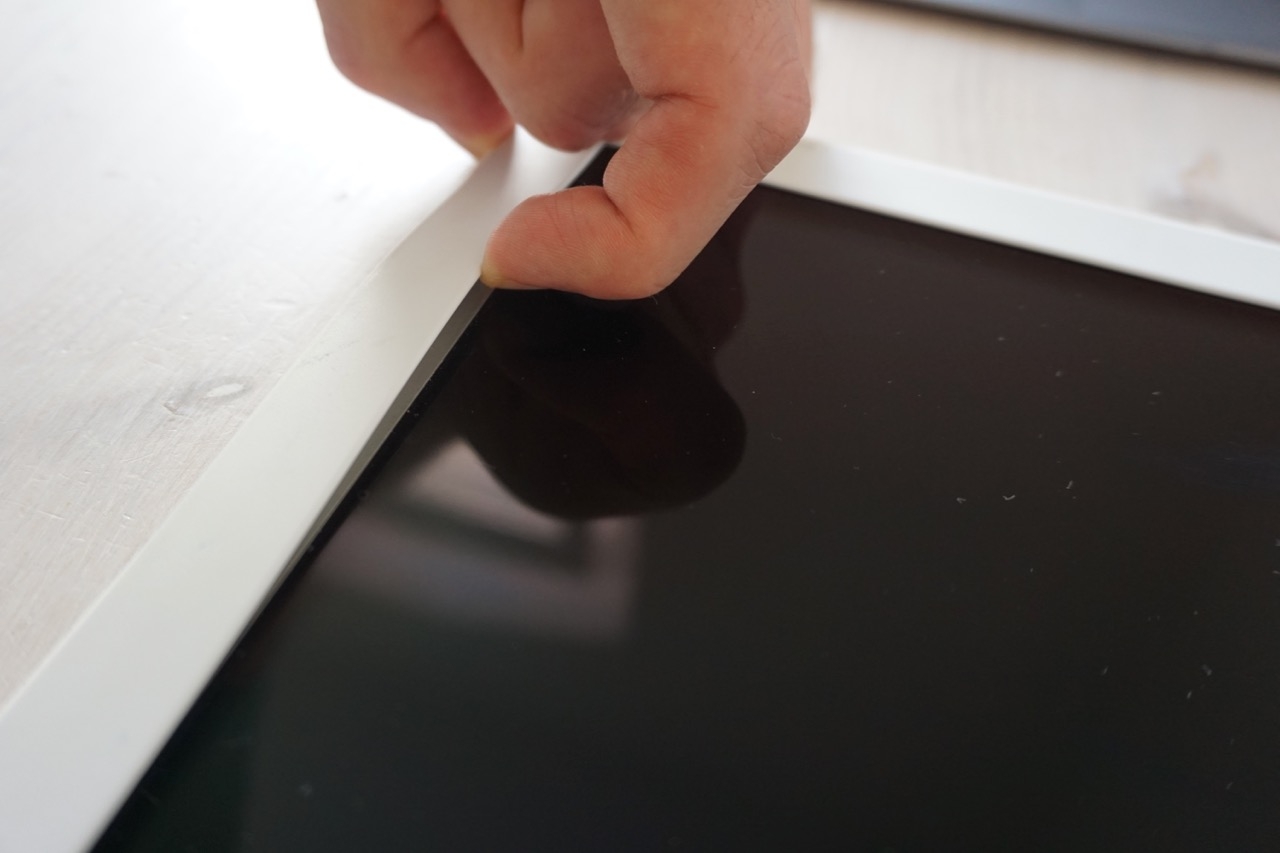
But it's better done with a small tool like a credit card.
If you have lifted a corner, proceed carefully all around. Make sure that you keep the bezel as flat as possible so that the plastic does not bend.

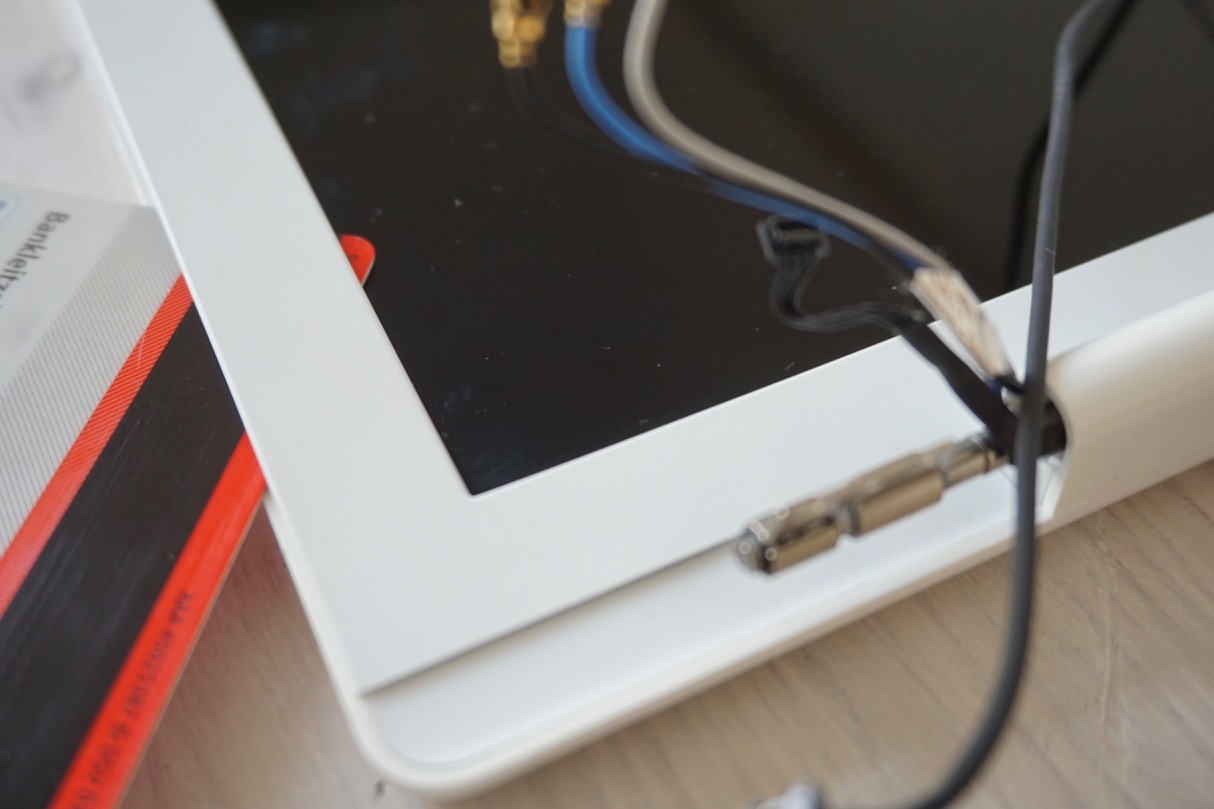
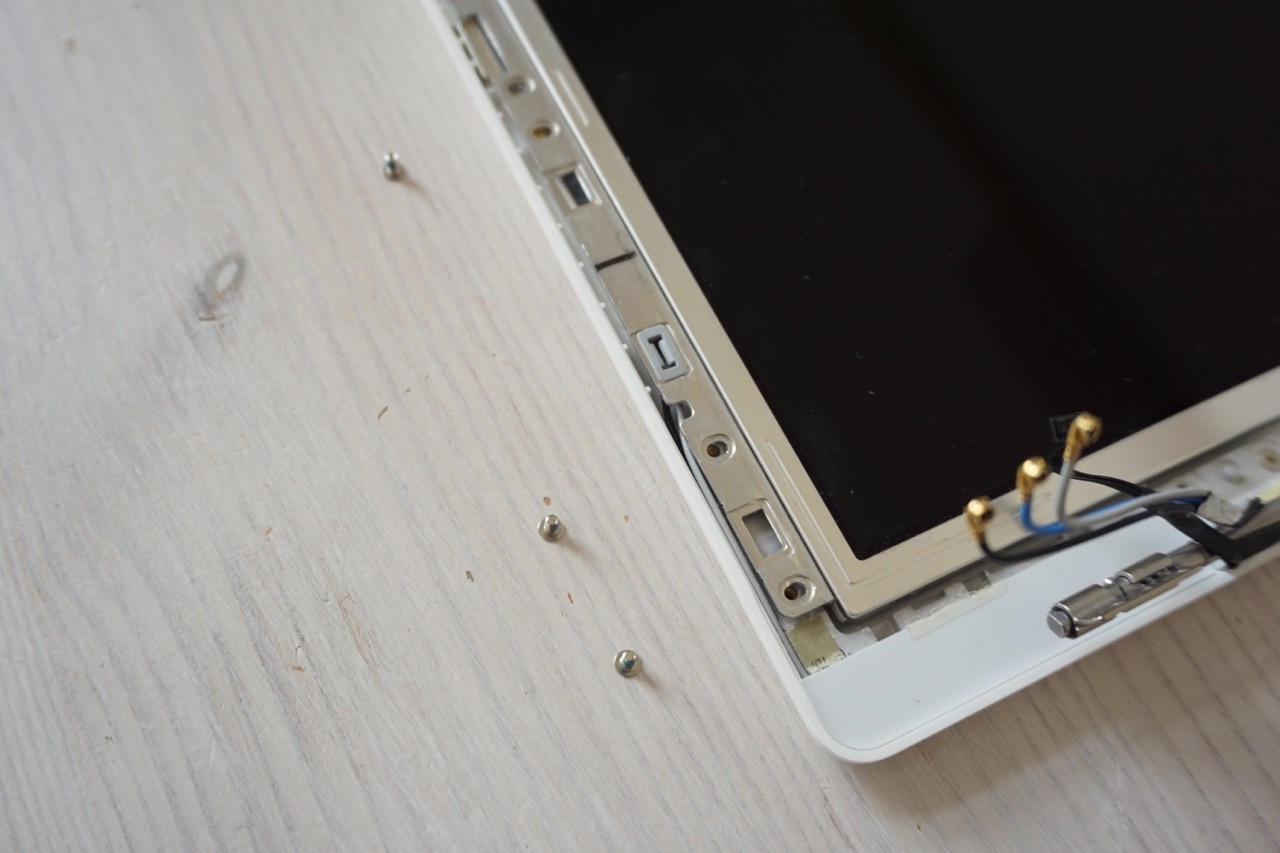
Here you can see all fixing points. Some of the small plastic clips cannot decide whether to stay in the metal frame of the display frame or on the plastic frame. But that's not relevant.
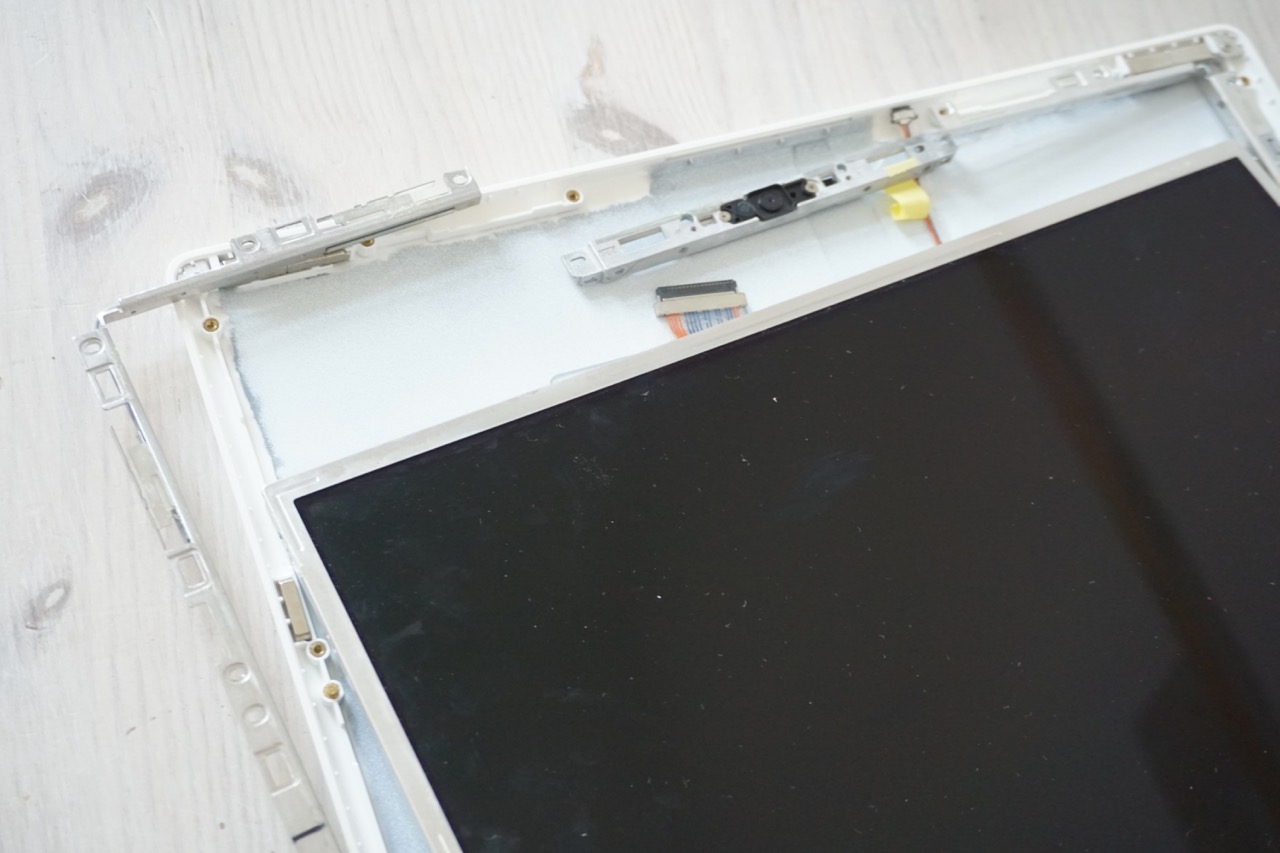
Next, remove the three Phillips screws from the display antenna cover.
And the cover, too, of course.
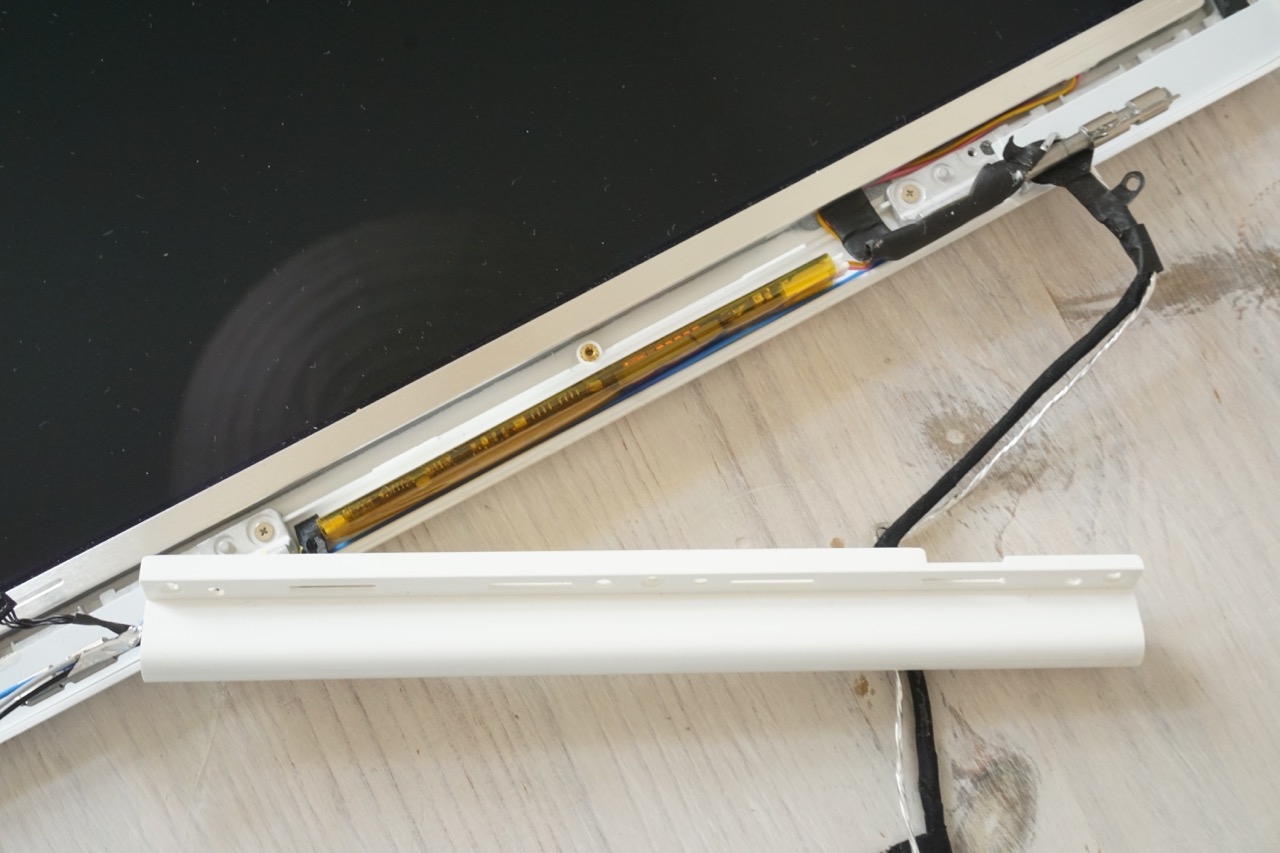
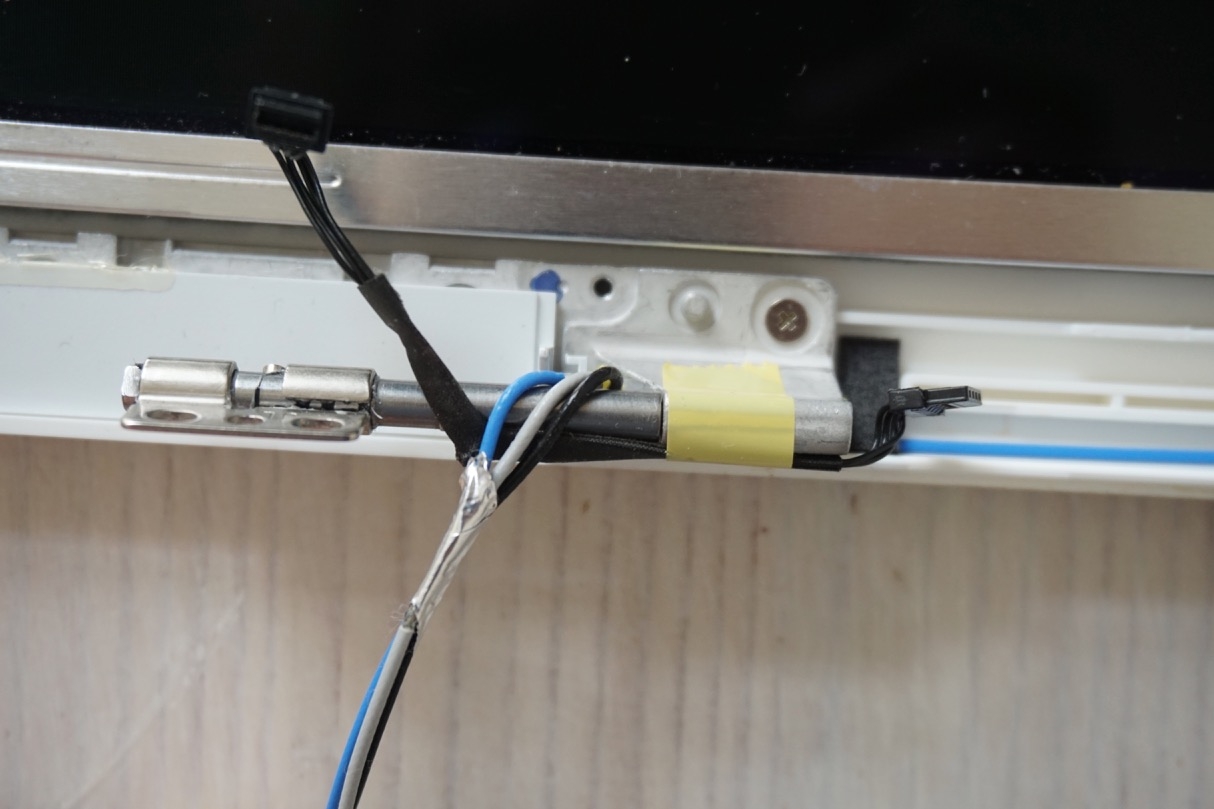
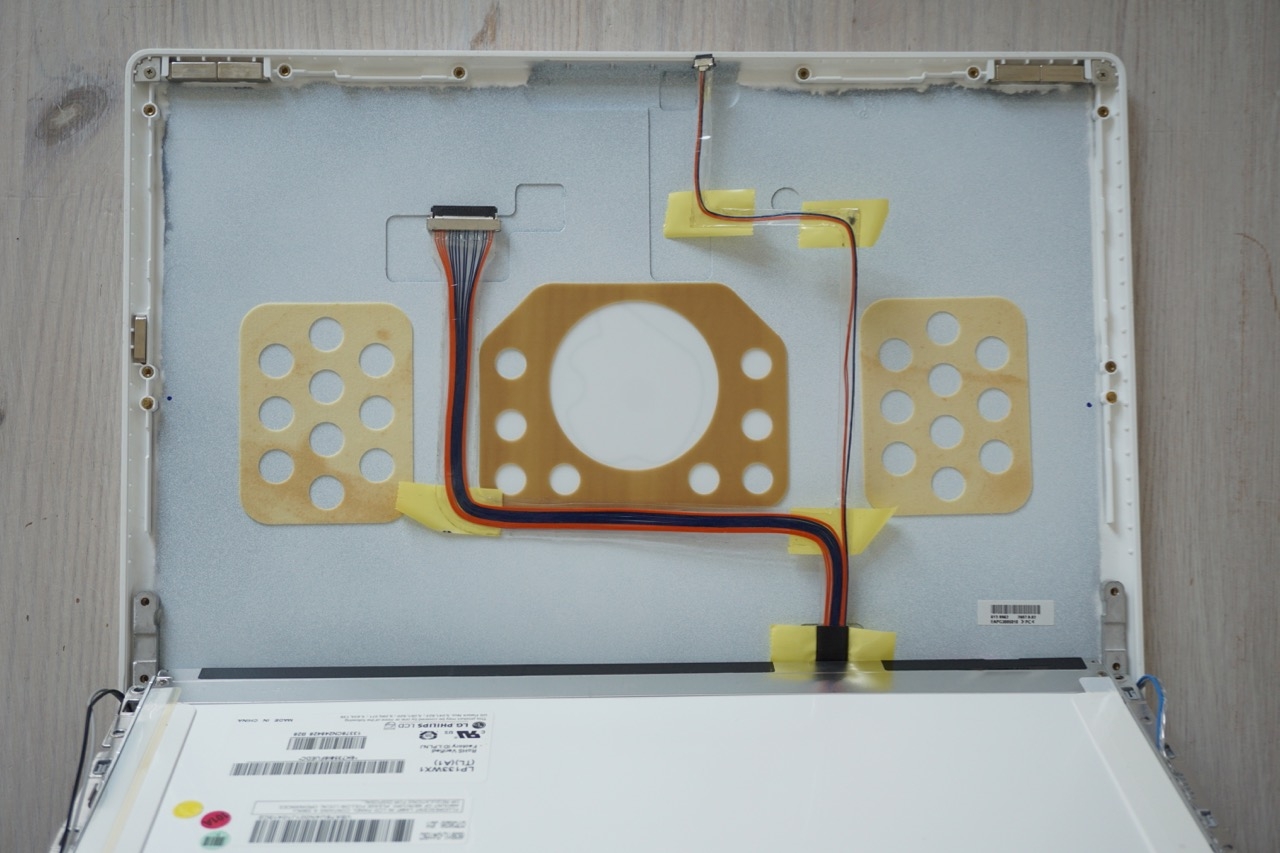
The inverter, which is packed in yellow foil, appears. It generates the high voltage for the small fluorescent tube.
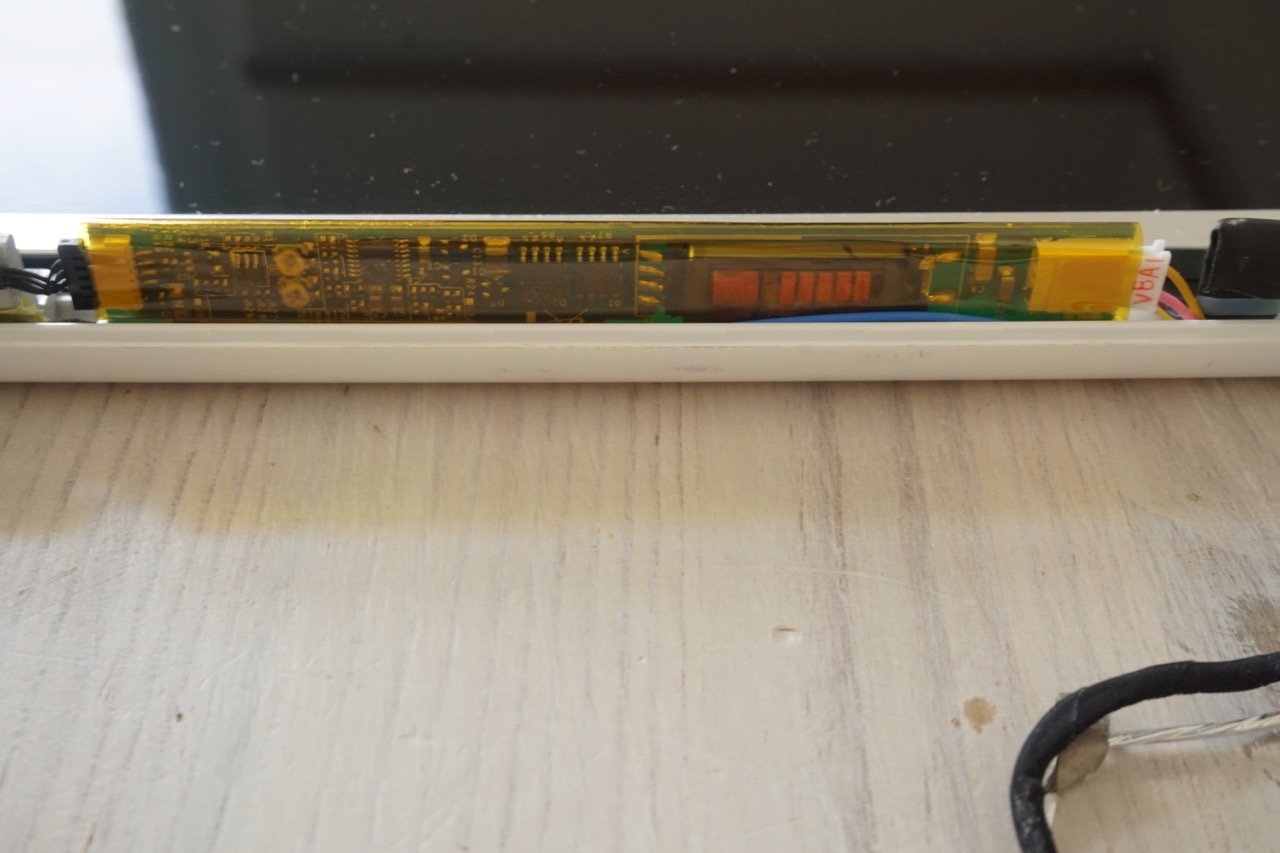
It is extremely easy to change: Simply pull it upwards and disconnect the cables left and right.

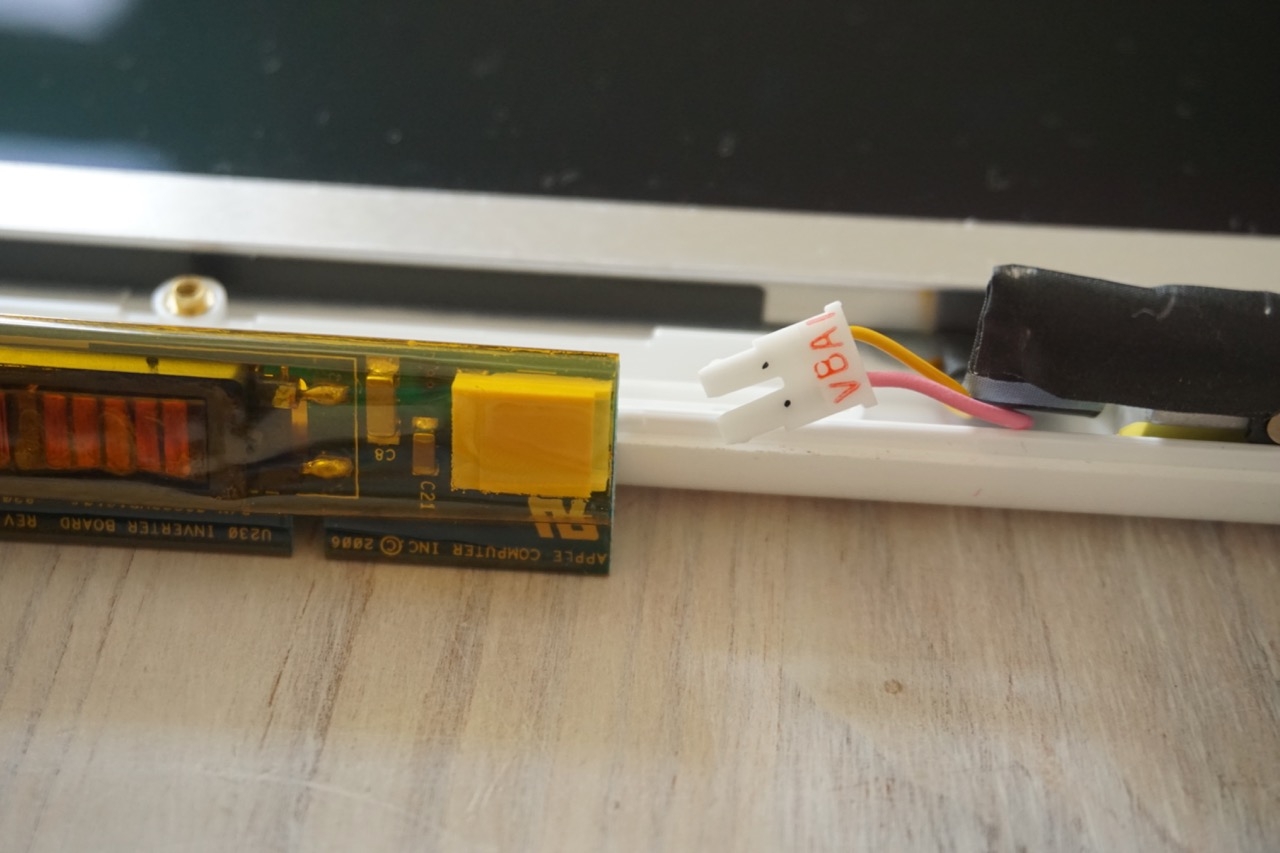
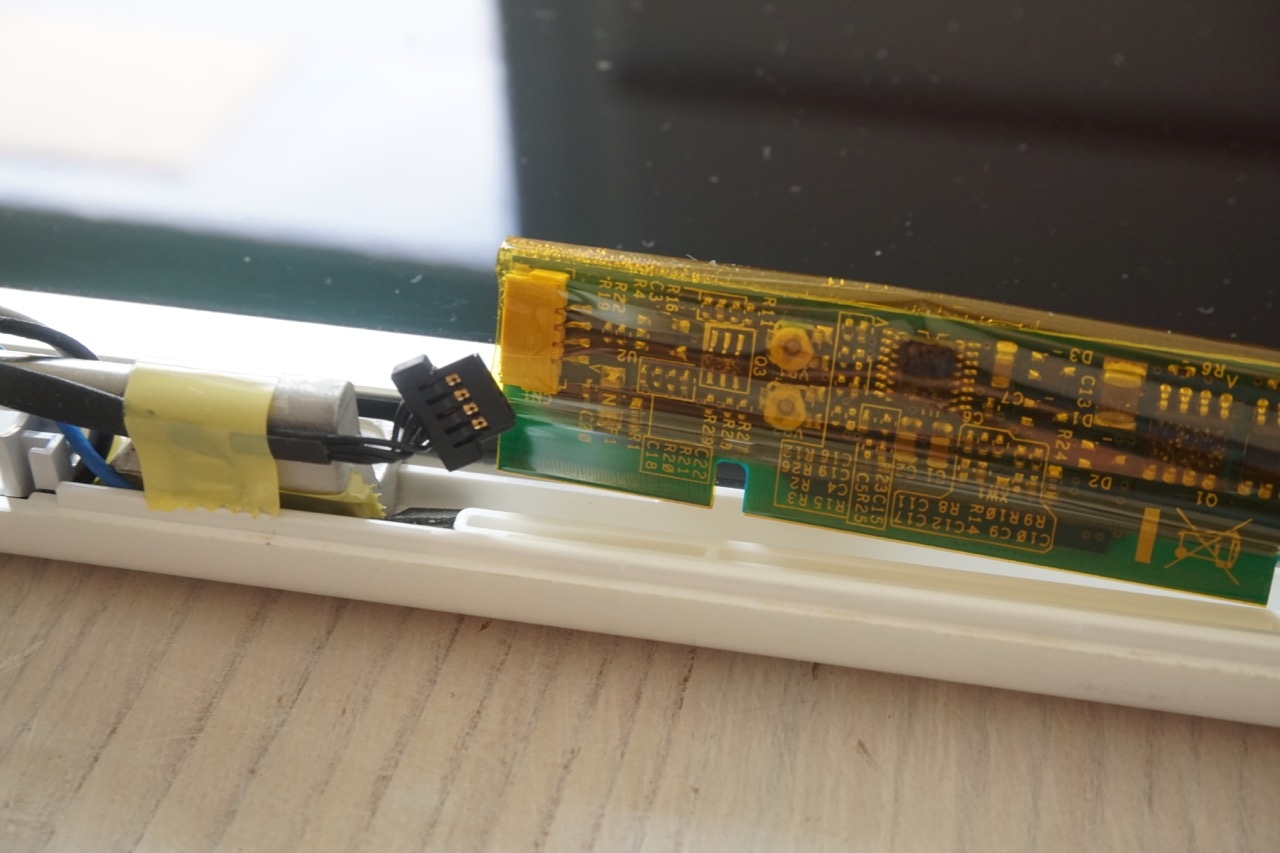
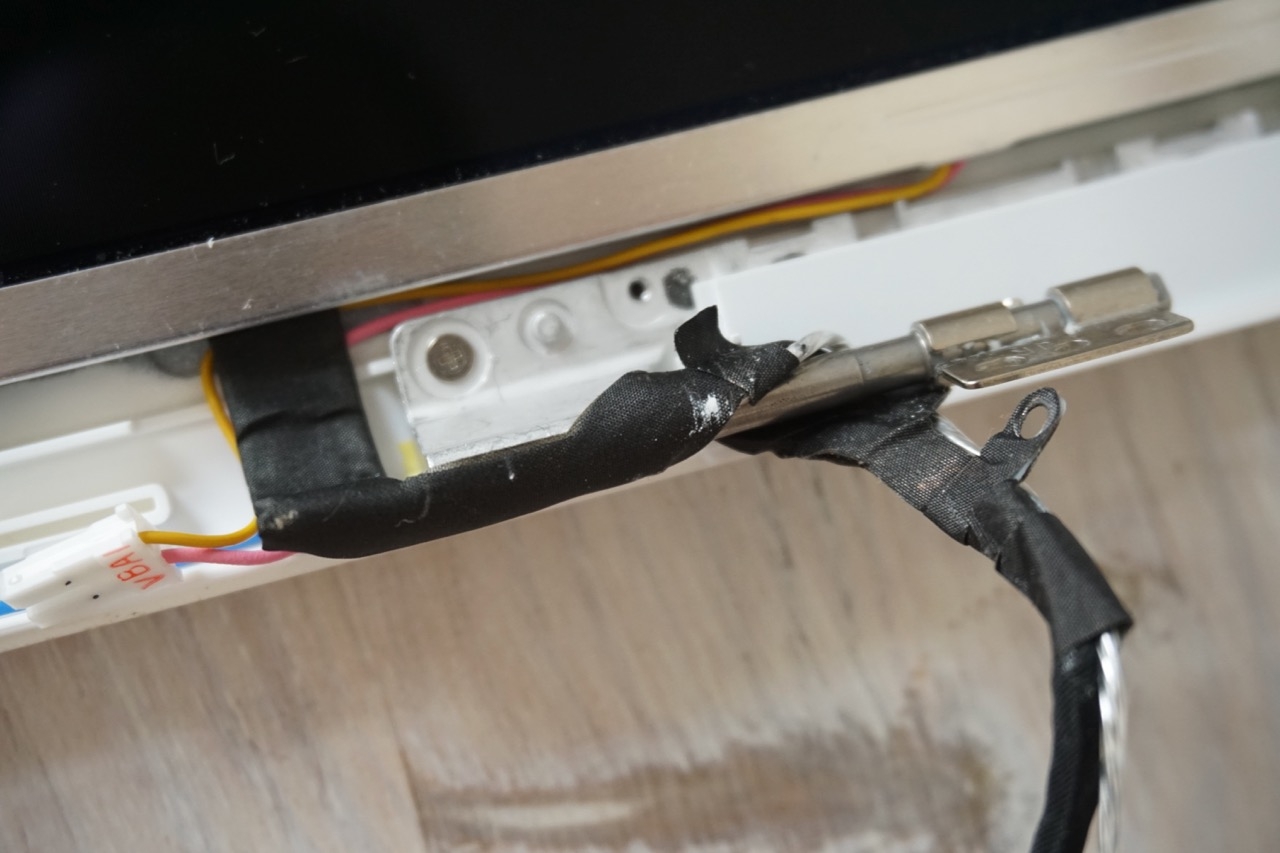
If it was on the inverter, you're already done here. If you want to go further, briefly note the position of the cables and how they are wound around the hinges.
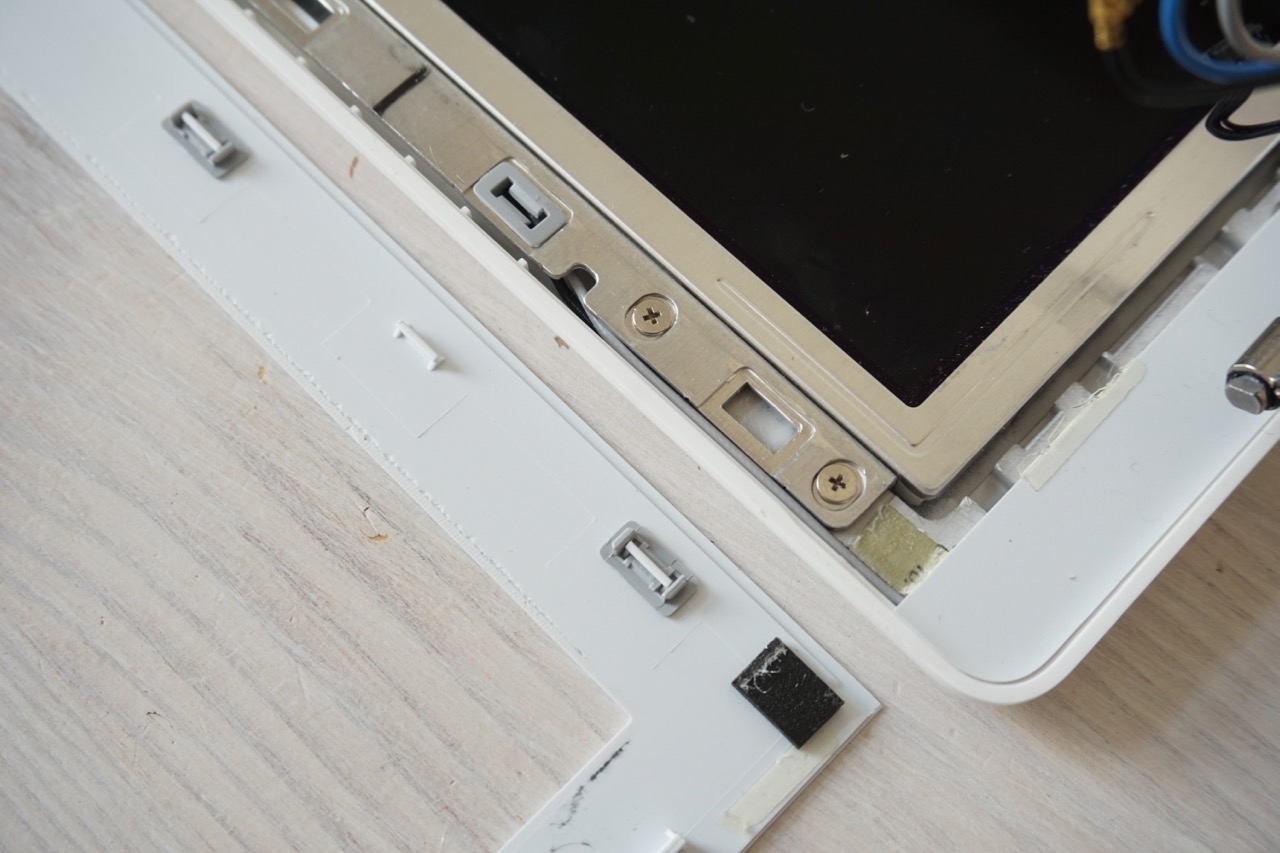
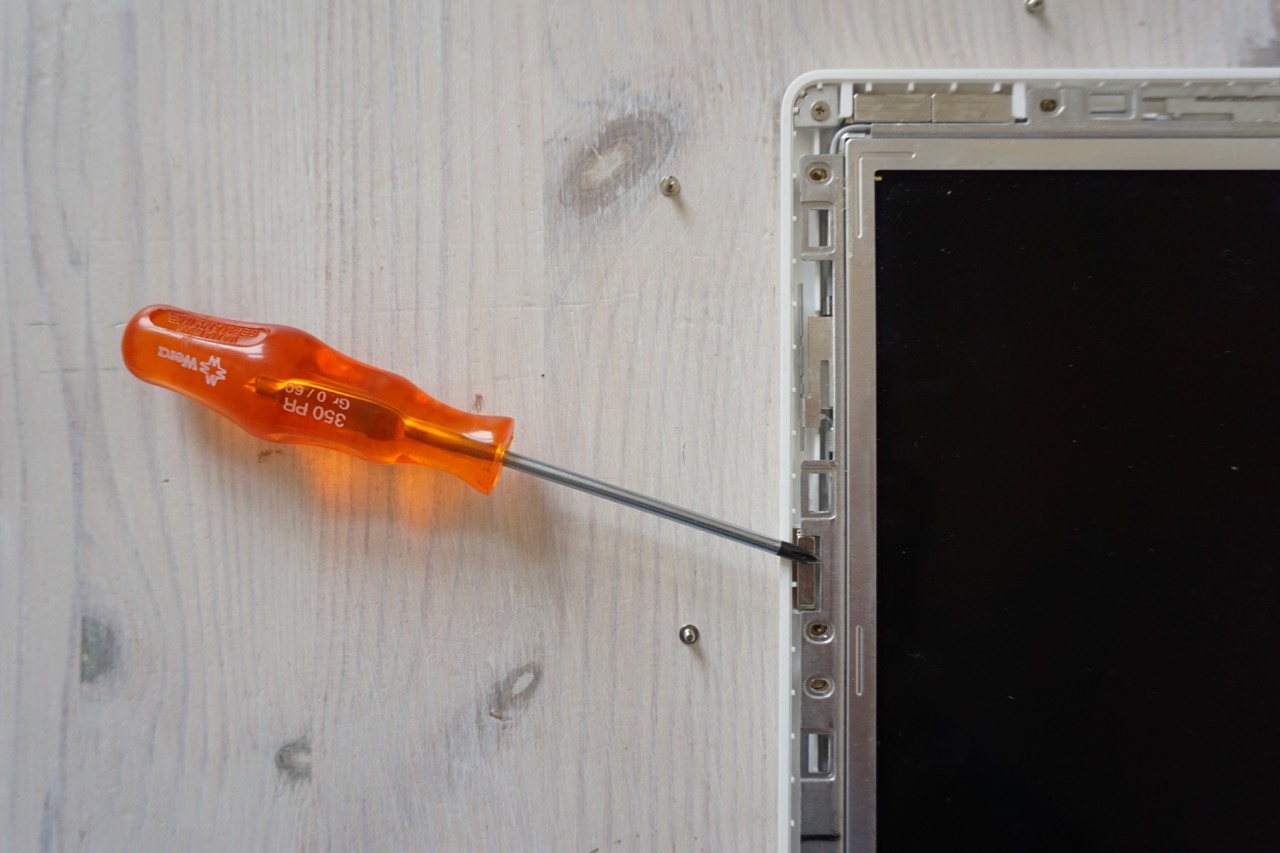
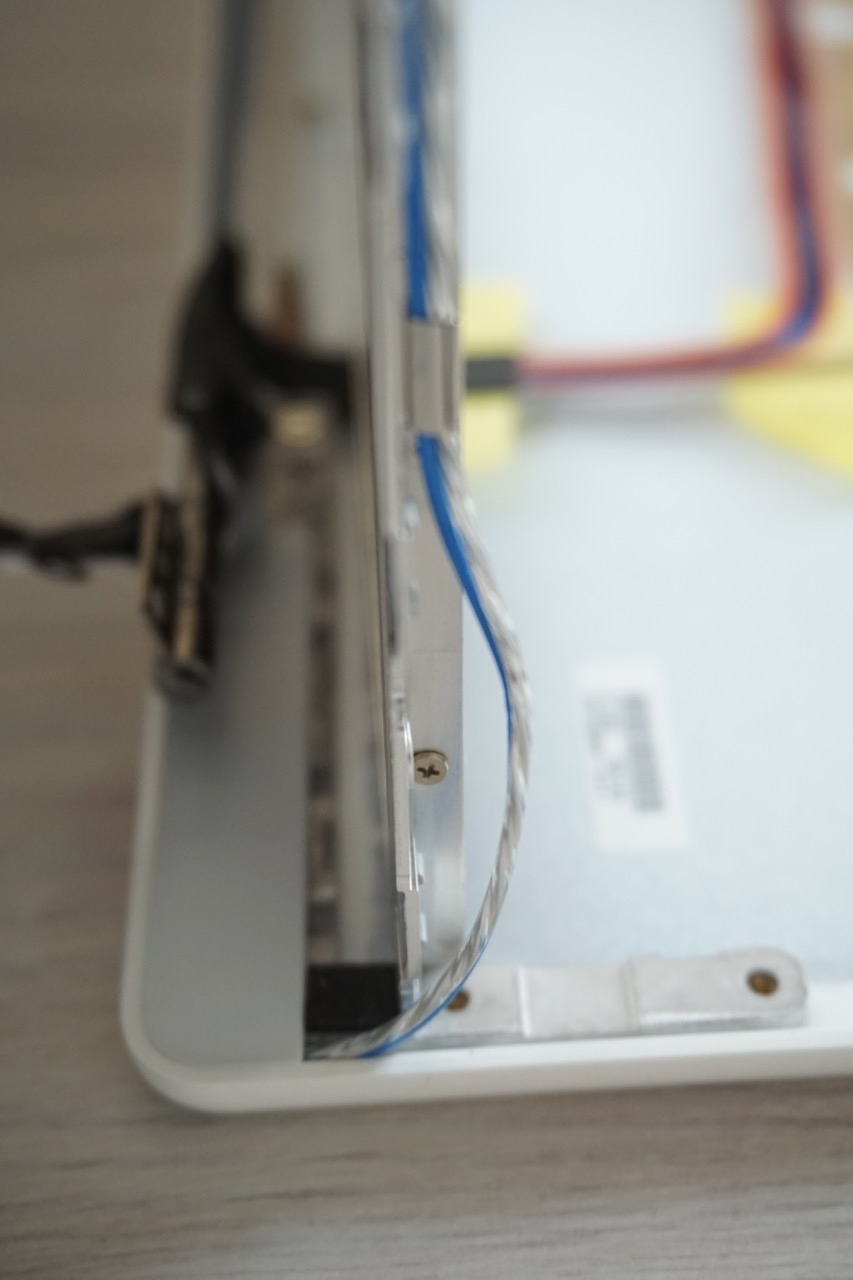
Now we remove the screws of the actual panel. You do not need to remove the screws in the corners.
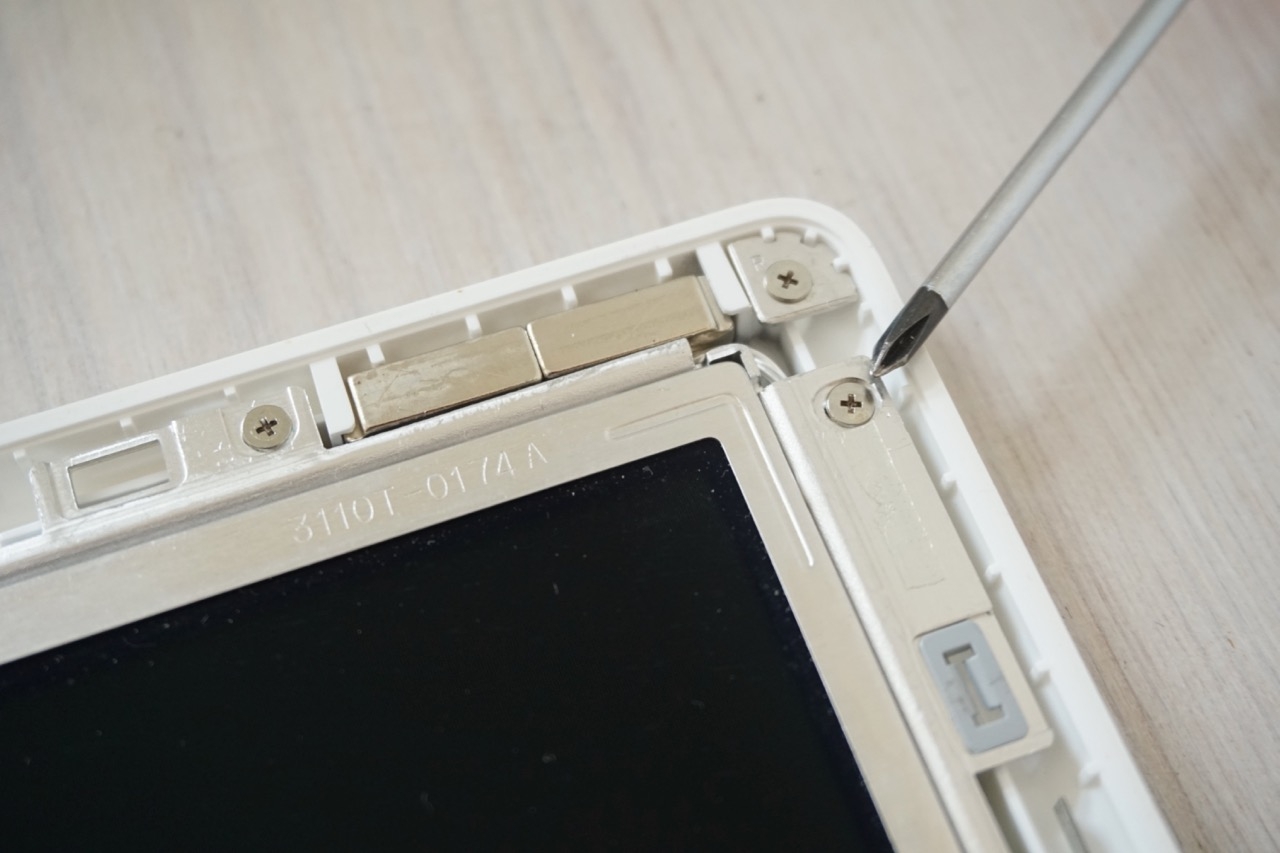
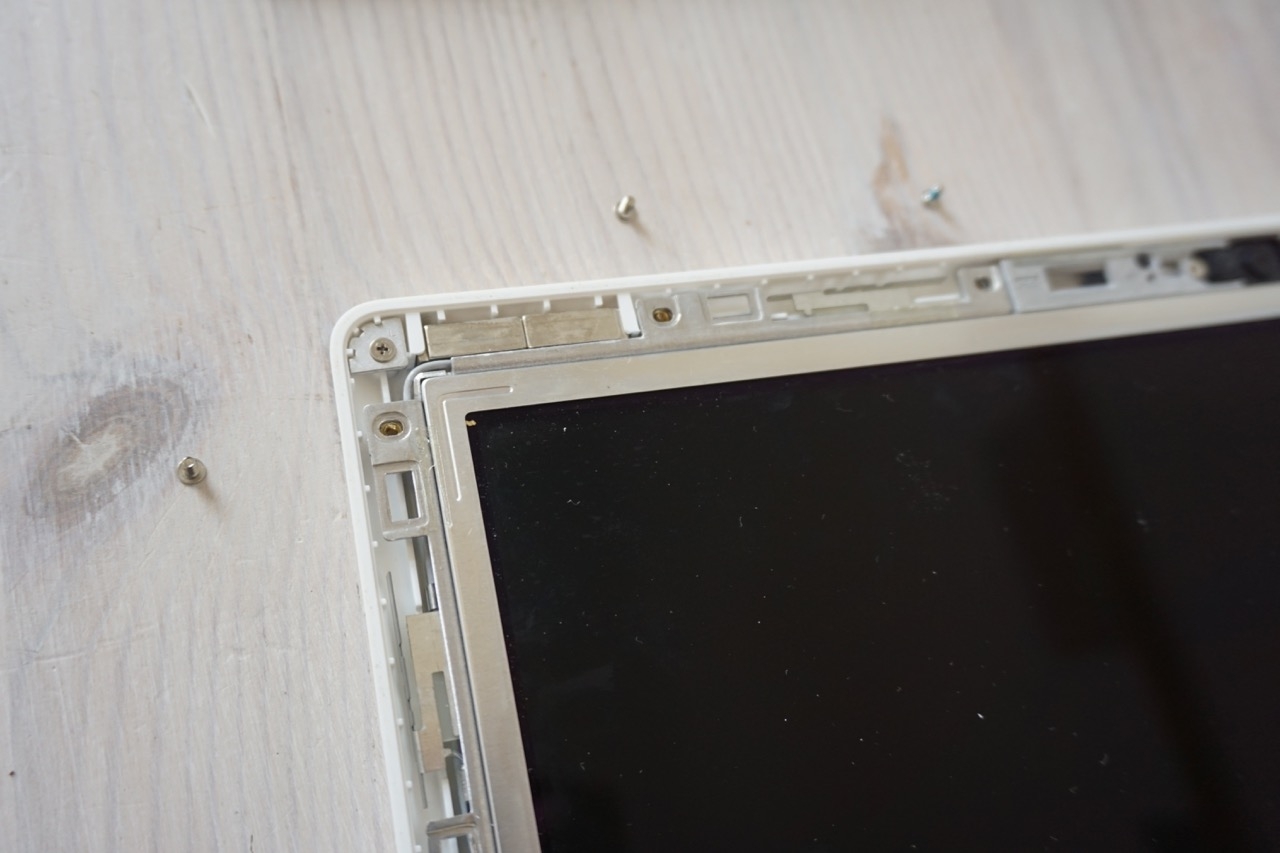
On the left side is a magnet for the sleep function. This falls out when the panel is removed. This is where it belongs again later. ![]()
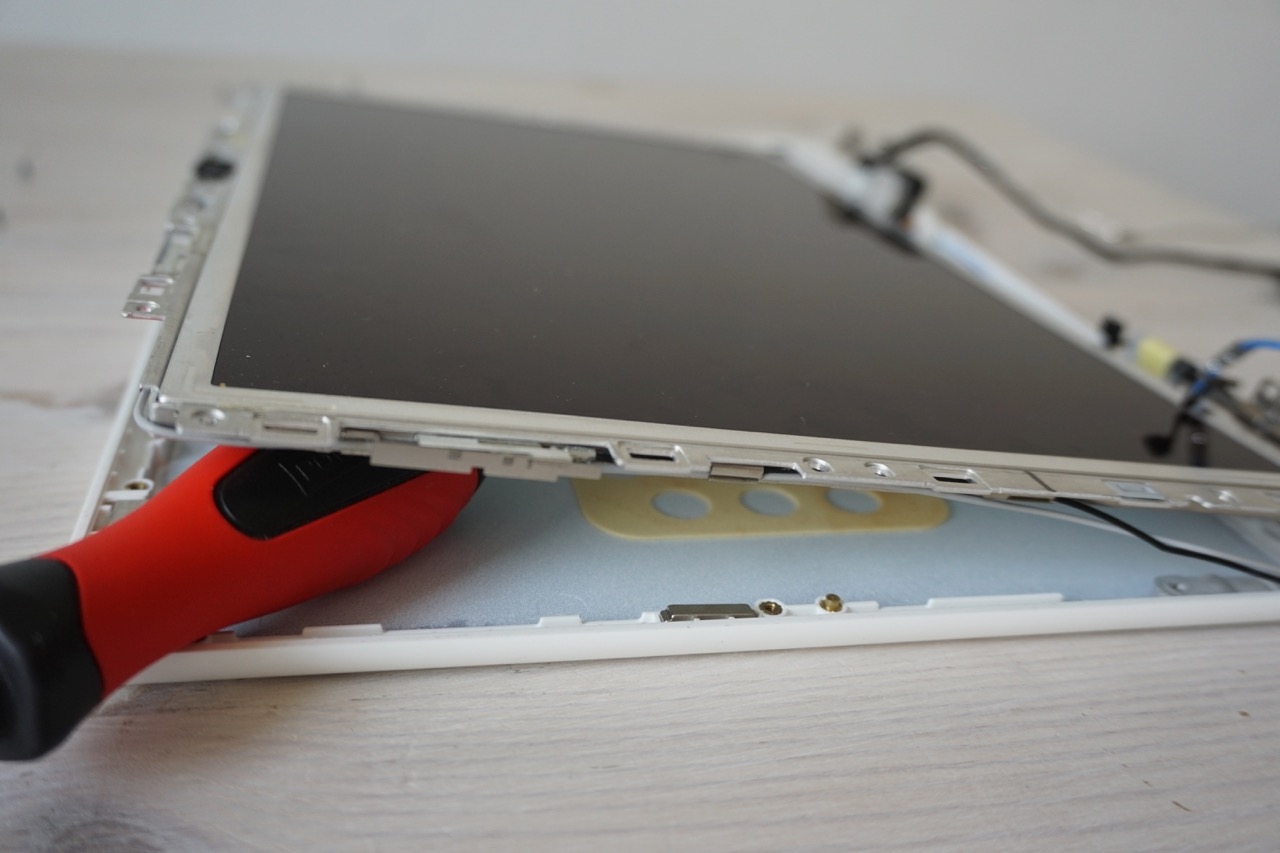
Then you can open the panel carefully from the back to the top. Remember, all the cables are still connected!
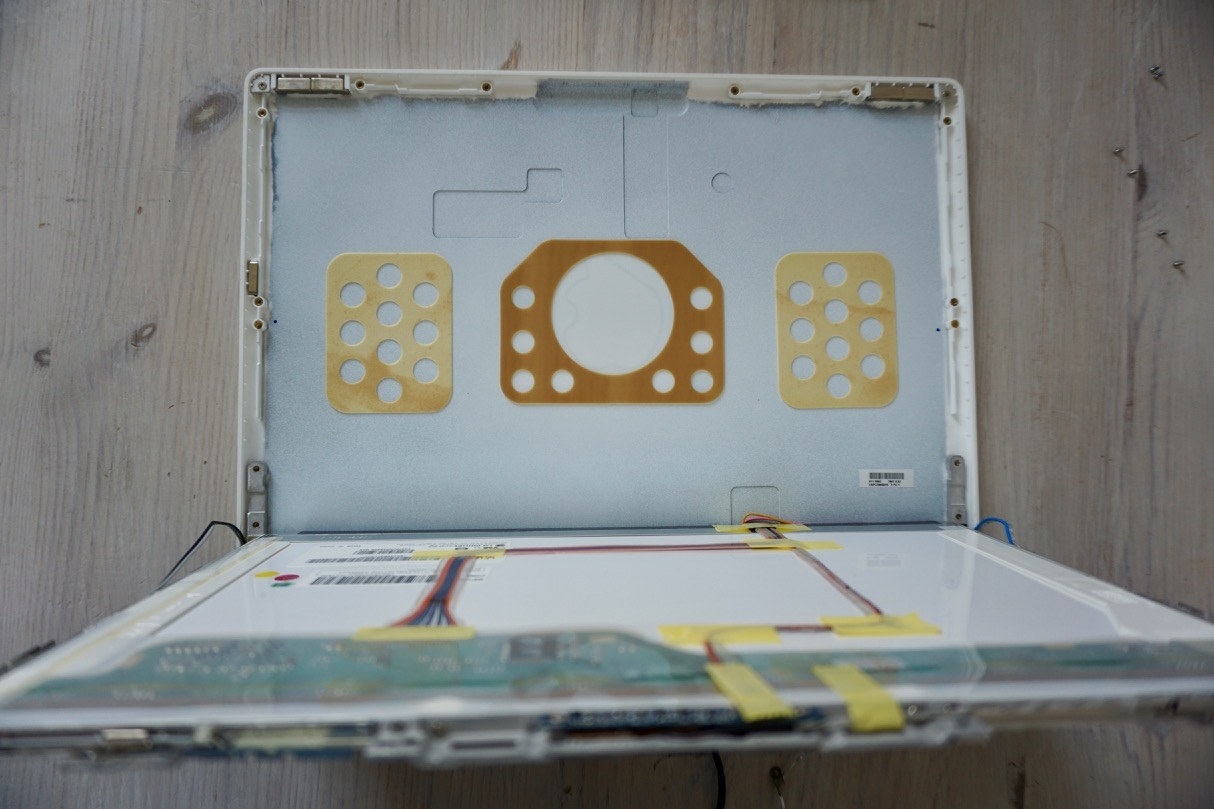
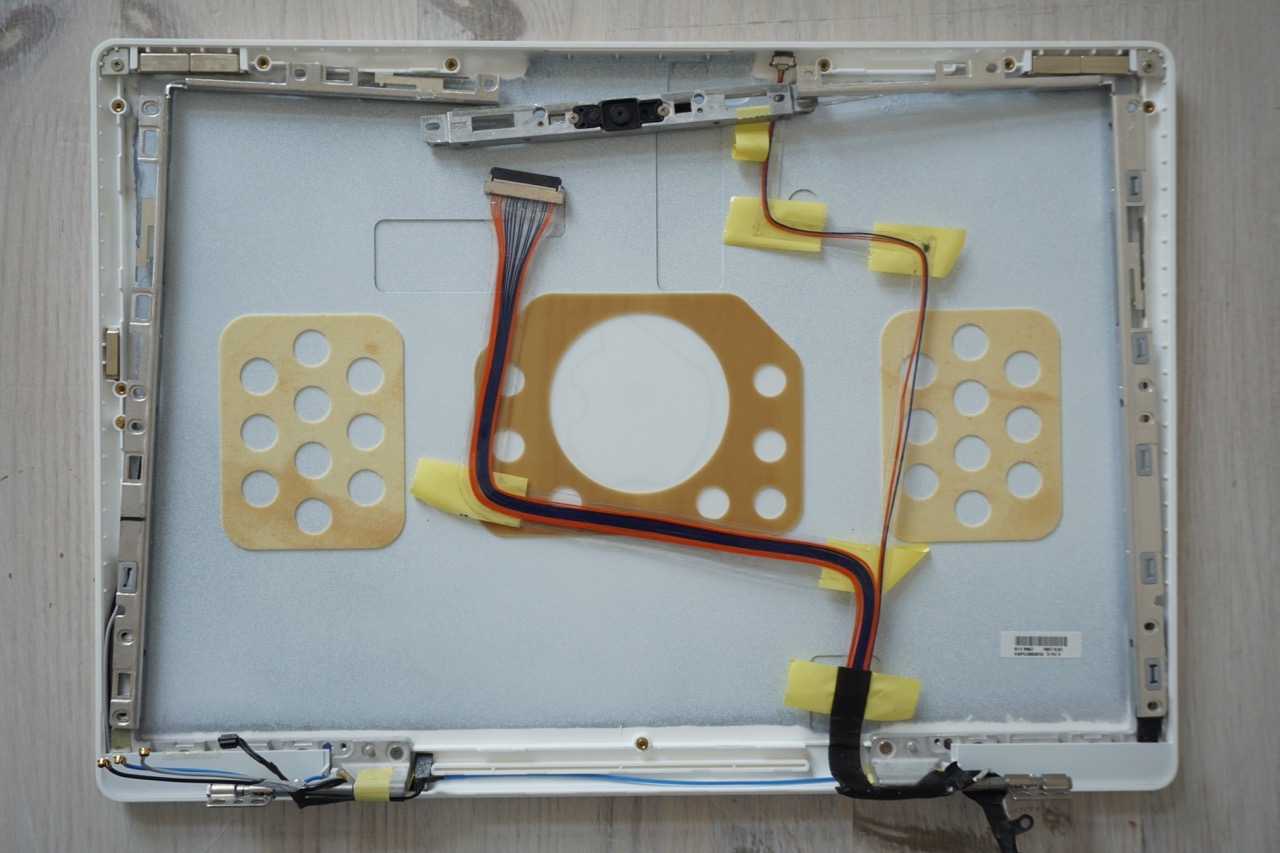
On the back you can now see all the cables. We have to remove the thick display cable and the small one to the camera.
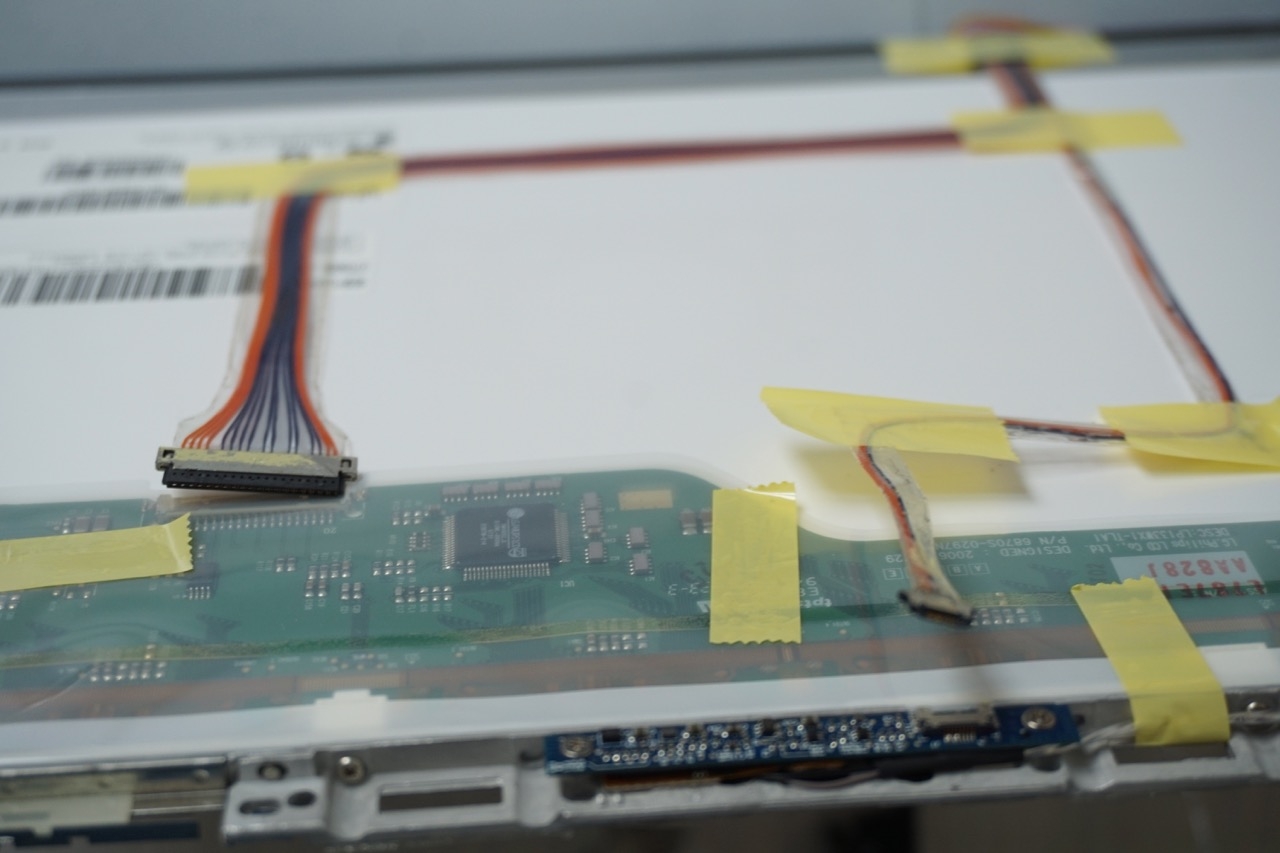
The rear wiring harness can then be folded down. Keep the display in the upright position!
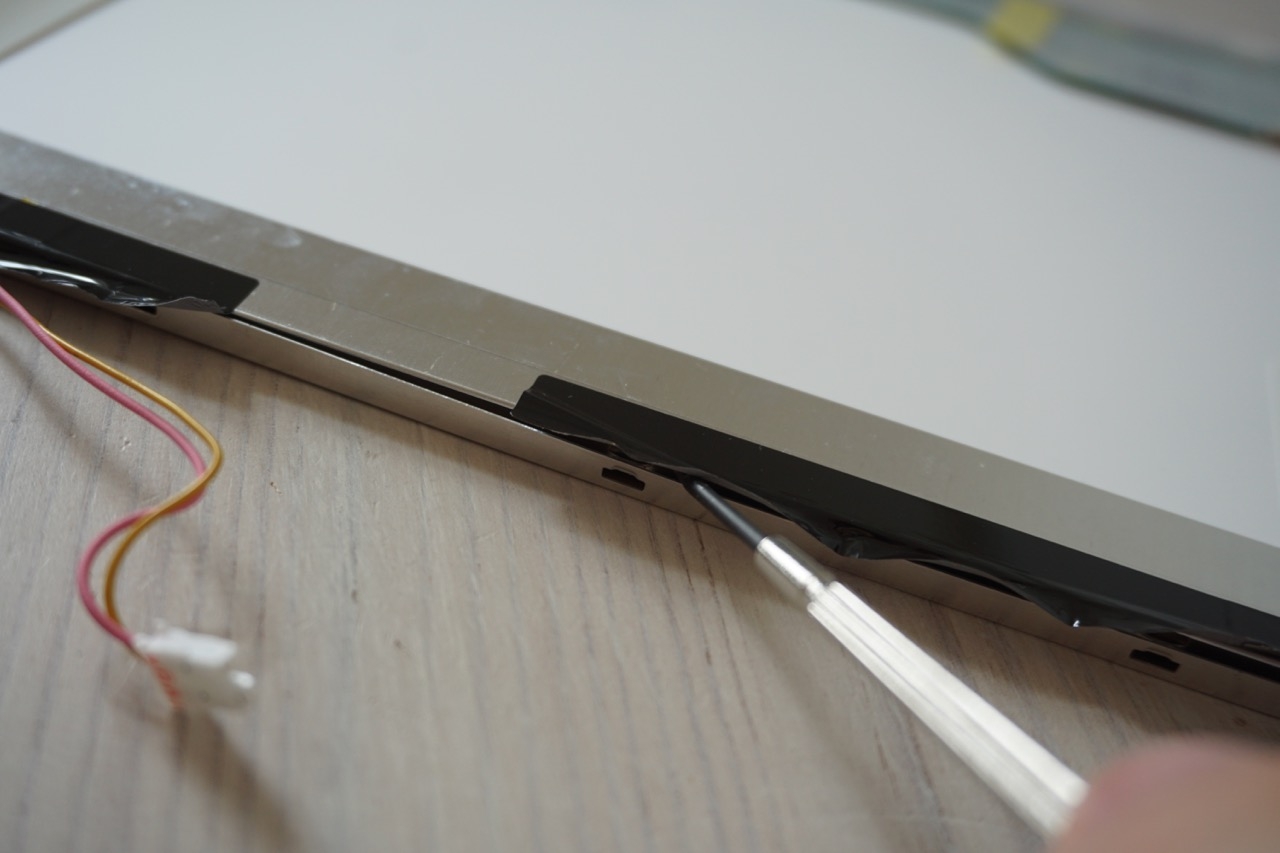
The panel must now be removed from the metal frame, which also contains some cables. To do this, remove three screws on the left and right side as well as on the top. They may be covered by cables, so check carefully.

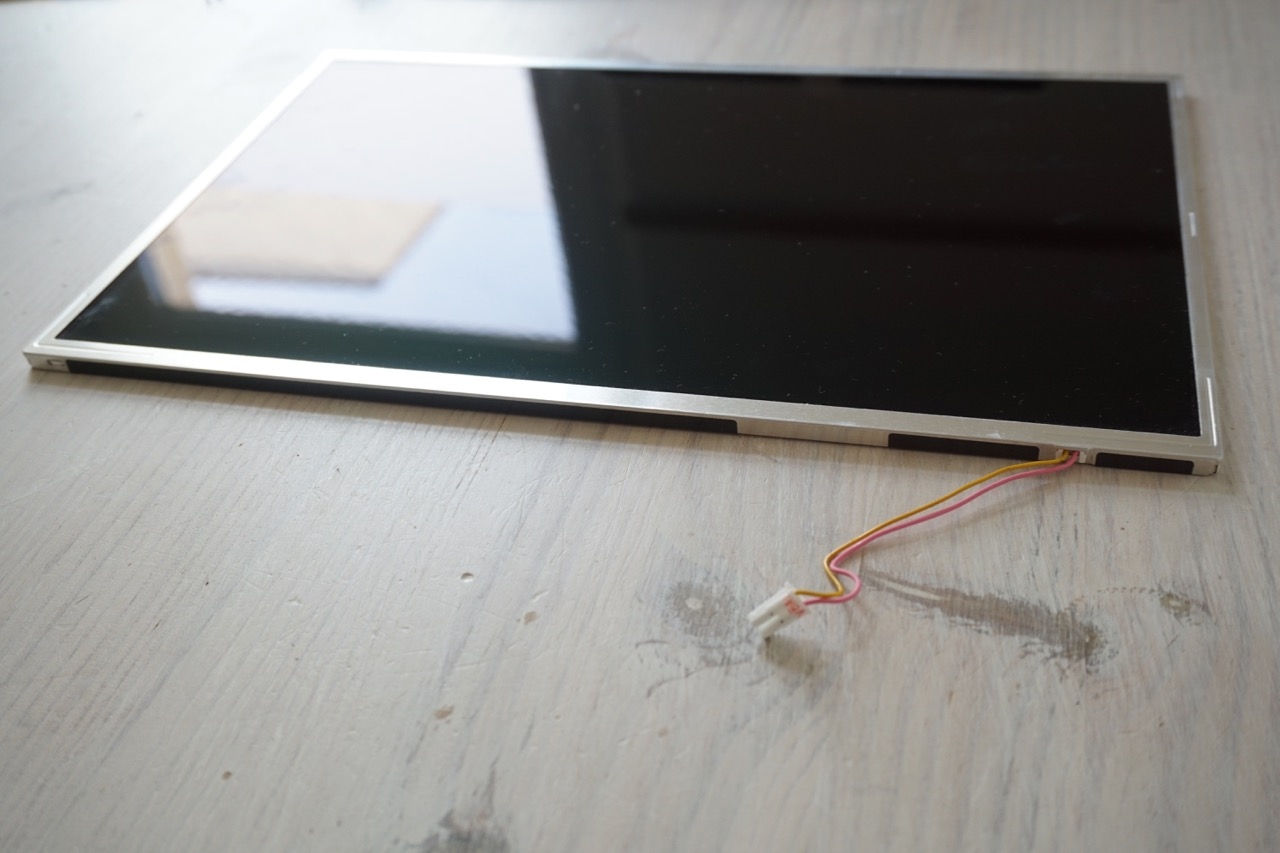
Now the frame should break down into individual parts and release the panel.
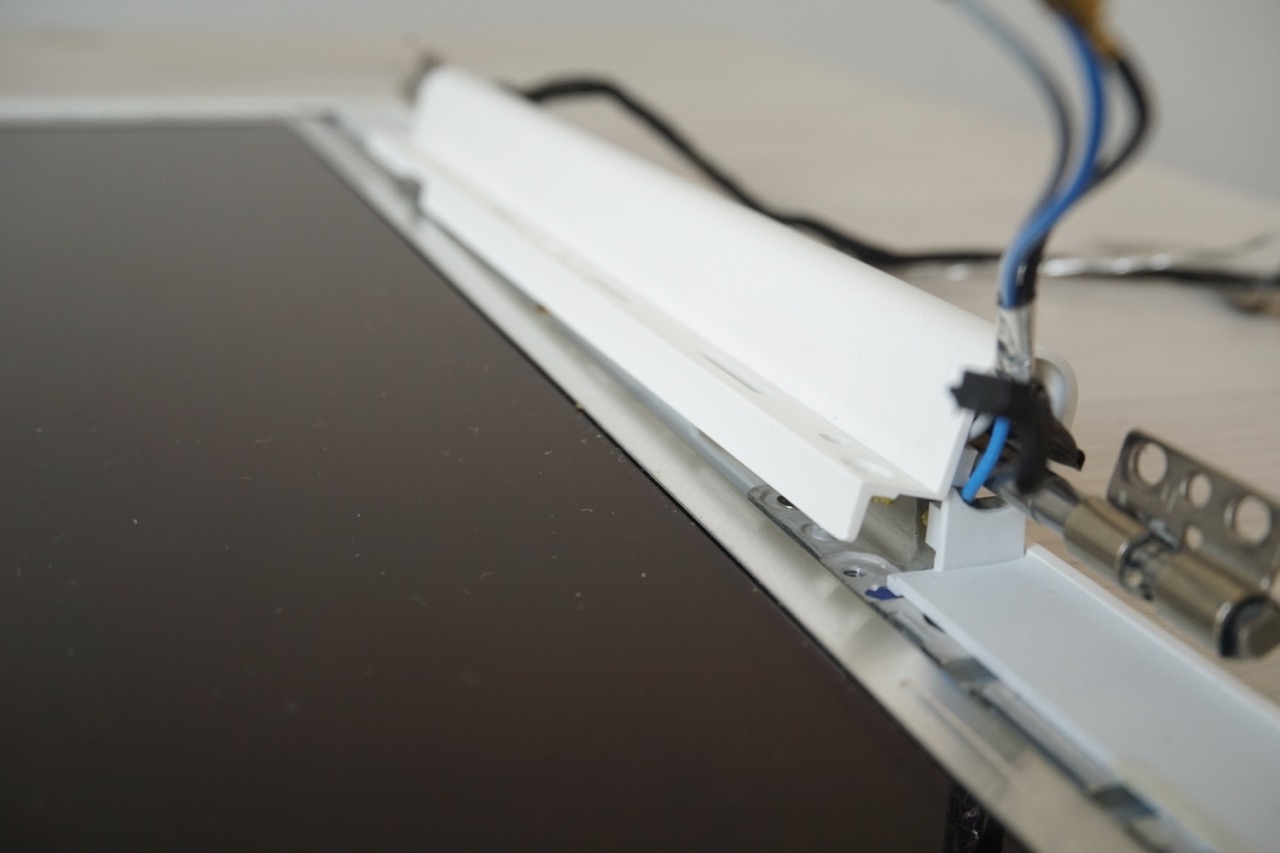
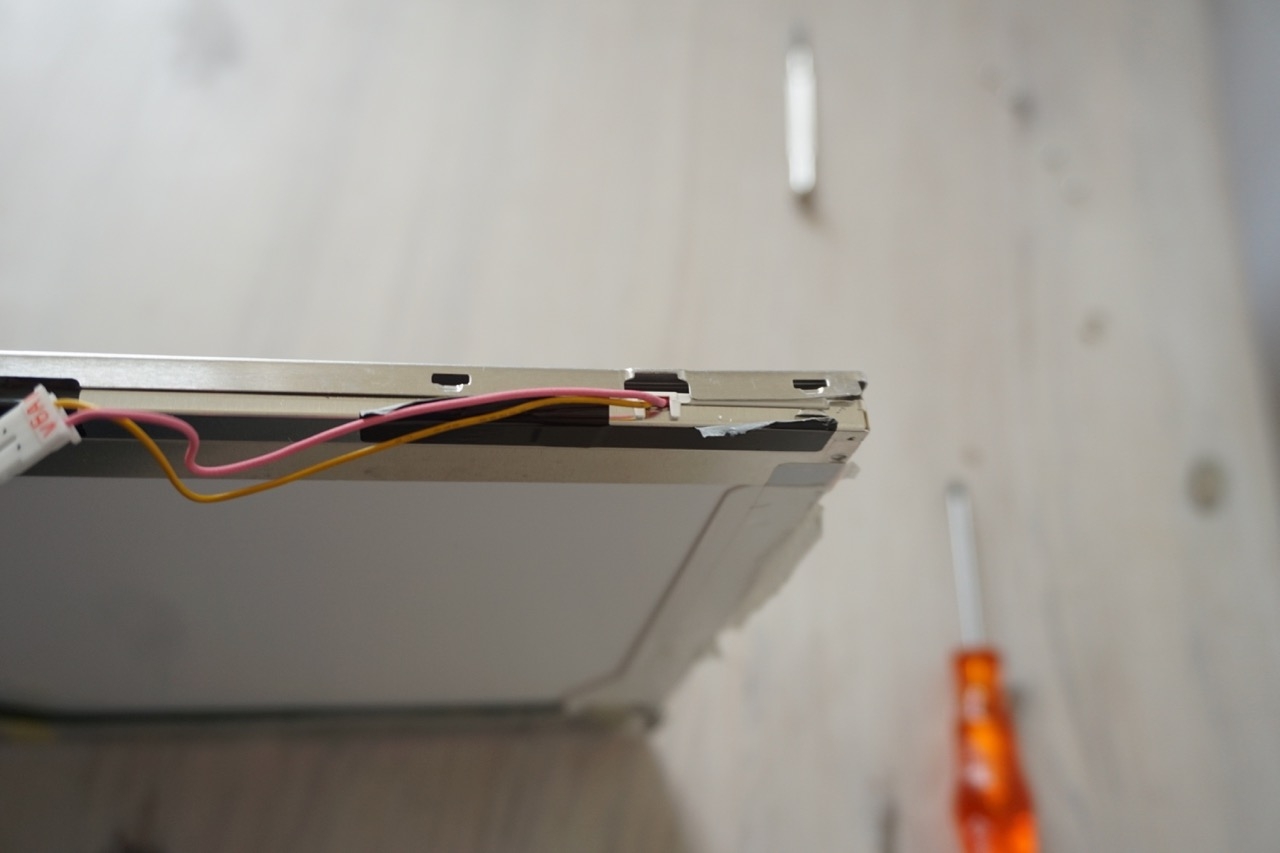
If you've decided on a completely new panel, you're done. Put it all back together. If you just want to swap the CCFL, go on. On the lower side you can see the two cables leading to the tube.
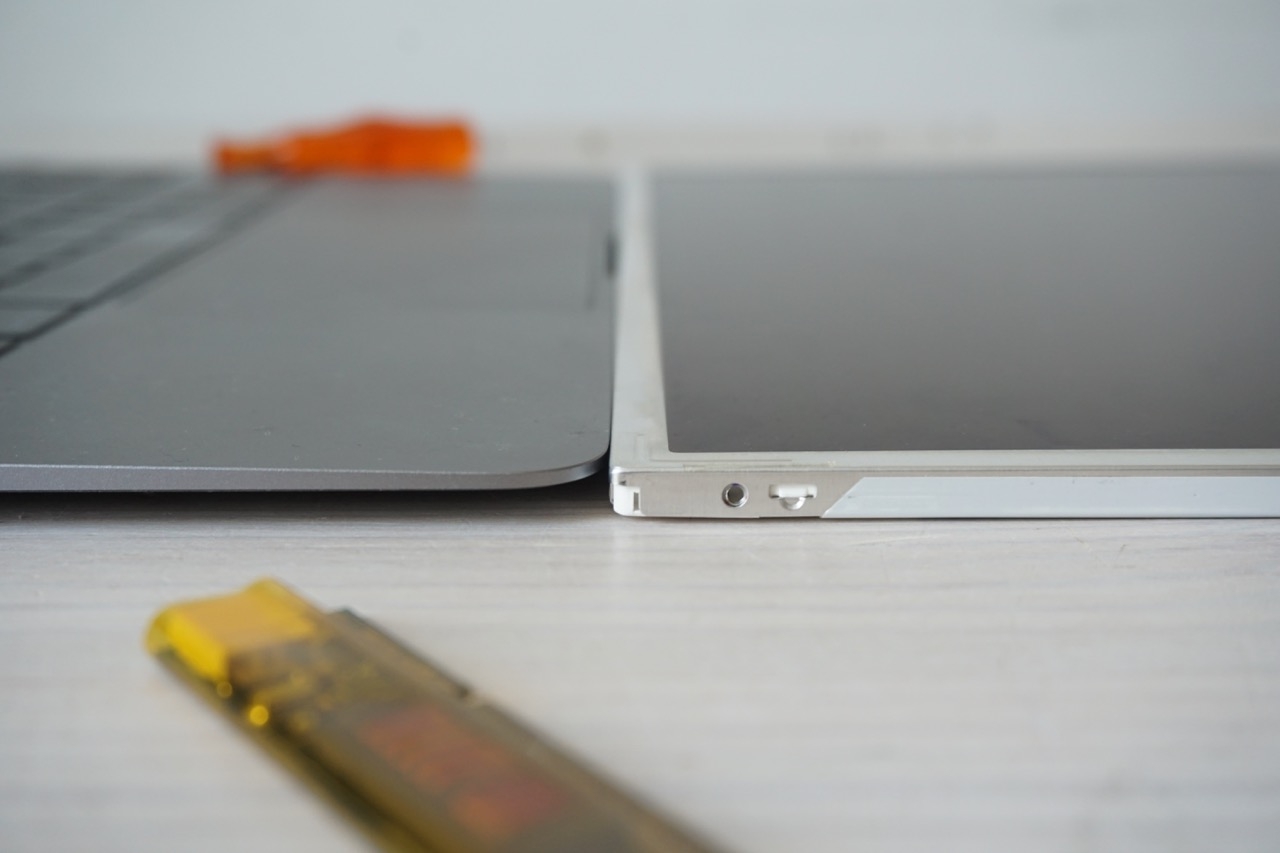
Fun Fact: The panel is as thick as the bottom of the 12" MacBook.
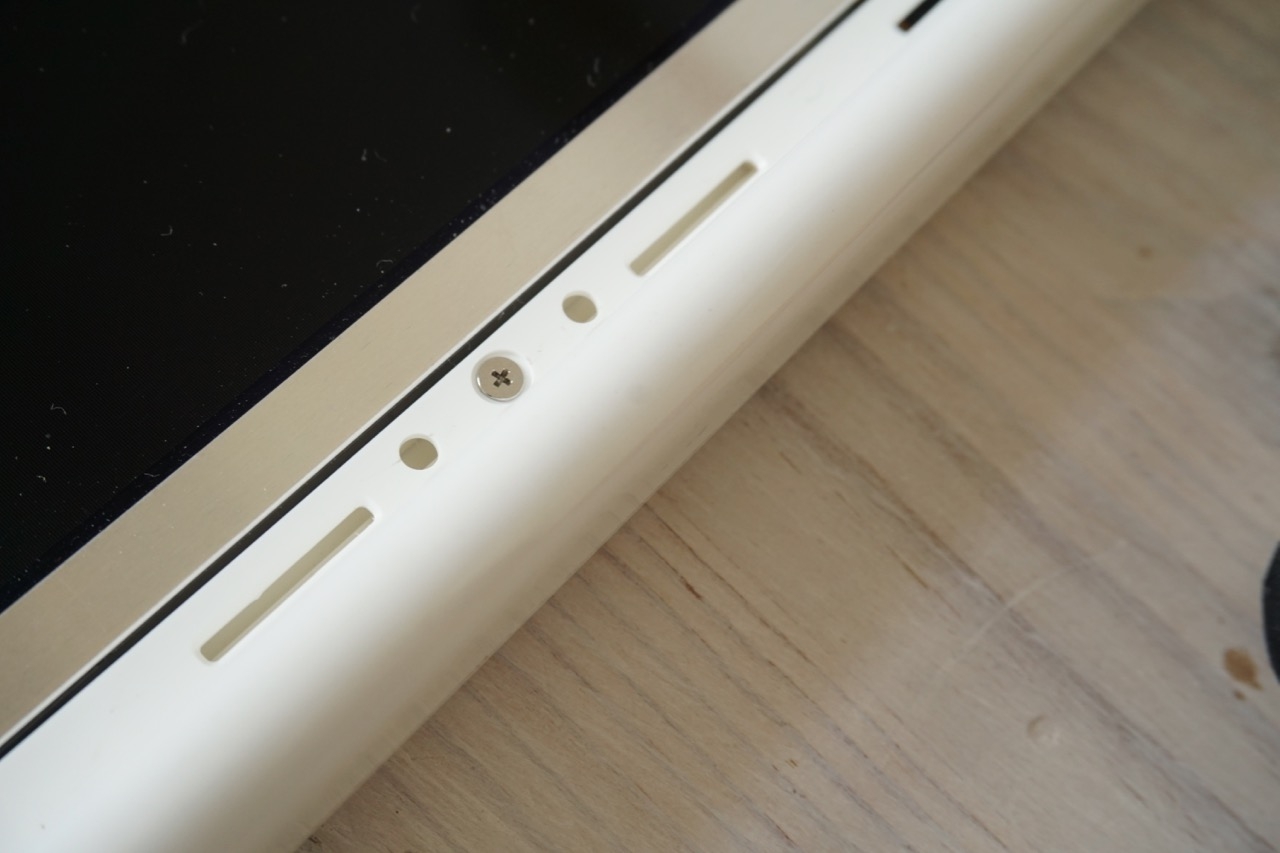
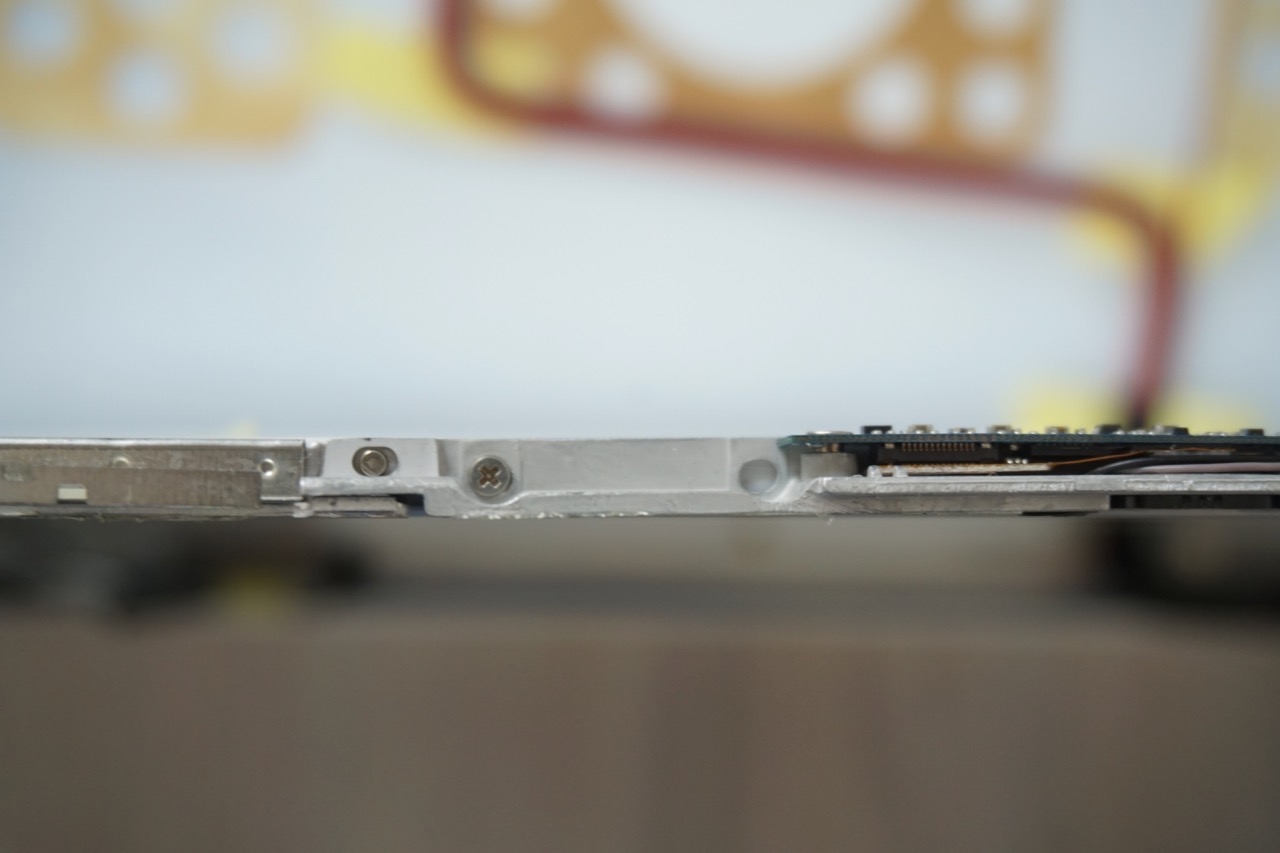
To access the lamp, first remove the two screws in the lower corners. Also loosen the adhesive strips a little.
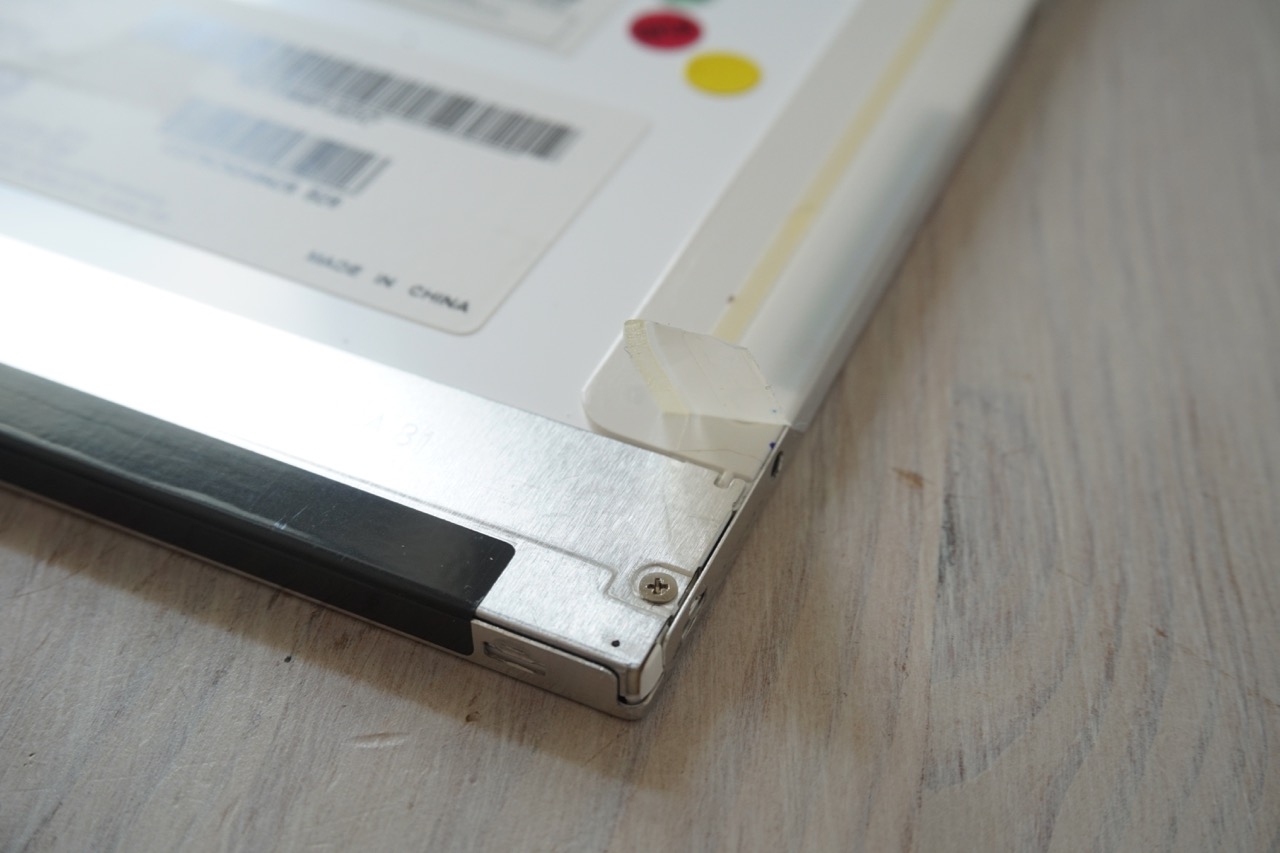
Then also loosen the black adhesive tape and then carefully loosen the metal frame.

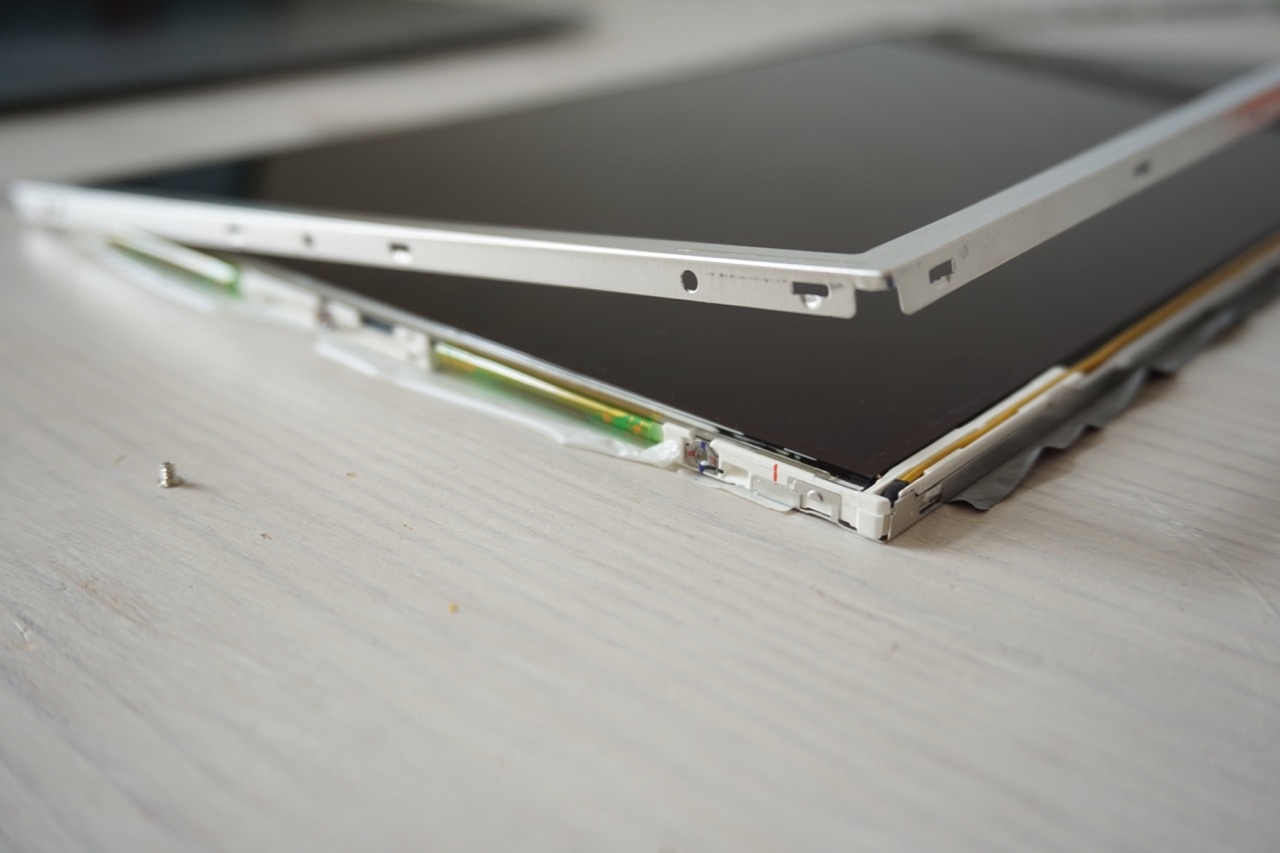
You don't need to remove it completely (you shouldn't, otherwise the whole display will fall apart). The aim is to remove the lower separate piece of metal. When mechanically unlocked, use a hair dryer to heat it a bit because it is glued to the white back with adhesive tape. Once it has warmed up you can loosen it very carefully and with the help of your credit card. Also take the cables upwards out of the plastic guide. Make sure the CCFL does not break, it contains mercury.

Remember what the cable position is before you take it all apart. Install the new fluorescent tube in the same way and reassemble it very carefully.
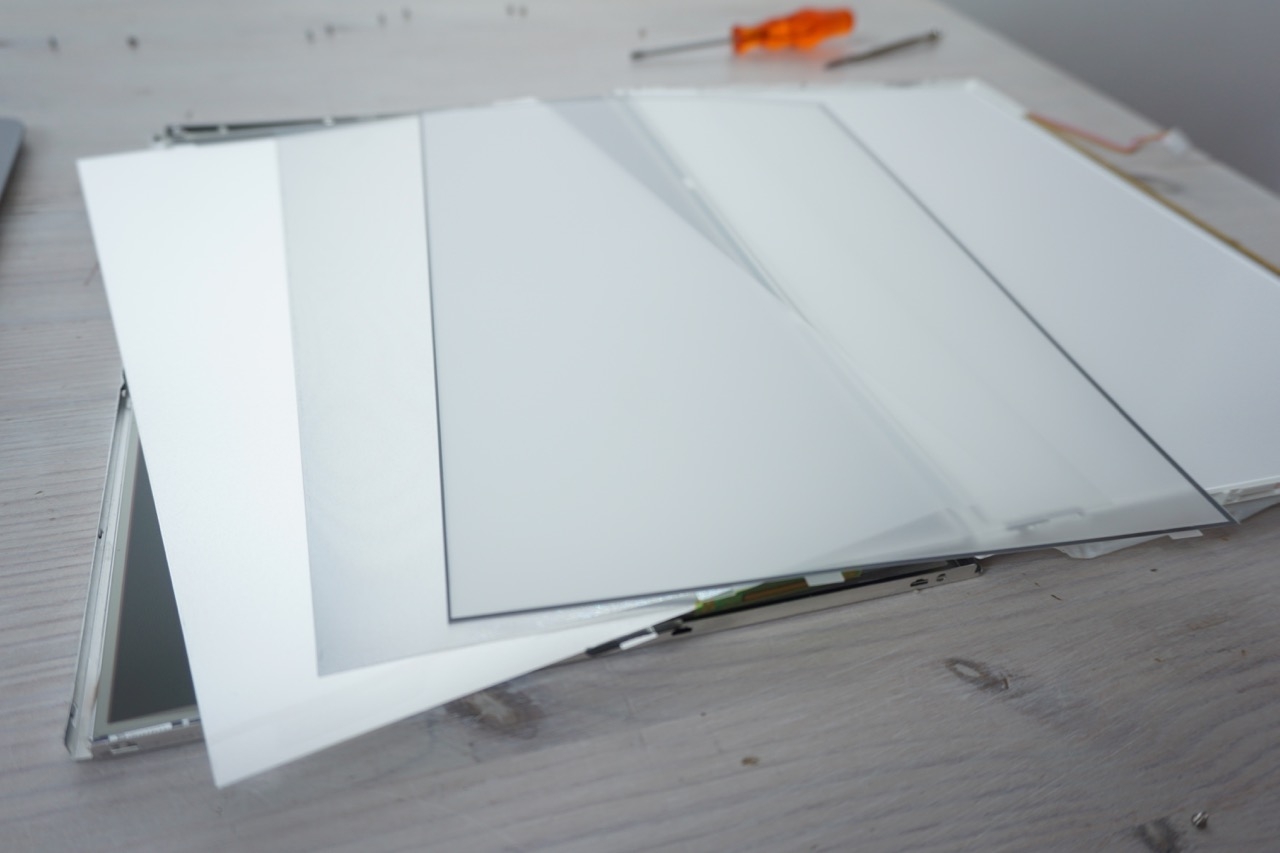
If you broke something, you can also disassemble the display completely and see how many plastic foils ensure the right distribution of light. ![]()